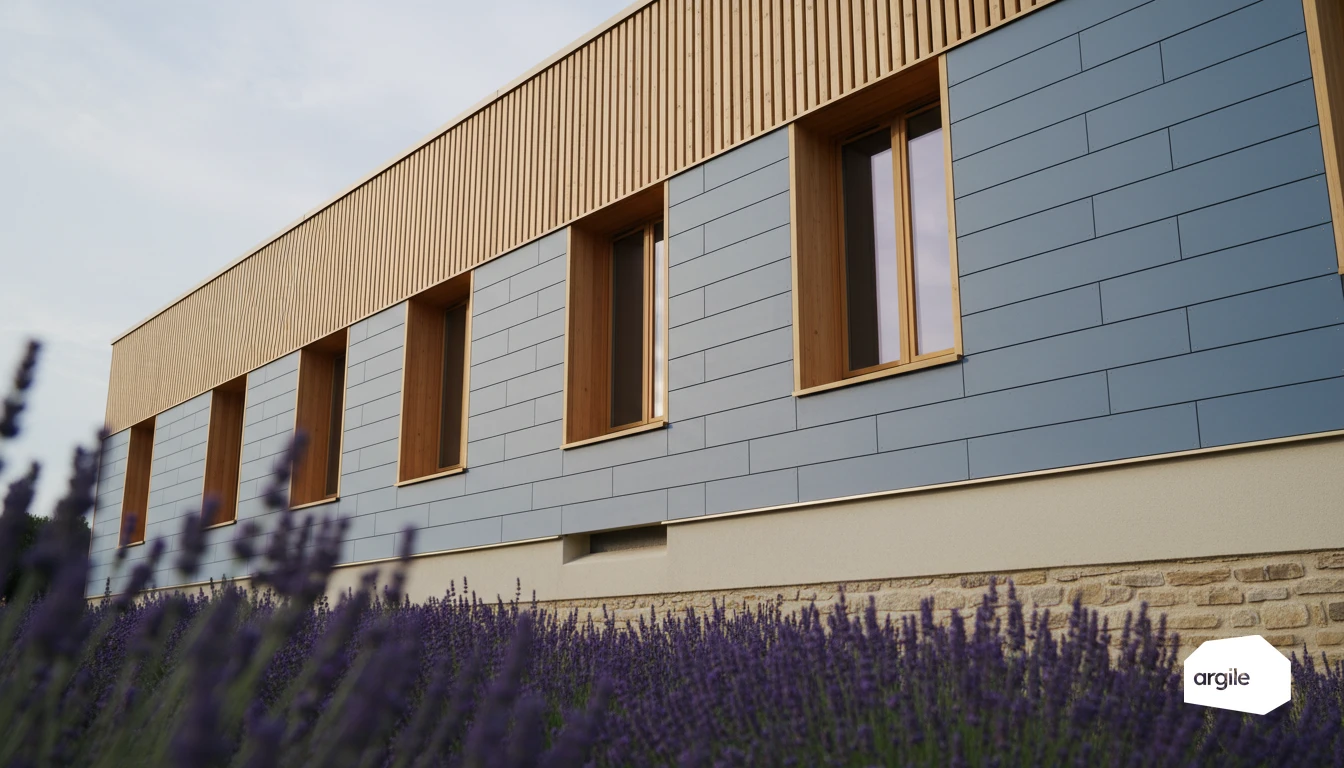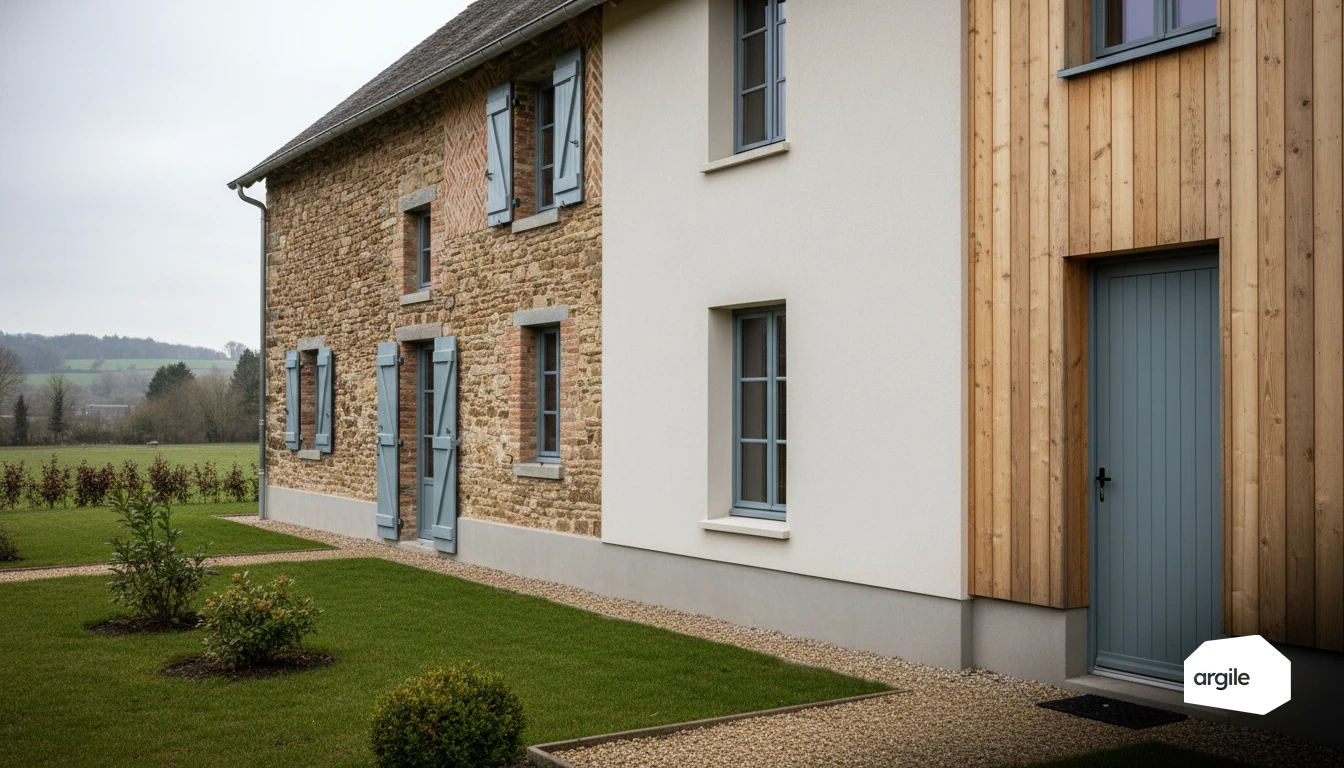
The thermal conductivity of the structural material fixes the starting point of any wall calculation: of the order of 0.15 W/m·K for timber, 0.50 W/m·K for hollow brick and 1.75 W/m·K for concrete. A concrete wall therefore lets more than ten times as much heat through as a timber wall of equal thickness, which weighs more on the insulation thickness to fit than the choice of insulant itself. The survey covers three points: type and thickness of the wall, condition of the renders and presence of an existing lining, marks of damp and rising damp. Insulating a stone wall from the inside behind an impermeable facing traps water in the masonry and degrades the wall instead of improving its performance.
Understanding how a load-bearing wall affects thermal performance
Difference between a load-bearing wall, a load-bearing partition, and a non-load-bearing partition: what it changes for insulation
A load-bearing wall carries the loads of the house. A load-bearing partition does too, but indoors. A non-load-bearing partition carries almost nothing. For insulation, this mainly changes the method. On a load-bearing wall, you avoid deep chases, protect the supports, and favour a continuous lining or external insulation when possible.
Thermal mass, thermal bridges, moisture: the three factors to look at in the wall
A heavy wall brings thermal mass, useful for smoothing out temperature swings. But if the insulation is interrupted at floors, window reveals, and lintels, you create thermal bridges. Finally, moisture (rising damp, sealed render, condensation behind a lining) can ruin performance. Before insulating, also check the ventilation.
Thickness, renders, linings: checkpoints before quoting
Before quoting, identify the wall's thickness and material, the condition of the renders, and whether a lining already exists. Look for cracks, saltpeter, service runs, and specific points that need treating to maintain the insulation's continuity. This avoids surprises on site and costly rework.
Load-bearing wall materials: thermal behaviour and points to watch
Stone walls: high thermal mass, moisture risk, and render selection
A stone wall offers good thermal mass, but it dries slowly. Before insulating, check for rising damp, leaks, and ventilation. Favour vapour-permeable renders (lime) and avoid sealed facings that trap water. With internal insulation, take care with the connections and let the wall keep its regulating capacity. To go further, also see the precautions to take.
Brick and concrete-block walls: thermal bridges, tie beams, and thermal breaks
On brick or concrete block, thermal bridges hide at tie beams, lintels, window reveals, and floor-slab ends. Continuous insulation, especially on the outside, limits these losses. With interior insulation, treat the insulation returns and, for major work, plan for thermal breaks at the floor levels.
Concrete and aerated concrete walls: conductivity, corrections, and compatible finishes
Concrete is more conductive: its bare U-value routinely exceeds 2.8 W/(m².K), and without insulation the cold-wall effect appears quickly. Aerated concrete insulates better, but requires clean junctions and local corrections. Choose compatible systems (mortars, anchors, renders) to avoid cracks and delamination. For the finish, aim for a continuous, airtight envelope, without blocking water vapour.
Choosing the right insulation strategy based on the wall's structure
Internal insulation: managing water vapour and limiting issues
With internal insulation, the key point is moisture management. On a cold wall, poorly designed insulation can create condensation within the wall. Work with a suitable vapour retarder, take care with airtightness at the junctions (floor, load-bearing partitions, windows), and check that the home's ventilation keeps up.
External insulation: treating thermal bridges without losing floor space
External insulation wraps the wall continuously. It limits thermal bridges, preserves the building's thermal mass, and avoids cutting into livable floor space. Plan for the details that make the performance. Insulation returns at reveals, treatment of the base, continuity with the roof, management of supports and rainwater. To go further on installation, systems, and finishes, see our guide on external insulation under render. On the pricing side, façade areas, the choice of insulation and the choice of finish carry through to the square metre from the measurements taken during the survey.
Shared walls and constrained facades: solutions when external insulation is difficult
When a wall is shared with a neighboring property or a facade is constrained (co-ownership, alignment rules, protected area), external insulation isn't always possible. Combine external insulation on the free faces with targeted internal insulation on the blocked walls. Depending on the wall's composition, blown-in insulation in a cavity can also be considered. Keep one priority: thermal continuity at the ends, and finishes compatible with the building.
Installation on site: details that make the difference on the wall
Treating specific points: floors, reveals, supports, and wall junctions
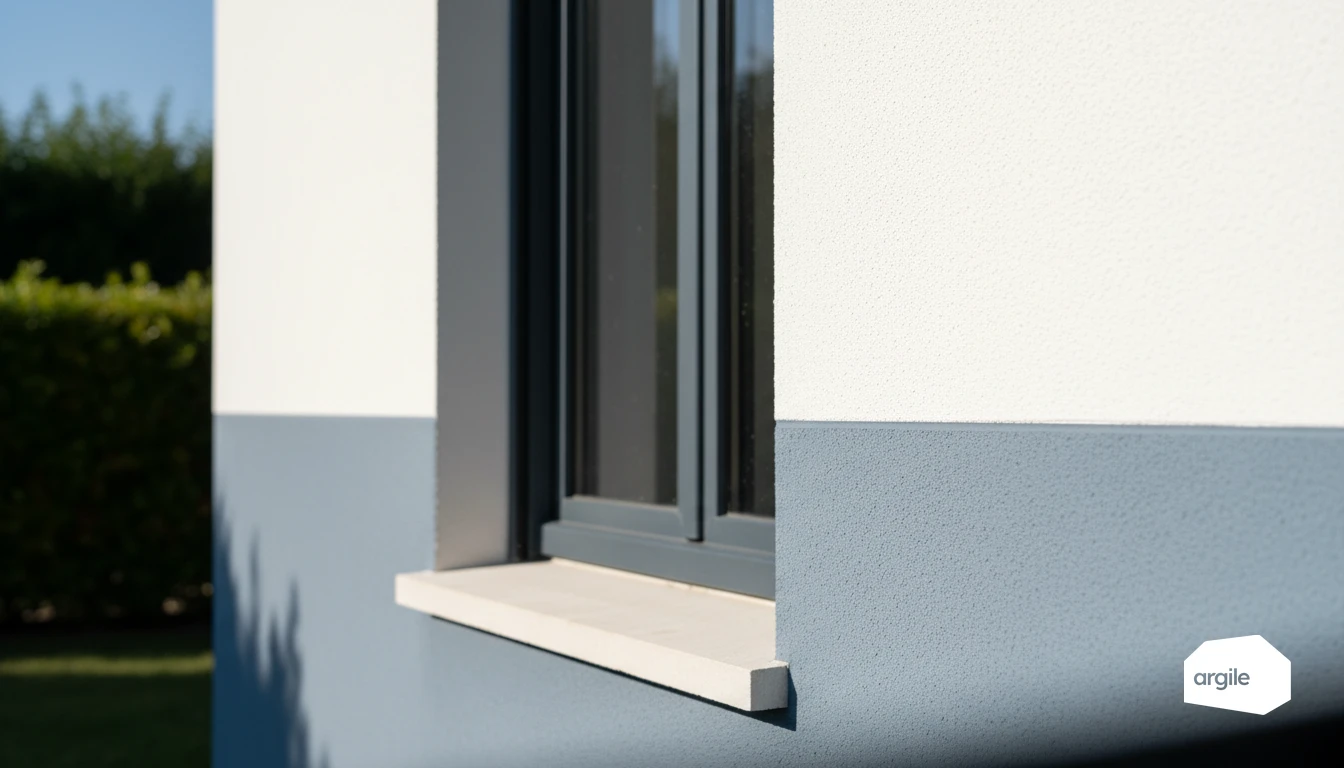
On site, performance is won or lost at the junctions. Aim for continuous insulation at floors and load-bearing partitions. Plan for insulation returns at reveals to avoid the "cold frame" effect. At supports, secure water drainage with flashing and drip caps, without crushing the insulation against the wall.
Fixings, anchoring, load transfer: respecting the load-bearing wall's structure
Every fixing must anchor into the load-bearing wall, not the insulation. Choose anchors and embedment lengths based on the substrate (brick, concrete, stone) and the system's technical opinion. For shutters, guardrails, or awnings, use load-transfer brackets and check the tightening to avoid punching through and cracking.
Final checks: insulation continuity, airtightness, and moisture management
Before render or cladding, do a full walkthrough. Check for the absence of gaps, sealed penetrations, and compliant ventilation to avoid condensation.
2026 aid schemes and requirements: securing your files based on wall type
RGE certification and supporting evidence: photos, technical data sheets, and material traceability
For MaPrimeRénov' and CEE, the job must be carried out by an RGE-certified company. Take dated photos before, during, and after. Keep the technical data sheets, technical opinions, and proof of performance. On the invoice, show the treated surface, the thickness, the thermal resistance, and the product reference. Traceability (delivery notes, batch numbers) avoids blocked files.
MaPrimeRénov' and CEE: 2026 points of attention for wall insulation
In 2026, checks mainly focus on the consistency between the wall type and the solution installed. Internal insulation doesn't provide the same proof as external insulation. Check the required performance thresholds, the insulation's certification (e.g. ACERMI), and the presence of mandatory mentions on the quote, invoice, and certificates.
Energy audit and choice of work: when the wall's structure guides the priority
The audit helps set priorities. An old damp wall, a stone wall, or a timber frame require managing water vapour and thermal bridges before chasing "maximum thickness." When heat loss through the walls is high, treating the walls can come before the heat pump. Otherwise, the reverse order can be more cost-effective. To go further on the optimal order of work, also see insulation vs. heating: which to invest in first.