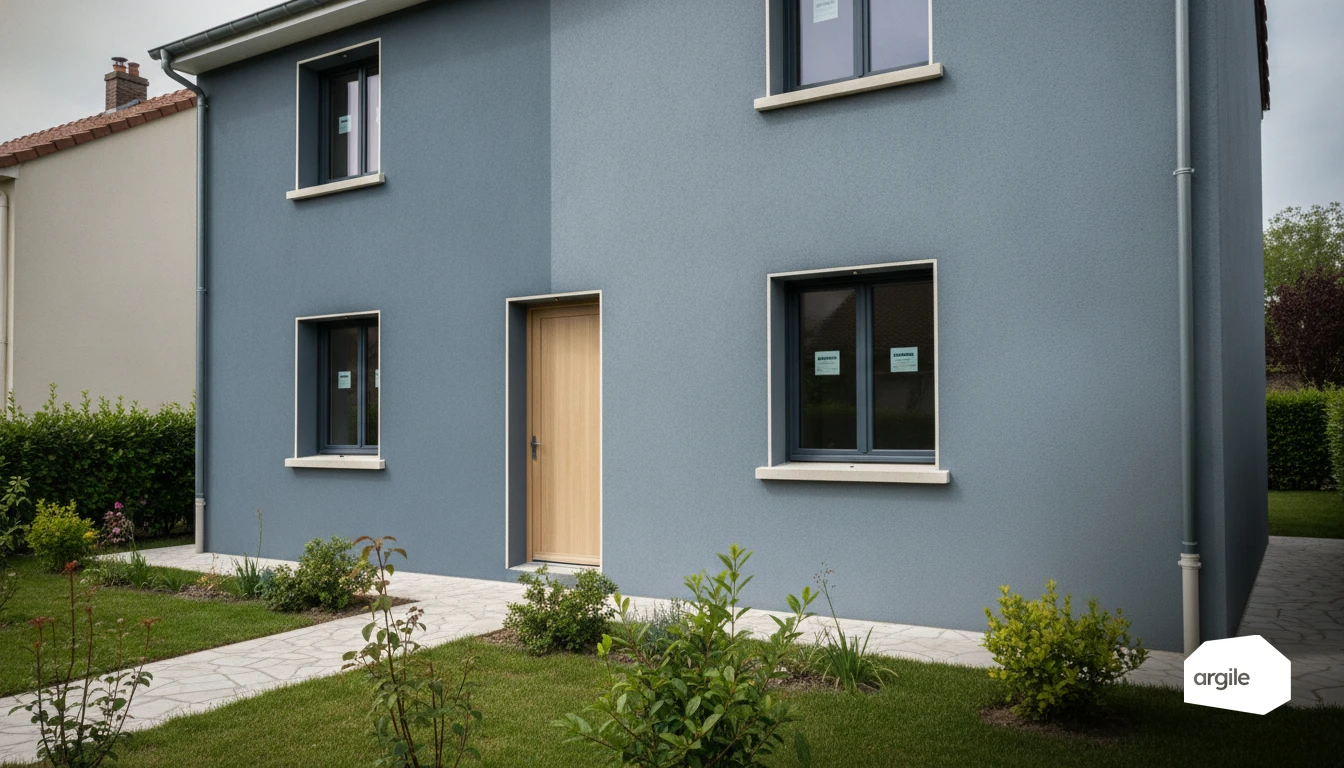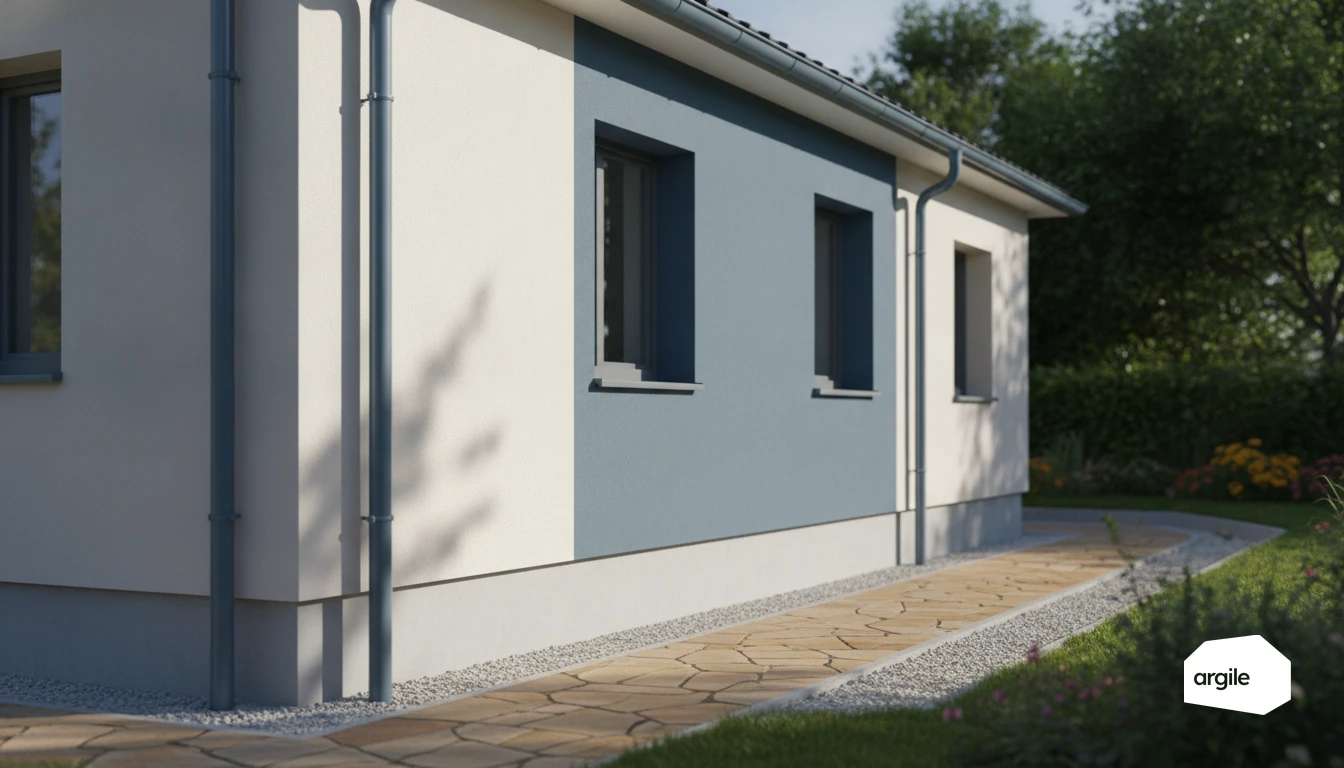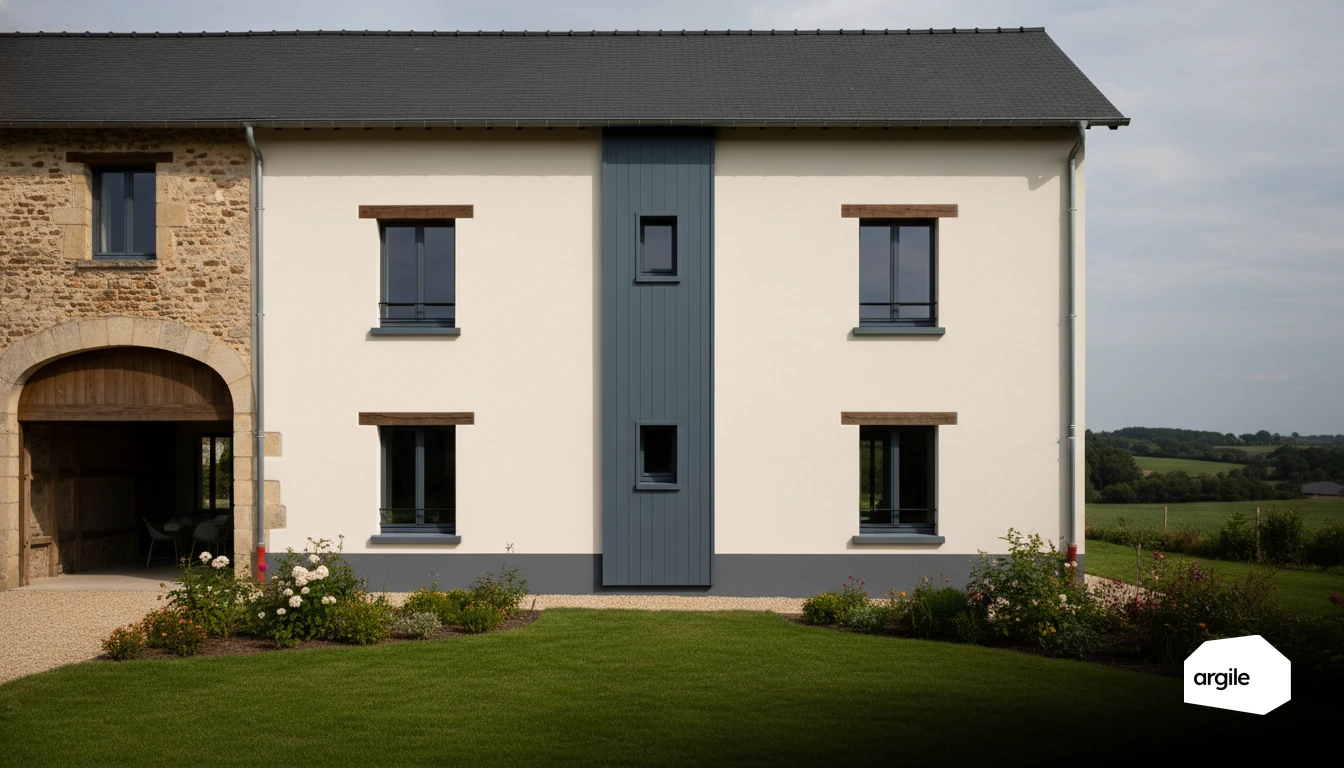
The reinforced base coat is the layer that takes the glass fibre mesh between the insulation boards and the finish, and it is the layer that absorbs the substrate's movements: how it is applied decides whether the whole facade crazes or not. The mesh is embedded in the base coat while still wet, with the specified overlap and diagonal reinforcement at the corners of openings, and the finish comes only after complete drying, out of frost, out of rain, between 5 and 30°C. Common EPS thickness runs from 12 to 20 cm for a target R of 3.7 to 5.0 m²·K/W. Following on with the finish over a base coat that is not dry is the leading cause of crazing and poor adhesion, and putting it right means the scaffold goes back up at the firm's expense.
Choosing the render-based external wall insulation system suited to the job
Identifying the substrate and constraints (masonry, framing, moisture, exposure)
Before choosing an external wall insulation system, start from a sound substrate. Solid masonry, concrete, brick, or wood framing don't respond the same way to bonding and fixings. Check flatness, the cohesion of old renders, and water points (base of wall, sills, junctions). On a façade highly exposed to wind and rain, anticipate the layout, corner reinforcements, and runoff management.
Selecting the insulation for your external wall insulation (EPS, rock wool, wood fibre) based on the 2026 target
EPS remains effective and lightweight for reaching high thermal resistance at controlled cost. Rock wool makes fire and summer comfort management easier. Wood fibre provides thermal mass and hygric regulation, but requires careful installation. Keep the 2026 target for performance and grant eligibility in mind, with a consistent thickness and treated thermal bridges. The choice is locked in at pricing, where Argile picks the insulant and the finish from up-to-date catalogues and produces the façade take-off.
Checking compatibility and technical documents (DTA/ETA, technical approval, manufacturer prescriptions)
A render-based system is chosen as a whole. Insulation, adhesive, anchors, reinforced base coat, mesh, and finish must be compatible. Require the key documents (DTA or ETA, technical approval) and follow the manufacturer's prescriptions on acceptable substrates, reinforcement mesh, thresholds, and details around joinery.
Preparing the substrate and setting out the external wall insulation for a durable installation
Wall diagnosis: flatness, cohesion, repairs, crack treatment
Before bonding or mechanically fixing, start from a sound substrate. Check flatness with a straightedge, cohesion (scratch test, pull-off test if in doubt), and identify repairs and chalking areas. Treat cracks according to their nature: stripping, suitable patching, then full drying. An irregular or damp wall is paid for later in detachments and thermal bridges.
Setting up the starter profiles, level reference points, and layout
Install the starter profile with a laser for a continuous level line. Manage substrate deviations with shims and thermal breaks specified by the system. Lay out the external wall insulation panels before starting, with staggered joints and clean cuts, to avoid cross-shaped joints and to ease anchor alignment. The areas to lay out are those of the take-off: façade contractor software works them out net of openings from the façade photos, with the linear metres of reveals and sills.
Managing singular points from the layout stage: window sills, parapets, base course
From the layout stage onward, lock in the singular points. Plan the sills with a drip groove and sealing, the parapets with copings and upstands, and the base course with insulation and protection compatible with water splashing. Also anticipate utility run penetrations to limit rework during installation. For a broader framing of external wall insulation installation, remember to check the system's requirements (bonding/mechanical fixing, junction treatment, finishes).
Mastering the render-based external wall insulation technique, step by step
Bonding the panels: dabs, full-surface, double bonding, when to choose which
On render-based external wall insulation, bonding holds the panel in place, but also limits air circulation behind the insulation. With dabs, you compensate for a slightly irregular substrate, with a perimeter bead to secure the edges. With full-surface bonding, you're targeting a flat, clean substrate, for near-continuous contact. Double bonding is reserved for tricky cases, heavy panels, or highly absorbent substrates, to avoid hollow areas.
Mechanical fixing: number, depth, washers, avoiding detachment and visible marks
Mechanically fix after the mortar has cured, following the system's technical approval. In practice, plan on 6 to 8 anchors per m², and more at edges, corners, and windy areas. Anchoring depth is measured into the sound substrate. Install washers flush, or recessed with an insulating plug, to limit detachment and visible marks.
Treatment of joints and reinforcements: thermal bridges, reveals, corners, joinery junctions
Stagger the joints, press the panels tightly together, and fill gaps with insulation, not mortar. At reveals, corners, and sills, add corner beads and diagonal reinforcements. Take care with the junction to the joinery using a suitable profile and compatible sealant, to cut thermal bridges and maintain lasting sealing. To go further, also see how a façade renovation can be an opportunity to add external wall insulation.
Applying renders and finishes without visible defects
Reinforced base coat and mesh: overlaps, embedding, drying times
On external wall insulation, the reinforced base coat is decided down to the millimetre. Install the mesh by embedding it while the coat is still wet, without letting it show through. Follow the overlap requirements between strips and the reinforcements at sensitive points (corners, reveals, sills). Let it dry away from rain and frost, and wait until the substrate is fully hardened before moving on.
Finishing coat: trowel-finished, scraped, ribbed, choosing based on façade and desired look
The finish is chosen based on exposure, flatness, and the desired look. A trowel-finished coat forgives little rework, but gives a fine appearance. A scraped finish better hides small irregularities. A ribbed finish structures the façade, useful on large surfaces. Work in complete zones, with compatible open times to avoid visible marks.
Preventing defects: micro-cracks, crazing, staining, misalignment
Defects often come from the pace of the job. Limit micro-cracks by managing thicknesses and drying times. Reduce crazing by avoiding excess water and direct sun. Against staining, take care with drip caps and edge protection. Watch for misalignment by checking flatness at every pass.
Securing quality, compliance, and performance in 2026
On-site checks: thicknesses, alignments, fixings, insulation continuity
On external wall insulation, performance is decided down to the millimetre. Check the installed thickness, panel alignment, absence of gaps, and continuity at sensitive points (reveals, sills, floor junctions). Also check the fixings against the substrate and layout, then do a full round of junctions to limit thermal bridges. Nothing left to chance.
RGE best practices and traceability: photos, product data sheets, acceptance reports
In 2026, compliance relies on simple evidence. Keep dated photos (before, during, after), the technical data sheets and CE marking, the Technical Approval references if applicable, and a signed self-inspection report. At handover, formalize any reservations and hand the client a clear file. Written record.
Maintenance and warranties: advice for the client, conditions of use, points to monitor in the first year
Explain the right conditions of use. Active ventilation, controlled drilling, gentle façade cleaning. In the first year, ask for feedback after the cold and wet seasons. Watch for impacts, micro-cracks, joints, streaking, and water points. Anticipating these details avoids disputes and protects the warranties. Useful follow-up.