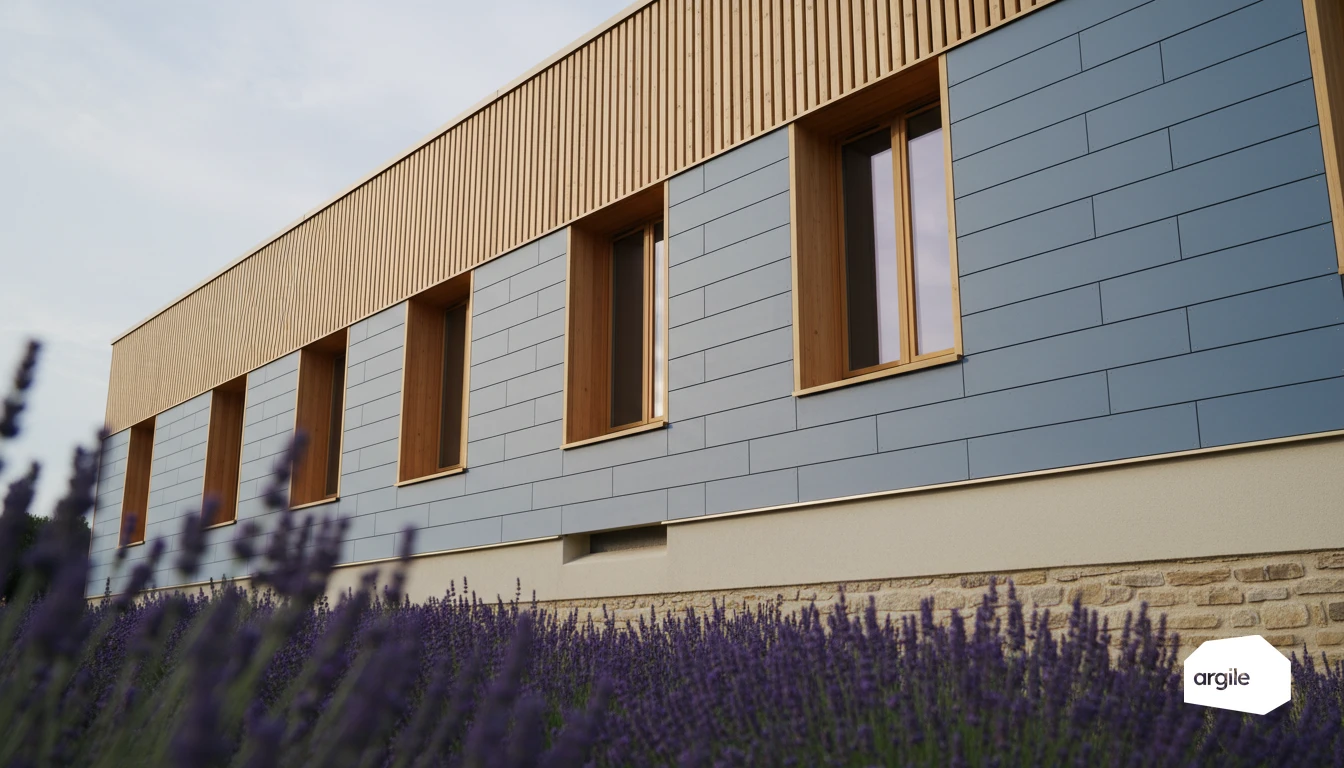
Ventilated cladding is an applied facing on a framing system, set in front of the insulation and separated from it by a continuous air gap of 2 to 4 cm, open at the foot and the head of the facade with insect mesh. Timber cladding lasts 25 to 50 years and composite cladding 30 to 50 years, provided the ventilation of that air gap stays clear over the full height. The thermal resistance installed usually targets 3.7 m²·K/W on an external wall insulation job. What is surveyed before ordering is the plumb of the substrate and the setting out of the framing, because they are what fixes the take-off for brackets, anchors and singular point accessories.
Understanding ventilated cladding for external wall insulation: principle, role of the air gap and key facade points
What the ventilation behind the facing is for: moisture management and durability
Ventilated cladding works like a raincoat that lets the wall breathe. The air gap behind the facing evacuates moisture, limits condensation and helps the wall dry out after rain or accidental water ingress. The result is fewer risks of mould, deformation, and a more durable facade. Remember the air inlets and outlets at the base and top, with insect screens.
The difference between ventilated cladding, cladding panels and render on insulation: what you're selling the customer
With ventilated cladding, the insulation is protected by a breather membrane and a frame that creates the ventilation. Cladding panels combine facing and insulation in one unit, often with more limited ventilation. Render on insulation gives a "painted wall" look, but requires compliant installation and a well-prepared substrate. To the customer, you're selling a different level of protection, aesthetics and maintenance.
When cladding is the right choice for a facade: substrates, exposure, urban constraints
Cladding is often the right choice on irregular substrates, facades heavily exposed to wind-driven rain, coastal areas, or when a removable finish is wanted. It also helps correct plumb and easily integrate detail points. In urban areas, check colours, relief and local rules. On the safety side, plan ahead for fire reaction and the treatment of openings.
Building an external wall insulation system with applied facing: frame, insulation, breather membrane and fixings
Choosing the facade insulation: rock wool, wood fibre, EPS… depending on the site
Under an applied cladding, choose the insulation based on exposure, substrate and fire constraints. Rock wool is a safe choice when you're aiming for good fire resistance and good summer comfort. Wood fibre works well on renovation projects, but requires careful protection against moisture. EPS is light and economical, best kept for configurations compatible with fire requirements and the intended facing. Once the insulation is settled, the facade is priced to the square metre, from insulation to finish, based on the survey taken during the visit.
Breather membrane, vapour barrier and airtightness: who does what and where to install them
The breather membrane goes on the outside, in front of the insulation, to cut the wind and manage any runoff. Airtightness is handled continuously on the inside, with a membrane and well-sealed joints. The vapour barrier or vapour-check membrane limits water vapour transfer. The junctions and penetrations make the difference on site.
Timber or metal frame: spacing, panel layout, brackets and managing thermal bridges
The frame (timber or metal) is set out according to the facing's panel layout and wind loads. Spacing depends on the cladding and the fixings. Plan for brackets and anchors suited to the substrate, with thermal breaks to reduce thermal bridges. Keep a ventilated air gap and check alignment before closing up.
Installation rules for ventilated cladding: details that prevent problems
Air inlets and outlets: grilles, ventilation cross-section, protection against pests
Ventilated cladding works if the air gap stays continuous, with inlets at the base and outlets at the top. Aim for a sufficient free cross-section along the whole length, without insulation or flashings blocking the passage. Fit perforated grilles or a ventilated profile, with mesh, to keep out rodents and insects while letting air circulate.
Facade detail points: window sills, reveals, corners, base and parapet junctions
At windows and corners, everything comes down to water. Plan for a continuous drip edge, sealing returns and finishing pieces that guide water outward, without sending drips back into the air gap. At the base, keep ground clearance and water drainage. At the parapet, protect the top and maintain ventilation.
Fixings and facing: expansion, joints, wind and impact resistance
Respect the facing's installation tolerance and fixing spacing. Don't over-tighten if the material needs to move. Use suitable, anti-corrosion fixings, and check wind resistance based on exposure. Joints and profiles must accommodate expansion and limit rattling and impacts.
Safety, compliance and warranties: what you need to secure in 2026
Fire reaction and requirements by building type: points of attention for cladding
Before installing cladding, check the fire requirements according to the building type (house, multi-family housing, ERP, IGH). The key point is the Euroclass rating of the system, not just the sheet or panel alone. Also look at the insulation, breather membrane and accessories. On the facade, cut-off devices and air gap management often act as the fuse.
Standards, certificates and manufacturer documents: how to stay compliant
Stick to the applicable BS standards where they exist (substrates, fixing, timber cladding). If the solution falls outside that scope, rely on a BBA certificate or a European Technical Assessment, then follow the manufacturer's documents to the letter (spacing, screws, ventilation, detail points). That's what keeps your compliance, and your peace of mind, over time.
Insurance and traceability: photos, product sheets, self-checks to keep on file
For the ten-year warranty, a clean site file is worth its weight in gold. Keep dated photos (before, during, after), product sheets, DoPs, certificates, delivery notes, and your self-checks (fixings, breather membrane, continuity, air gap). In the event of a claim or dispute, you have evidence, not memories. To go further on the environmental sheets to archive, see the product sheets.
Pricing and site preparation: selling your cladding better in energy retrofit
Facade surveys and measurements: what changes the price (removal, repairs, scaffolding)
To price cladding, start from a "useful" survey, not just square metres. Count the returns, reveals, corners, penetrations. The price mostly moves on hidden items: removal of the existing facade, substrate condition, flatness repairs, moisture treatment. Access also weighs in: scaffolding, protection, public right-of-way permits. That useful survey is extracted from the measurements taken on site, with areas and heights feeding the pricing directly.
Installation time and organisation: delivery, storage, weather, trade coordination
Save time with a clear schedule. Favour phased deliveries and dry, flat, secure storage. Weather often dictates the installation pace. Rain and wind slow things down, especially on facades. Coordinate insulation, joinery, flashing and sealing to avoid rework and improvised on-site cuts.
Customer pitch: comfort, a more durable facade, aesthetic value and maintenance
Explain the end benefit. More comfort when the cladding accompanies external wall insulation. A facade better protected from weather and impacts. A clean look that adds value to the property, with finishes that are easy to clean and to check during routine maintenance.