On an old stone wall, a tightly closed vapour barrier on the inside is not a precaution, it is the most expensive mistake on the job: France's Agence Qualité Construction documents degraded masonry and a timber frame destroyed by a lining that stopped the wall drying inwards. The documented solution is a hygrovariable vapour check on the warm side, chosen to suit the wall and ideally after modelling summer drying. And the order of operations is not negotiable: surroundings and rising damp first, wall build-up second, vapour control layer last.
Understanding an old stone wall before any insulation work
Identifying the type of stone, joints, and existing renders
Before any insulation work, look at the masonry. A soft stone (limestone) doesn't behave like granite. Look at the joints: lime, earth, or cement. A cement joint can block moisture exchange. On the finishing side, identify whether it's a lime render or a waterproof render. A simple, discreet scratch test often helps distinguish the layers.
Spotting signs of moisture and sensitive points (base of walls, exposed facades)
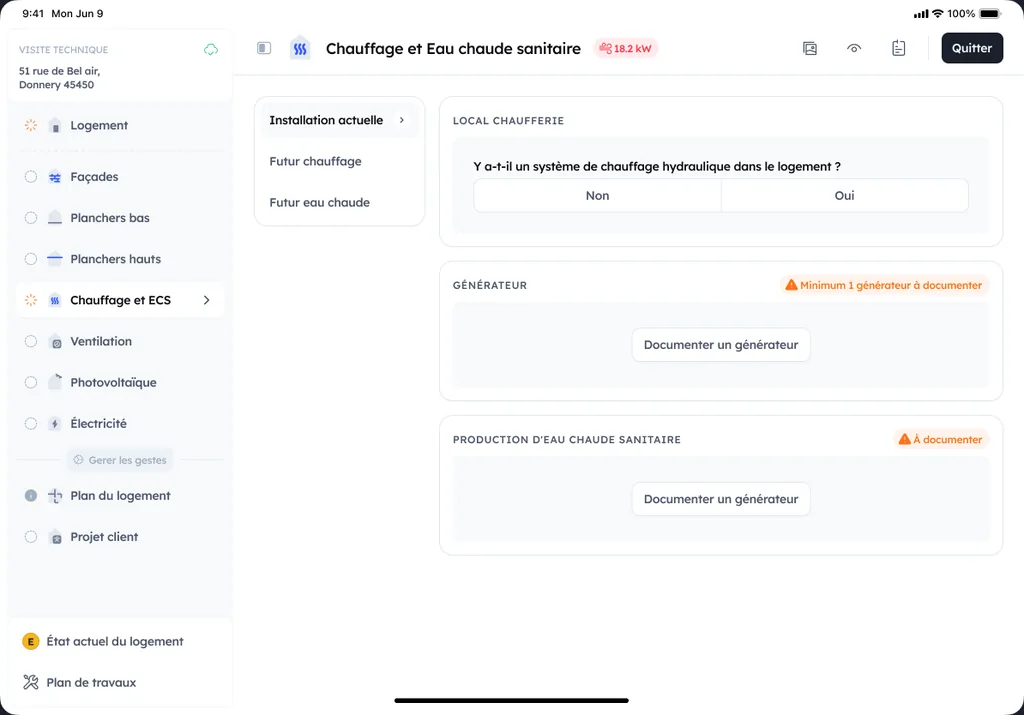
The moisture survey drives the quotation, not just the method. Tap-test to find render that sounds hollow, measure substrate moisture at the foot of the wall and at one metre, and note the difference: that gradient is what identifies rising damp rather than ingress. The wall base is affected first, especially where ground level is high or poorly drained. On exposed facades, check gutters, sills, cracks and joints. Put those readings on file with dated photographs, recorded room by room during the technical visit: if you insulate a wall whose moisture has not been dealt with, it is your work that degrades and your liability that gets tested, not the original mason's. Where needed, perimeter drainage belongs upstream, as a separate package with its own exclusion.
Checking compatibility with the old building: breathability, capillarity, thermal bridges
An old wall works with water. It absorbs, then it dries. The insulation therefore needs to remain vapour-permeable and avoid blocking capillary movement. Plan for treatment of thermal bridges at floors, window reveals, and roof connections. If in doubt, have the choice of materials validated with a hygrothermal study.
Choosing the right insulation strategy based on the wall and how the dwelling is used
Internal insulation: when it's suitable and what you have to accept (loss of floor area, thermal mass)
Internal insulation is the option when the facade cannot be altered: leasehold buildings, boundary walls, conservation areas. What it changes for you can be costed. The work goes room by room, so mostly in occupied premises, with the protection, phasing and making-good that implies. The details, sockets, reveals, joinery, weigh more on labour hours than the plain wall area does, and that is where quotations slip. Finally you cut the wall off from the heated space, so you reduce the thermal mass available in summer: state it on the quotation rather than discovering it in July, because the summer comfort complaint arrives after handover, once the margin is already spent.
External insulation: benefits on a stone wall and constraints (appearance, overhangs, connections)
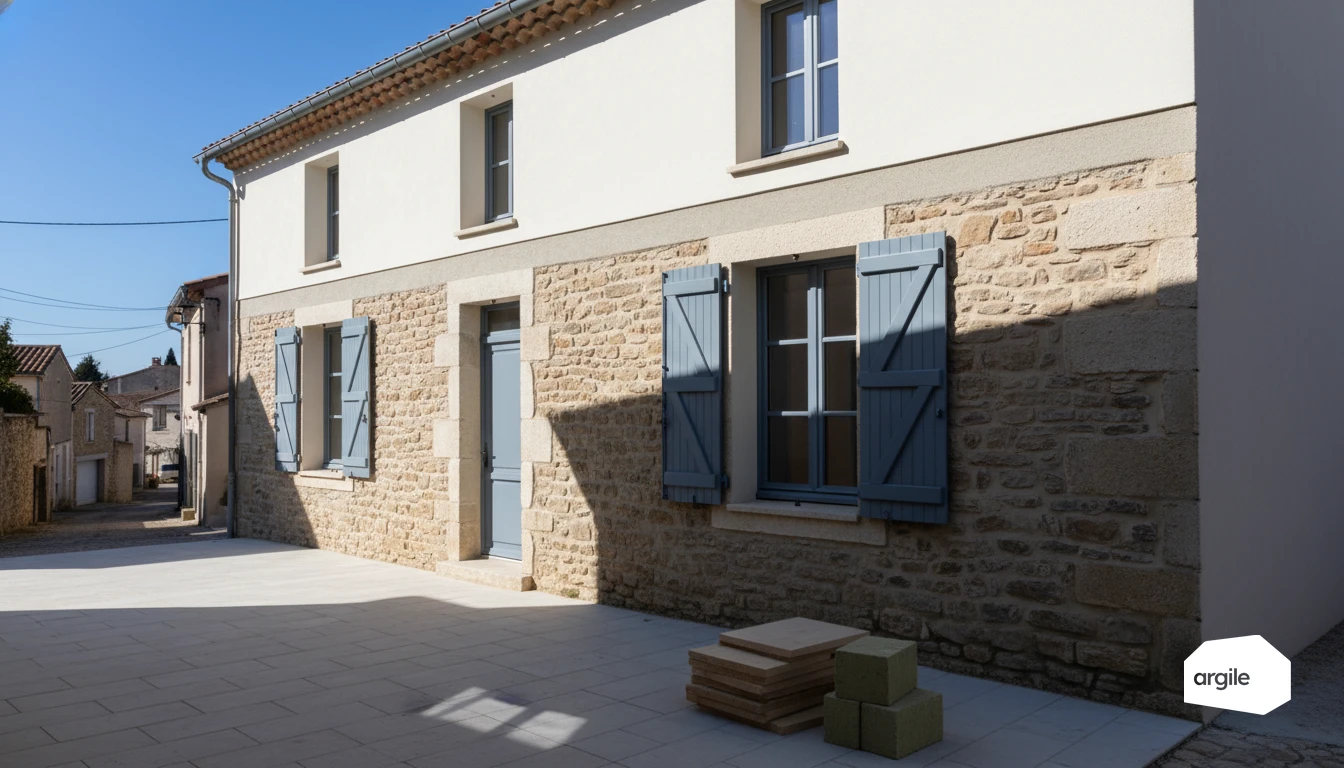
On a stone wall, external insulation is often a strong lever. It keeps the wall "warm," limits thermal bridges, and protects the masonry from thermal shock. To plan for: a change in appearance, roof overhangs that sometimes need reworking, window sills, gutters, downpipes, and careful connections at the base of the wall. It's the most effective route to a continuous envelope.
Special cases: party walls, gable ends, listed buildings, or protected areas
For party walls, you mainly insulate the exterior-facing surfaces and exposed gable ends. A gable end on a property line may require internal insulation, or a tightly regulated external insulation. For a listed building, or in a protected area, the ABF's approval may steer you toward more discreet, sometimes vapour-permeable solutions. Keep one principle: insulation compatible with the wall's moisture, and details treated without compromise.
Securing moisture management: the number-one precaution when insulating stone walls
Not blocking water vapour: vapour barrier, vapour control layer, and installation rules
A stone wall handles moisture like a sponge. With internal insulation, the goal is to limit vapour on the heated side without trapping it. A vapour control layer (sometimes a smart one) is often favoured over a highly sealed vapour barrier. Continuous installation, taped joints, connections at the perimeter. The smallest hole becomes an entry point for vapour, and therefore for condensation.
Treating water entry points before insulating: roof, flashing, cracks, rising damp
Before installing linings, cut off water at the source. Check and fix:
- roof, flashing, gutters, downpipes, and discharge points
- cracks, joints, damaged render, window sills
- wall bases, ground level, drainage, rising damp
Ventilation and heating: essential settings to avoid mould and deterioration
After insulation, air leaks decrease. Without properly set ventilation, indoor humidity rises quickly. Ensure suitable MVHR, open air inlets, and steady heating (avoid big temperature swings). Aim for humidity around 40 to 60%. That's the best safeguard against mould. To frame the sizing and targets, you can refer to the air renewal rate to aim for.
A vapour barrier on a stone wall: the mistake to avoid
It is the question that comes up most, and the answer fits in one sentence: on an old wall, a very closed vapour barrier on the inside does not protect the wall, it damages it. France's Agence Qualité Construction documents this without ambiguity. A wall that is very closed to water vapour on the inside, whether through a tight vapour barrier or vinyl wallpaper, can cause serious degradation of the materials that make it up. The report shows a timber frame degraded because polystyrene fitted on the inside blocked the wall from drying inwards, and a wall that collapsed across the outer half of its thickness because water had concentrated behind a cement render.
The documented good practice is different: choose carefully how closed the vapour control layer is, hygrovariable or not, and install it correctly, position and continuity, according to the characteristics of that particular wall. For internal insulation of an old wall, what is illustrated is a hygrovariable vapour check on the warm side, not a vapour barrier. And the decision is best taken after modelling the wall's drying capacity, in particular the summer drying of condensation formed over winter.
| AQC lesson | The finding | The good practice |
|---|---|---|
| 3, treat the building surroundings | ground slope and planting bring water to the foot of the wall | work the slope while limiting soil sealing, run-off channel, planting |
| 8, limit rising damp | lining a wall without treating rising damp stops it drying | let soil moisture evaporate, protect the wall base, help water leave through vapour-open materials |
| 9, vapour-open materials outside | OSB, closed paints and cement renders trap moisture in the wall | very vapour-open materials outside, capillary-active renders and joints, capillary continuity through the wall thickness |
| 10, keep a drying capacity inwards | a wall too closed on the inside degrades | vapour control layer chosen to suit the wall, summer drying modelled |
Remember the order of operations: surroundings and rising damp first, wall build-up second, choice of vapour check last. A wall insulated before the water getting into it has been dealt with is a wall you have condemned. On finishes, lime-hemp render is one of the solutions that preserves this drying potential.
Selecting materials compatible with stone and old buildings
Vapour-permeable insulation: lime-hemp, wood fibre, wood wool, cork... advantages and limits
In an old stone wall, the insulation needs to let water vapour migrate and allow drying. Lime-hemp, wood fibre, wood wool, or cork are often more tolerant of uneven substrates and moisture variations. The downside: sometimes significant thicknesses, a higher cost, and performance that drops if the wall stays damp. Water entry points are treated first.
Systems to avoid or tightly control: sealed linings, polystyrene, overly closed build-ups
Highly sealed linings and overly closed build-ups (polystyrene, continuous vapour barrier, boards bonded with no air management) can trap moisture in the stone. Consequence: condensation risk, efflorescence, frost damage, weakened timber. If a less open system is required, control it with a hygrothermal study, a smart vapour control layer on the interior side, and controlled ventilation.
Suitable finishes: lime renders, facings, managing fixings in the stone
For finishes, favour lime renders, mineral paints, and ventilated facings, to keep the substrate breathable. On the fixings side, avoid multiplying holes drilled into the stone. Favour joints, suitable anchors, and stainless steel in exposed zones. A well-executed lime render protects as much as it decorates.
Getting the installation right on site and meeting 2026 requirements
Details that make the difference: window reveals, floor/wall connections, thermal bridge treatment
In insulation work, losses slip through the connections. Take care with window reveals using a continuous insulation return, treated sills, and airtightness with no break. At floor/wall connections, aim for continuity of the vapour barrier and sealing tapes. Treat thermal bridges at load-bearing partitions, slab edges, boxes, and service penetrations.
Useful checks and documents: photos, technical data sheets, technical approvals, fire reaction reports
- Dated photos before, during, after, with close-ups of tricky junctions.
- Technical data sheets, installation instructions, and product references (BBA Agrément if applicable).
- Technical approvals or DTA when the system requires them. Also keep the fire test report for the insulation and facings if requested.
Funding and the certification framework in 2026: points to watch for eligibility
In 2026, eligibility requires a certified company, detailed invoices (areas, U-values, brand, model), and dates consistent with the applications. Follow the measure specification and have the client declaration signed. Check the applicable route, particularly whether a retrofit coordinator is required depending on the type of work.