When to use an endoscope to inspect walls in energy renovation
Spotting hidden defects: compressed insulation, thermal bridges, damp and mould
When the clues are unclear (stains, odours, cold zones), an endoscope lets you look behind a lining without opening everything up. You can confirm compressed insulation, an uncontrolled air gap, traces of damp or mould, and adjust the solution before closing back up.
Checking sensitive points: linings, lofts, ground floors and service ducts
This is useful wherever there is a cavity or a hard-to-reach passage. Linings on framing, rafters and lofts, the underside of a ground floor, shutter boxes, service ducts. The endoscope helps verify the continuity of the insulation and spot thermal bridges around networks, often a weak point in renovation.
Deciding fast on site: limiting openings and avoiding unnecessary rework
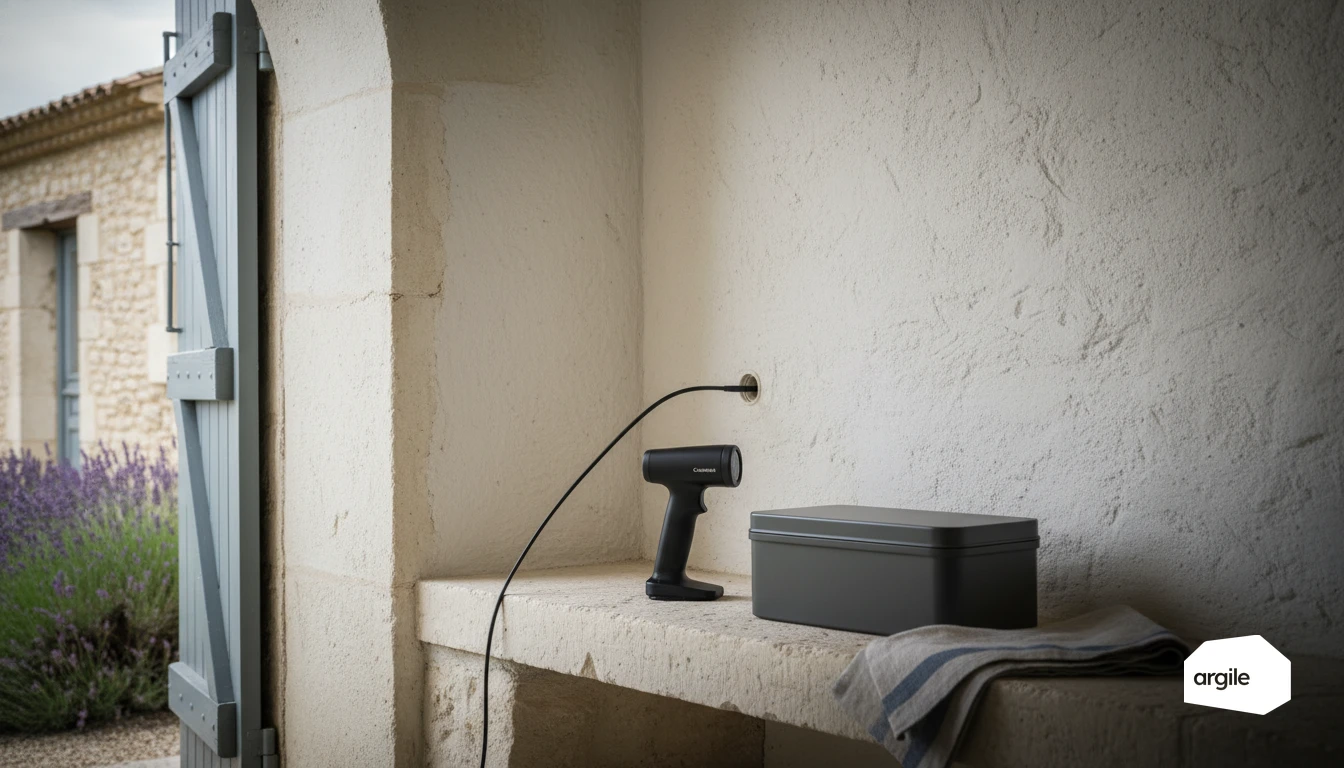
On site, the endoscope is used to run a targeted check through a small drill hole, then document it with photos attached to the technical visit record. You limit the openings, you secure the decision, and you avoid costly rework, especially on a high-performance renovation in 2026.
Choosing the right endoscopic camera: the criteria that matter on site
On site, an endoscope is mainly used to settle a doubt without opening up an entire partition. The right criteria keep you from ending up with a tool that stays at the bottom of the toolbox.
Probe diameter and length: passing through a wall without drilling everywhere
Aim for a thin probe to pass through a small hole and slip between studs, ducts or mineral wool. The length should cover the thickness of the wall and leave a bit of margin. Too short, and you're working blind. Too long, and it becomes floppier and less precise.
Image quality and lighting: seeing clearly in a dark cavity
A stable, sufficiently sharp image saves time when spotting a thermal bridge, a leak or an installation defect. Look for adjustable LED lighting and good glare control. A wide-angle lens helps, but watch out for distortion at the edges.
Flexibility, rigidity and an articulating head: inspecting around an obstacle inside the wall
A semi-rigid cable is easier to guide through a partition than a probe that's too flexible. If you need to look behind a batten or a bend, an articulating head changes everything. Also check the resistance to dust and water, IP67-rated, to survive day-to-day use.
Inspection method with an endoscope: simple steps for a reliable check
Preparing the area: locating networks, a clean drill hole and protecting the finishes
Before drilling, locate the networks (electricity, water), the framing and the sensitive points. Choose a discreet spot that's easy to patch up. Protect the room with a sheet and masking tape, then vacuum up the dust as you go. A clean hole, at the right diameter, avoids damaging the cladding and makes it easier to insert the endoscope. Check the age of the building too: on work predating the 1999 ban, the Control of Asbestos Regulations require a refurbishment and demolition survey before anything liable to disturb asbestos-containing materials, and a hole drilled through a lining qualifies. Without that survey, the job is stoppable.
- Suitable goggles and mask.
- Depth stop if needed.
- Clear lighting and access.
Inspection route: follow a logic (top/bottom, left/right) so nothing is missed
Insert the endoscope and move slowly. Follow a simple grid, from top to bottom then from left to right, coming back over the corners. Check the continuity of the insulation, the gaps, the compression, traces of damp and air passages. Note the depth and height markers for each anomaly.
Recording your findings: photos, videos and sketches to back up your diagnosis
Document everything with dated evidence. Take sharp photos, supplement with a short video when useful, then make a sketch on the plan (wall concerned, height, distance from a corner). These elements back up your diagnosis, make it easier to discuss with the client, and serve as a basis for pricing and prioritising the work.
Interpreting what you see inside the wall: signs, likely causes and actions to plan
Reading the state of the insulation: continuity, thickness, installation defects and areas to complete
With an endoscope, look for continuous insulation. Spot gaps, compression, rough cuts and compressed areas. Compare the visible thickness with what was specified in the quote. If you see bare framing, open joints or air passages around ducts, the defect is often incomplete installation or missing sealing.
The endoscope gives you a thickness. Approved Document L sets a target U-value for the element as a whole, so the thickness on its own never settles it: 0.30 W/m²·K on a wall means a total thermal resistance above 3.3 m²·K/W, and at a lambda of 0.035 W/(m·K) the 100 mm of mineral wool you can see through the hole contributes 2.86 m²·K/W. The table below gives the retrofit values an inspection will hold you to.
| Element inspected | Retrofit U-value, Approved Document L |
|---|---|
| Wall, internal insulation | 0.30 W/m²·K |
| Roof, insulation at rafter level | 0.18 W/m²·K |
| Cold loft, insulation at ceiling level | 0.16 W/m²·K |
| Ground floor | 0.25 W/m²·K |
What you read through the drill hole is therefore an input, not a verdict: record the thickness, the product and the rest of the build-up, and let the calculation settle the element.
Identifying signs of damp: streaking, black spots, corrosion and odours
Streak marks, black spots or corrosion on fixings signal abnormal damp. A persistent odour when the wall is opened points the same way. The likely cause is often split between infiltration (roof, façade, joinery) and condensation (punctured vapour barrier, insufficient ventilation, cold thermal bridge).
Taking action: work recommendations, localised repair or partial removal
Before insulating further, treat the cause. Then adapt the intervention to the level of damage.
- Localised defect, dry insulation. Localised repair and additional insulation, then airtightness.
- Damp insulation in one area. Opening up, drying, targeted replacement, ventilation check.
- Extensive damp. Partial removal, redoing the vapour barrier, fixing water leaks.
Endoscope and best practice in 2026: evidence, client relationship and compliance
Justifying your recommendations: dated photos and a clear inspection report
In 2026, the endoscope isn't just a curiosity tool. It's evidence. Take time-stamped photos, with a simple marker (room, orientation, height, drill point). Keep the originals and attach a short report to the quote. What you saw, what you couldn't see, and what that means for the work.
Coordinating with the retrofit assessment and certification requirements: documenting without overpromising
If a retrofit assessment is carried out, your images become useful traces for explaining the existing conditions. But they don't replace measurements, or the ventilation and damp study. On the compliance side, document the assumptions made and the points to confirm once the wall is opened. Only announce an expected performance level if it is calculated and justified.
Avoiding disputes: precautionary rules, limits of the inspection and validation before work
Remind the client of the limits of an endoscope inspection. Partial view, inaccessible areas, inability to qualify certain issues. Get written agreement before drilling. Have the client validate the findings and reservations before starting the work. If in doubt (asbestos, mould, structure), refer to an appropriate diagnostic.