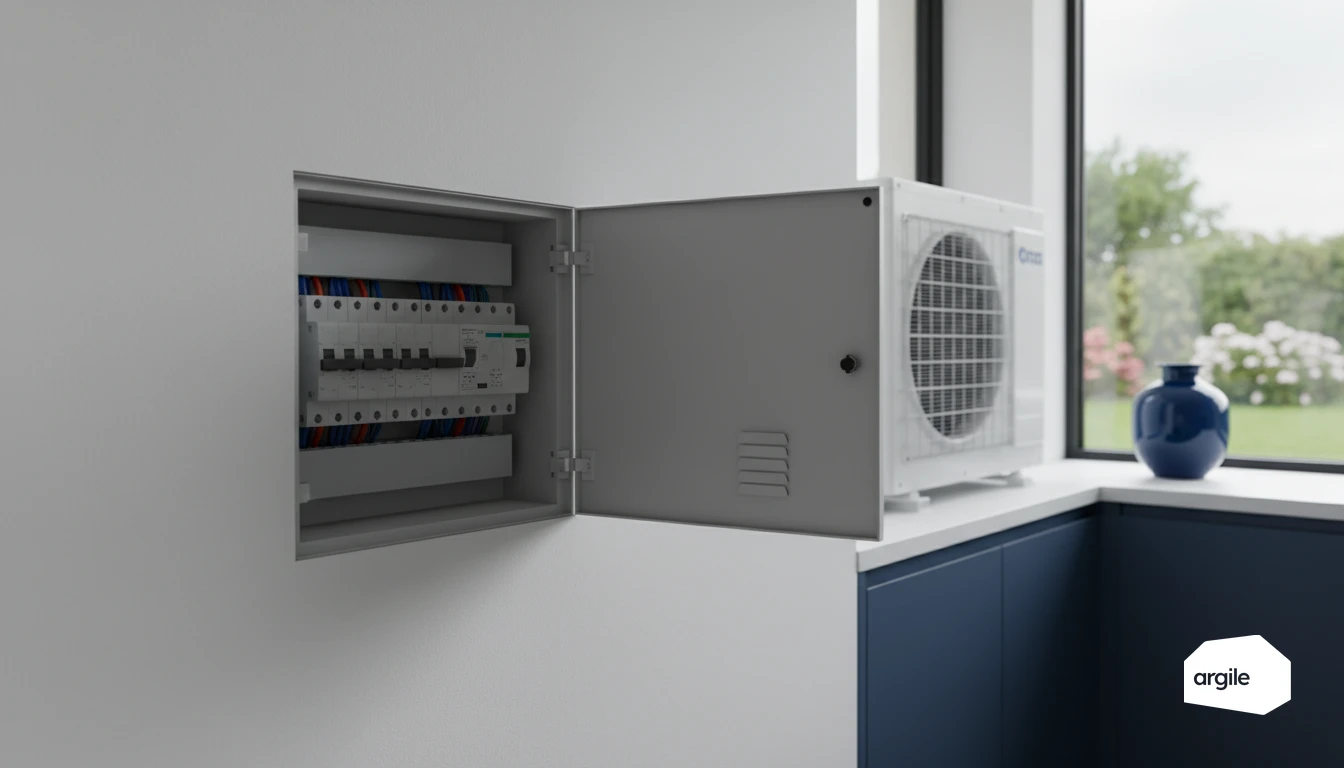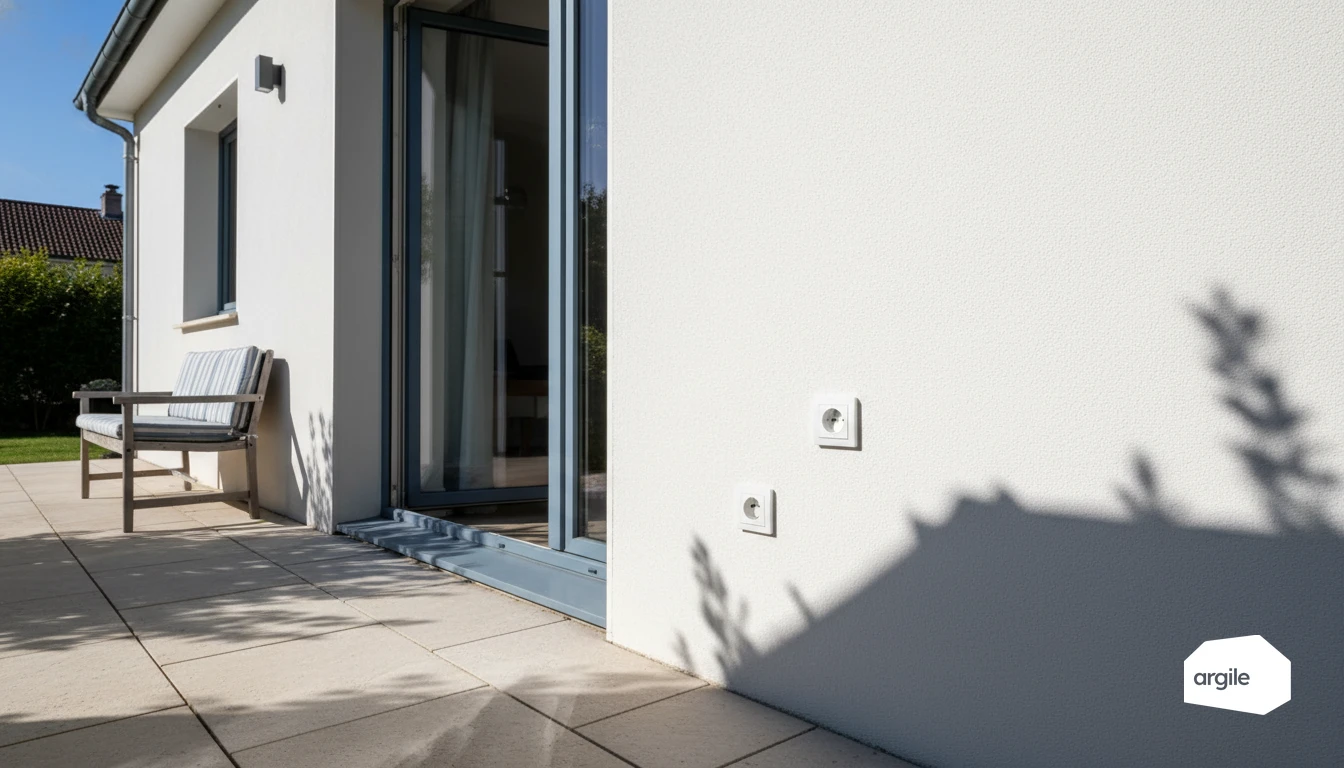
A recessed socket is a puncture through the vapour barrier: a standard back box lets 0.5 to 2 m³/h through, where an airtight back box stays under 0.1 m³/h. A dwelling holds fifteen to thirty of them, so the item runs to tens of m³/h at the air pressure test, to be set against the permeability target agreed for the job. Making the vapour barrier good at the box, with a collar and a duct grommet, is done before the plasterboard goes up and never after.
Understanding airtightness around electrical outlets
Why electrical outlets are weak points for airtightness
A socket is a hole in your wall. Between the back box, the ducts, and the penetrations, air easily finds a way through if the membrane or vapour barrier isn't properly connected. Behind it, the service void can communicate with the insulation, or even with the outside. The result is that small leaks multiply, especially where there are many fittings.
What airtightness changes for comfort and consumption
Good airtightness around sockets reduces draughts and cold walls. The heating system works less to compensate for incoming air, and the temperature stays more stable. It's also a gain for durability. Less humid air passing through the insulation means less risk of hidden condensation and related damage.
Common on-site mistakes that ruin airtightness
Aim for airtight back boxes, carefully finished penetrations, and check before closing up, ideally with a blower door test.
Choosing the right airtight back box for your situation
Boxes for stud walls: airtightness behind plasterboard
On a stud-framed lining, choose a special stud-wall back box with a collar and a flexible membrane on the insulation side. It fixes onto the frame and limits air leaks around the ducts. Take care cutting the plasterboard, then finish with an acrylic seal around the perimeter to maintain airtightness.
Boxes for masonry: airtightness in older and new construction
In masonry, favour a box-to-seal type, on the deeper side, with sealable duct entries. In older buildings, fill in the voids and chases before installation, otherwise air circulates behind the socket. In new build, coordinate with the interior render or the membrane installed by the insulation trade.
Selection criteria: membrane, seals, volume, compatibility with electrical fittings
A suitable model avoids puncturing the membrane and secures fitting compatibility.
| Criterion | What you check |
|---|---|
| Usable volume | Depth of 40 to 67 mm depending on the wiring |
| Seals | How well they hold over time |
| Duct entries | They close off properly |
| Fittings | Compatibility with your sockets |
On-site installation: key steps for clean, lasting airtightness
Preparing the substrate: vapour barrier, vapour retarder, insulation, markers
Before closing up a lining, start from a dry, dust-free substrate. Fit the vapour barrier or vapour retarder on the warm side, without tension, with regular overlaps. Take care with the joints using a compatible tape and plan your useful markers before any cutting. The insulation must stay continuous, with no gaps or crushing, otherwise airtightness quickly loses effectiveness.
Ensuring airtightness at duct entries and cable penetrations
Every penetration is a sensitive point. Use dedicated sleeves, grommets, or cable glands sized to the diameter, then glue or seal onto a clean substrate. The right reflex is a suitable sleeve rather than improvising with tape. Check that the membrane stays properly pressed around the ducts, with no open folds.
Finishing: perimeter seal, tightening, cover plate and visual check
Finish with a continuous perimeter seal and even tightening, especially around the boxes. Fit a cover plate that compresses without tearing. Do a visual check room by room, then fix any lifting, poorly sealed corner, or micro-crack. Lasting airtightness often comes down to a well-done final pass.
Special cases: renovation, wet rooms and insulated walls
Energy retrofit: treating airtightness without demolishing everything
In renovation, the hardest part is often improving airtightness where everything is already finished. To limit the damage, target the accessible weak points. Sockets and switches on the façade, hatches, duct penetrations. An airtight electrical back box, a perimeter seal, or a suitable sealant can reduce air ingress without removing the whole lining. That work prices up as second-fix, best added to the quote from an electrical works library rather than left to fall between two trades.
Kitchen, bathroom, utility room: airtightness and moisture constraints
In wet rooms, you manage water and vapour at the same time. Around showers and baths, favour protection under the tiling and corner strips. On the ventilation side, effective extraction stops moisture getting trapped behind the walls. Here, good ventilation is often worth as much as a sealing product.
External wall insulation, insulated lining, loft conversions: airtightness continuity around sockets
With external wall insulation, an insulated lining, or a converted loft, continuity matters. As soon as a socket passes through a vapour barrier or a membrane, treat the surrounding area. Use sleeves, compatible back boxes, and sealing tape. The goal: no "air hole" that short-circuits the insulation and degrades comfort.
Checking airtightness and securing your jobs in 2026
Blower door test: spotting air leaks at socket locations
A blower door test highlights airtightness defects. Sockets and back boxes are often weak points. Use a thermal camera or a smoke pencil while the building is under negative pressure. You quickly locate the draughts. Treat with airtight back boxes, connected membranes, sleeves, and suitable sealant.
Handover checklist: what to check before delivery
Before handing over the keys, do a simple, traceable check.
- Continuity of membranes and vapour barriers.
- Tapes well smoothed down.
- Duct penetrations sealed.
- Hatches and roller shutter boxes sealed.
- Ventilation, condensate, access to safety devices.
One last pass before delivery avoids callbacks and disputes.
Traceability and good practice for your files (quality, certification, funding)
To secure quality, your certification, and the funding, keep a complete file. Dated photos of the airtightness details, technical datasheets, air permeability test report if carried out, plans, instructions, and invoices with product references. One missing document can block payment. Centralise everything, job by job. Need a practical reference? See avoiding rejected applications.