Check renovation feasibility: available height and drainage
Measure the actual build-up: layer thicknesses (existing floor, screed, tile) and door thresholds
For a walk-in shower, start from the structural substrate and work up to finished floor level. Add each layer. Also check door thresholds and the floor levels of adjacent rooms, otherwise you create a step.
| Layer | Reference thickness (mm) |
|---|---|
| Tile + adhesive | 12-18 |
| Tile-bonded waterproofing system | 2-6 |
| Levelling screed | 30-60 |
Assess the drainage: location, possible fall, diameter, flow rate (waste trap or channel drain)
Locate the stack and the run length. If there is no room for a regular fall, a pumped solution exists, but it adds a maintenance point. Check the flow rate in the waste trap datasheet.
| Configuration | Target fall (mm/m) | Recommended diameter (mm) | Flow to be discharged (L/min) |
|---|---|---|---|
| Waste trap | 10-20 | 40-50 | 12-20 |
| Channel drain | 10-20 | 50 | 15-30 |
Identify the substrate and its constraints: concrete slab, timber floor, existing shower/bath
On a concrete slab, the build-up is often handled by recessing into the structure. Check the reinforcement, services, and any underfloor heating before cutting anything. On a timber floor, check rigidity, access from below, and waterproofing continuity around the wet area — this is the main risk in renovation.
Choose the right walk-in shower solution for the job
Extra-flat shower tray: recessed, semi-recessed or surface-mounted (and what that changes in height)
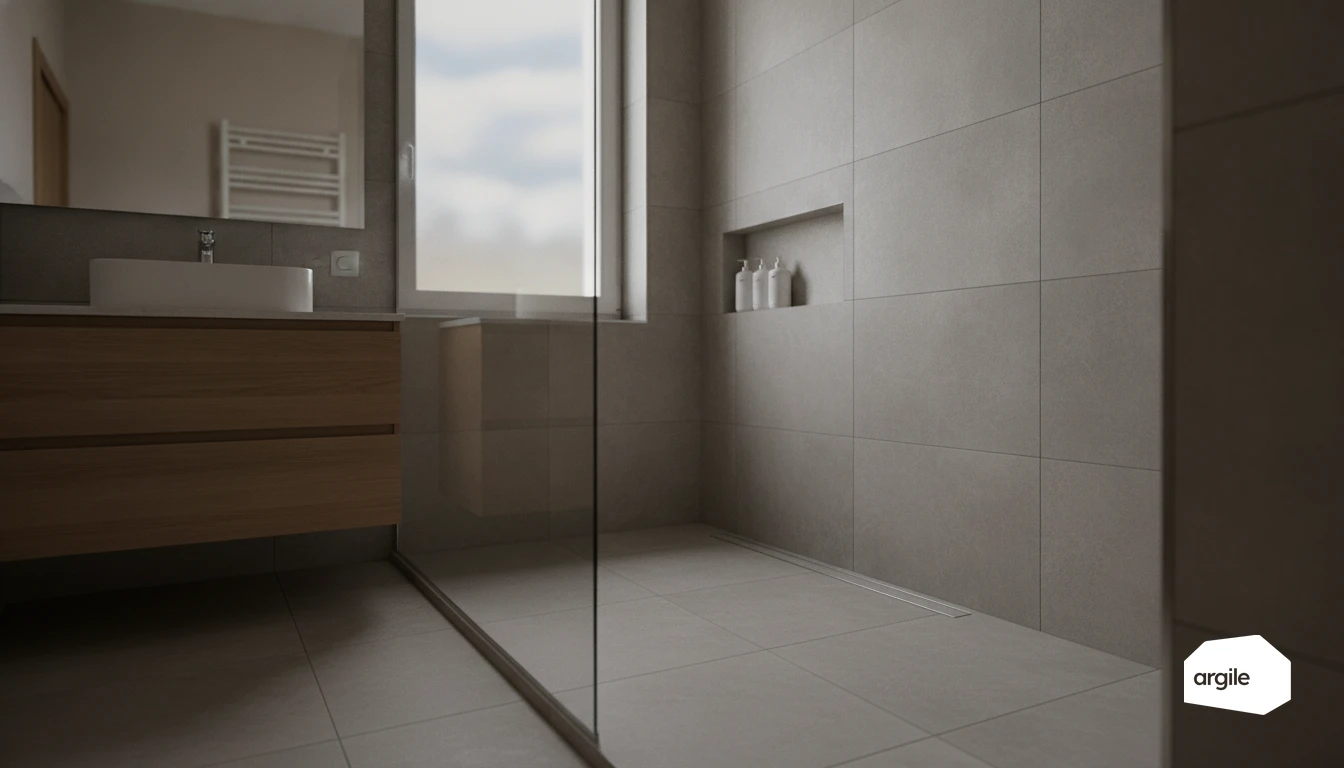
In renovation, everything comes down to finished height and drain location. Recessed, the tray sits lowest, but you need space for the waste and the fall, sometimes by modifying the slab or floor deck. Semi-recessed limits heavy structural work while reducing the step. Surface-mounted is the simplest and fastest option, but a threshold is often unavoidable.
Built shower floor: when it makes sense and the watch-outs (weight, lead times, cracking)
A built walk-in shower is the right choice if you want a bespoke shape or continuous tiling. The trade-off is weight (especially on timber floors), drying times, and the risk of cracking if the substrate moves. The non-negotiable point remains waterproofing under the tiles, using a system suitable for wet rooms.
Build-up solutions: controlled raised platform, lift pump (last resort), access and safety
If the recess is insufficient, a controlled raised platform can still be comfortable with a small threshold, a ramp, and a slip-resistant floor. A lift pump should be kept as a last resort when gravity drainage is impossible, because it means noise, maintenance, and access to after-sales service. Think safety: handholds, manoeuvring space, and a hazard-free daily entry.
Create an effective fall: drainage, comfort and maintenance
Define the fall and direction: regular slope toward a waste trap or channel drain, with no low spots
In a walk-in shower, aim for a 1.5 to 2% fall toward the waste trap or channel drain. A single, regular slope prevents puddles. Mark the drainage direction with a laser and keep the high point on the entry side for comfort.
| Jobsite reference | Slope (%) | Equivalent (mm/m) |
|---|---|---|
| Common target | 2 | 20 |
| Conservative minimum | 1.5 | 15 |
| To avoid for comfort | 3 | 30 |
Form the fall: self-levelling compound, mortar, tile-ready substrates
Depending on the available height, form the slope with a sloping mortar bed, a levelling compound suitable for wet rooms, or pre-sloped tile-backer panels. Pay close attention to wall-to-floor junctions and the waste trap recess. The substrate must remain stable and flat before waterproofing.
Check before tiling: runoff tests, level, alignment and tolerances
Before tiling, carry out a runoff test with 5 to 10 L of water. Check slope continuity with a level, the alignment of the channel drain, and the absence of backfall at joints. Correct any low point, otherwise maintenance becomes harder and the risk of a claim increases.
Secure tiled waterproofing in a walk-in shower: systems and rules to follow
Choose the right system: waterproofing membrane kit, sealing mat, tapes and compatible accessories
In renovation, a walk-in shower requires continuous waterproofing before tiling. Depending on the substrate and configuration, you can use a tiled waterproofing system or a sealing membrane kit, or a waterproofing mat. Stick to a complete system, with corner tapes, pipe collars, channel drain accessories, and manufacturer-approved compatible adhesives.
Follow the installation rules: corners, upstands, floor/wall junctions, pipe penetrations
Claims almost always come from critical details. Treat the corners and floor/wall junction first, then make the specified upstands and overlaps. Handle pipe penetrations with suitable collars and avoid last-minute cut-outs. Allow drying between coats, with no shortcuts.
Meet compliance requirements: NF DTU 52.2 + Technical Assessments/CPT for the systems, and a watertightness test before laying the finish
Base your work on NF DTU 52.2 for bonded tile installation, then follow the system manufacturer’s technical documents (Technical Assessment, DTA, CPT). Before bonding the finish, perform a watertightness test and check for any leaks at the waste trap or channel drain.
Reduce the risk of claims and add value to home adaptation in 2026
Anti-leak control points: channel drain/waste trap treatment, threshold, splash zones, trap seal
Before closing up, treat water like a stubborn guest. Check the continuity of the tiled waterproofing system (waterproof membrane or a solution covered by a Technical Assessment). Take care with the channel drain or waste trap connection to the membrane, the corners and penetrations. Check the threshold and splash zones. Verify the water seal in the trap and that siphonage cannot occur.
Traceability and handover: photos of key stages, product sheets, test report, any reservations
Keep simple evidence. Photos of key stages, product references and datasheets, and a test report for the flood test before tiling. At handover, note any reservations, even minor ones. A clear file protects the company and reassures the client.
Walk-in shower and home adaptation: accessibility, level-access shower, and possible aid in 2026 (subject to conditions)
A level-access walk-in shower improves access and reduces thresholds, provided you control waterproofing and drainage in renovation. On the aid side, MaPrimeAdapt' (Anah) may fund adaptation works depending on age, disability and income. Some local grants or pension funds may also help, depending on the area.