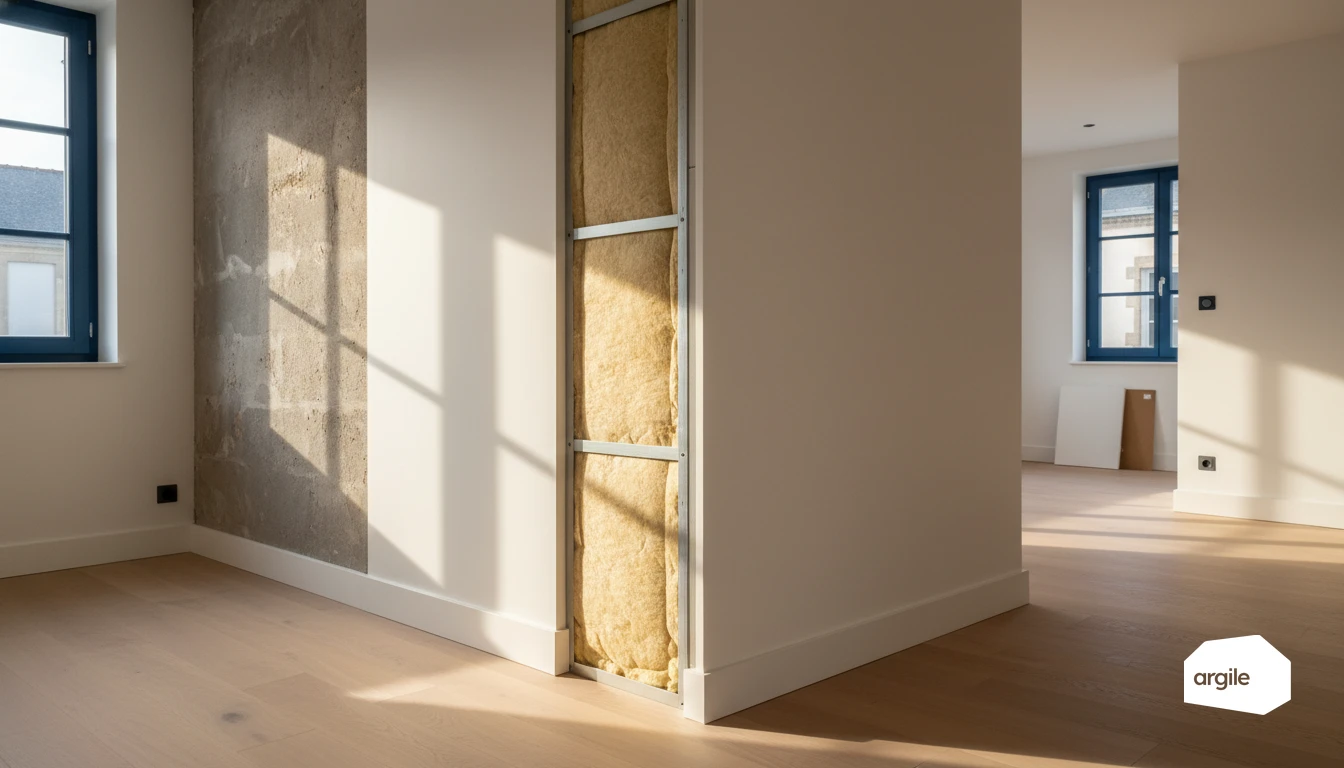
A stud-framed lining (contre-cloison in French) is a plasterboard face screwed to a metal frame erected in front of the wall, fixed to it by point brackets or standing fully independent, the insulation sitting behind or inside the frame; in France its installation falls under NF DTU 25.41. A bonded composite is an insulation board factory-laminated to a plasterboard face and stuck straight onto the masonry with adhesive dabs (NF DTU 25.42). The choice is settled by the substrate, not by price: as soon as the wall is more than 10 mm out of plumb, friable, showing damp, or carrying services to be re-run, the stud frame is the only workable answer, because its flatness does not depend on the wall's. Both reach the 0.30 W/m²·K internal-wall retrofit value of Approved Document L, but not in the same depth: allow 120 to 200 mm overall for a stud-framed lining against 105 to 135 mm for a bonded composite, and decide room by room what you can give away.
Stud-framed lining: definition, framing systems and DTU 25.41
A stud-framed lining does not divide two rooms: it lines an existing wall (external wall, unheated space, party wall). NF DTU 25.41 recognises two families; the bonded lining falls under NF DTU 25.42.
| System | Frame | Connection to the wall | Typical overall depth | When to choose it |
|---|---|---|---|---|
| Lining on furring channels | metal furring channels (about 45 × 18 mm) clipped onto intermediate brackets, top and bottom tracks | brackets plugged into the wall, adjustable in depth | insulation + 30 to 40 mm | sound but out-of-plumb wall, everyday refurbishment |
| Free-standing (independent) lining | floor and ceiling tracks, 48, 70 or 90 mm studs | none, the frame stands on its own between floor and ceiling | 48 to 90 mm of frame + board, plus any insulation left behind | degraded wall, treated damp, party wall to isolate from noise |
| Bonded lining (insulated composite) | none | adhesive dabs over the whole surface | insulation + board, 105 to 135 mm | flat, dry, cohesive wall with no services to conceal |
On furring channels, the brackets pass through the insulation and carry a little cold and noise. Free-standing, the allowable height is read from the manufacturer's table for the stud and centres chosen: beyond it, move up a stud size rather than adding brackets to the wall, which would bring the noise back.
Identifying the right wall lining for your interior job
Masonry wall: correcting plumb and managing moisture before internal insulation
On a breeze-block or brick wall, start by checking for plumb. A stud-framed lining with adjustable feet makes it easier to correct and leaves room for services to pass through. Before closing it up, treat the cause of any damp (infiltration, rising damp). A damp wall makes the insulation less effective and weakens the finishes.
Old wall: preserving breathability and limiting condensation risk
With an old wall, the priority is letting vapour exchange happen without trapping water. Lean toward hygro-regulating solutions and avoid overly airtight composite panels if the substrate is uneven or damp. A suitable, well-continuous vapour-control membrane limits condensation inside the wall. To go further on this type of substrate, see also insulating stone walls.
Party wall: acoustic gain, available thicknesses and constraints in an occupied home
For a party wall, the main issue is acoustics. A decoupled stud-framed partition, with mineral wool and a dedicated board, improves comfort without eating up too much floor area. In an occupied home, favour clean, quick systems, and pay close attention to the weak points (sockets, junctions, returns).
Understanding the difference between an insulated composite panel and a stud-framed partition on a wall
Bonded insulated composite panel: principle, compatible substrates and flatness limits
A bonded insulated composite panel is an insulation board already bonded to a plasterboard sheet, fixed directly to the wall with an adhesive mortar. It's suited to substrates that are sound, dry and reasonably flat, like brick, breeze block or concrete. As soon as the wall has noticeable bumps or hollows, bonding doesn't compensate well for the defects. The risk is uneven contact, and therefore less well-insulated areas.
Stud-framed partition: adjustability, routing services and adapting to uneven walls
A stud-framed partition (tracks and studs) is easy to adjust for plumb. You can fit the insulation inside the frame and keep a service void for ducts, boxes and water supply pipes, the electrical and plumbing rework that follows being priced from a second-fix works library. On an old or wavy wall, this is often the more forgiving solution, provided you take care with airtightness and the tricky junctions.
Practical comparison: total thickness, install time, cost and performance for an interior wall
The bonded board is thinner and faster on a regular wall, the stud frame more forgiving of defects and services; with equivalent insulation, performance is similar. The table below puts figures on the build-ups you actually meet, all set at R = 3.7 m²·K/W.
| Lining system | Overall depth | Substrate deviation tolerated | Services concealable | Indicative installed price |
|---|---|---|---|---|
| Bonded EPS composite plus board | 120 + 13 mm | 10 mm under a 2 m straightedge | no, chases cut into the masonry | £35 to £50/m² |
| Bonded PUR/PIR composite plus board | 90 + 13 mm | 10 mm under a 2 m straightedge | no, chases cut into the masonry | £45 to £65/m² |
| Stud frame, 50 mm track, 45 mm plus 100 mm wool | around 165 mm | any deviation taken up by the brackets | yes, service void behind the board | £45 to £65/m² |
| Stud frame, 70 mm track, 140 mm wool | around 185 mm | any deviation taken up by the brackets | yes, generous service void | £50 to £75/m² |
| Independent stud lining on a party wall | 100 to 130 mm | irrelevant, the frame stands free | yes | £45 to £70/m² |
Stud centres are 600 mm in normal work and close up to 400 mm under heavy board or at height. The services column is what usually decides: on a wall carrying power, a water feed or a flue, the bonded composite forces you to chase the masonry, which adds a day and a trade, and tips the apparent saving of bonding the wrong way.
Depth, thermal resistance and floor area lost
How much insulation for R = 3.7 m²·K/W?
Thickness follows from the lambda value: d = R × λ. Here is what common insulants need, with a 13 mm board included in the overall depth.
| Insulation | Lambda (W/(m·K)) | Insulation for R = 3.7 | Overall, stud-framed | Overall, bonded |
|---|---|---|---|---|
| High-performance glass wool | 0.032 | 120 mm | 150 to 170 mm | not sold as a composite |
| Standard mineral wool | 0.035 | 130 mm | 160 to 180 mm | not sold as a composite |
| Graphite EPS | 0.031 | 115 mm | not applicable | around 130 mm |
| PIR / PUR | 0.022 | 82 mm | 115 to 130 mm | 95 to 105 mm |
| Flexible wood fibre | 0.038 | 140 mm | 175 to 200 mm | not sold as a composite |
These lambdas are typical: only the declared value of the product installed counts on the quote. The composites on the market are covered in our article on insulated plasterboard internal wall insulation.
How much floor area do you lose by lining a wall from the inside?
Overall depth × length of wall lined: each centimetre takes 0.01 m² off every linear metre. In a 4 × 3.5 m bedroom with two external walls (7.5 linear metres), a 165 mm stud lining takes 1.24 m², a 103 mm PIR board 0.77 m². Over 40 m of façade lined at 16 cm, the house loses 6.4 m² of habitable floor area: say so on the quote. These wall lengths are taken room by room during the visit with wall length survey software, which gives the floor area lost before you even leave the home.
Choosing the right insulation for internal wall lining
Mineral wool, bio-based, rigid boards: which insulation for which type of wall?
On an uneven masonry wall, a stud frame with mineral wool compensates for the defects and brings good acoustic comfort. On a wall that's already flat, or when every centimetre counts, rigid boards (PUR, PIR, high-density wood fibre) limit the thickness. On an old wall sensitive to moisture, bio-based insulation (wood fibre, hemp) helps manage variations, provided the wall can still dry out.
Vapour barrier, vapour-control layer, airtightness: securing wall insulation on the inside face
On the interior side, the rule is simple. Control water vapour and air. Fit a vapour-control layer suited to the composite build-up, keep it continuous at the junctions, then treat every penetration (sockets, ducts) with tapes and sleeves. Careful airtightness prevents condensation inside the insulation.
Treating thermal bridges: wall/floor, wall/ceiling junctions and window reveals
Thermal bridges hide at the junctions. Return the insulation at the base and top of the wall, with no break behind the tracks. At window reveals, use thin, continuous solutions, and connect the airtightness layer to the frames. Upstairs, the cold strip at the slab edge is dealt with before the boards go up (see internal insulation and the intermediate floor thermal bridge). To better quantify them and understand their impact, see our article on the linear thermal transmittance coefficient.
Installing a stud-framed lining step by step
Installation order for a lining on furring channels, the everyday case in refurbishment (free-standing, studs replace the brackets and channels):
- Laser-mark the finished face on floor and ceiling, from the most proud point of the wall.
- Fix the top and bottom tracks, on a resilient strip if the wall is a party wall.
- Plug the brackets at the channel centres (600 mm usual), vertical spacing per the manufacturer.
- Push the insulation over the brackets, joints tight, right up to the floor above.
- Clip on the channels and line them up with a 2 m straightedge.
- Fit the vapour-control layer on the room side, laps taped and sealed to floor, ceiling and frames.
- Run cables and airtight boxes in the service void between membrane and board.
- Screw the boards, then tape and joint.
Running services: the order that keeps the vapour control intact
Never run a cable between the wall and the membrane: the channel or a second layer of framing leaves a 20 to 40 mm void on the room side where services run without touching the vapour-control layer. Only the boxes pass through it (see airtight electrical sockets). With a bonded board there is no void: services go in chases before bonding.
Getting the wall lining installation right: checkpoints on site
Preparing the substrate: dust, salts, cracks and checking the wall's moisture level
Before installing a lining, check that the wall is stable and clean. Vacuum the dust, scrape off salts (efflorescence) and fill in any active cracks. Check the moisture level, especially at the base of the wall, with a moisture meter or a simple test. If the substrate is damp, treat the cause (rising damp, a leak, ventilation) and let it dry. A sound wall avoids delamination and mould.
Fixings and layout: adhesives, tracks, furring channels, spacing and insulation continuity
Choose the intended system. For a bonded lining, use an adhesive or bonding mortar compatible with the substrate, applied in regular dabs. On a stud frame, install tracks and furring channels plumb, with spacing to the manufacturer's instructions, often 60 cm. Take care with the layout around joinery and services. Ensure thermal continuity at the floor, ceiling and partition-wall junctions, and around the boxes.
Finishes and durability: boards, renders, joints, and protection in wet areas
Install boards suited to the use, standard or moisture-resistant. Treat joints and corners with tape and filler, then respect the drying times before painting. In wet rooms, protect the board with a waterproofing system under the tiling in exposed areas, and plan for effective ventilation. Wet areas don't forgive late fixes.
Price of a stud-framed lining and a bonded lining per m²
Market orders of magnitude, supply and fit, excluding VAT, varying by region and number of junctions:
| Item | Installed order of magnitude | What makes it vary |
|---|---|---|
| Frame and board only, no insulation | £25 to £40/m² | board type (standard, moisture-resistant, acoustic), height |
| Mineral wool stud lining, R ≥ 3.7 | £45 to £75/m² | bracketed or free-standing frame, insulation thickness |
| Bonded EPS or PIR board | £35 to £65/m² | insulation, flatness of the substrate |
| Hygro-variable vapour control and tapes | £5 to £10/m² | number of penetrations |
| Window reveals and returns | per linear metre, priced separately | reveal depth, thin insulation |
The gap is rarely in the price per square metre but around it: chases and making good with a bonded board, out-of-plumb walls taken up at no extra cost with a stud frame.
Financial support, requirements and useful documents in 2026 for internal wall insulation
Funding in 2026: what still applies to an internal wall lining
The internal wall insulation measure is governed by the scheme's specification and by PAS 2030 for the installation. The point that trips people up most often is performance. Aim for a compliant U-value, and keep the proof (BBA Agrément certificate or Declaration of Performance). The quote must clearly show the U-value achieved, the insulated area and the property's exposure.
Registration: supporting documents, technical data sheets, and traceability of materials installed on a wall
In 2026, the key is traceability. Keep technical data sheets, labels, product references, delivery notes and invoices. For each wall treated, note the thickness, the lambda value and any vapour-control layer used. A clean file means zero hesitation if there's an inspection.
Quotes and photos: details to include to limit callbacks and secure payment
Plan for photos before, during and after. Add a shot of the material markings and the tricky points (sockets, supports, junctions). On the quote and invoice, specify m² per room, R-value, thickness, brand, and the completion date. Those m² need not be counted twice: plasterer software takes them from the site survey, openings deducted, and works out the boards, tracks and studs along with the quote. This avoids requests for extra documentation and protects your payment.