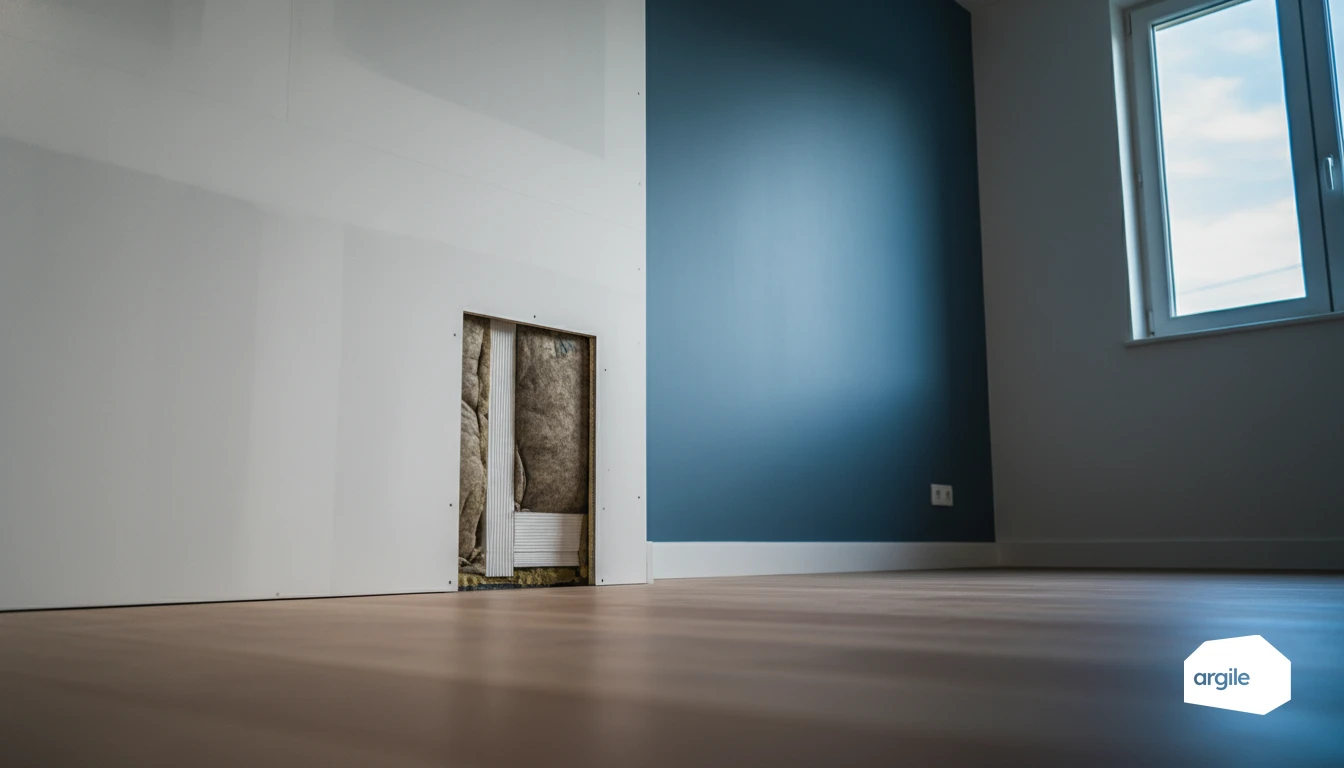
Internal wall insulation with a bonded lining fixes a plasterboard and insulation board straight onto the wall, with no framing, which assumes a sound, dry and reasonably flat substrate. The common build-up of 10 cm of insulation plus 1.3 cm of board reaches a thermal resistance of 2.5 to 4.0 m²·K/W for €40 to €70/m² installed, the framed variant staying preferable as soon as services have to run through or an irregular wall has to be made good. The R achieved is checked against the requirement of the scheme being claimed before any grant is announced, because a board chosen on the available thickness does not always reach it. Bonded lining is ruled out on a damp wall: damp diagnosis, ventilation and continuity of the airtightness layer are dealt with before installation, failing which condensation forms behind the lining.
Understanding plasterboard + insulation ITI: the principle and suitable cases
ITI: what the method covers, on a stud frame or bonded composite panel
ITI consists of fitting insulation on the interior side, then a plasterboard facing. Two setups dominate. On a metal stud frame (tracks and studs), the insulation sits between the studs, leaving a convenient service void for cables. With a bonded composite panel, you fix a board-plus-insulation lining directly onto a sound, reasonably flat substrate. The choice between a bonded composite and a stud-framed lining mainly depends on the condition of the wall, the cables to route, and the target thickness.
When to favour internal insulation (occupied renovation, listed façade, urban constraints)
It's the go-to option when the exterior can't be touched. On an occupied job site, you can progress room by room without scaffolding. It's also a good option if the façade is stone, listed, or subject to strict condominium rules, or if the building's footprint and property boundaries rule out external insulation (ITE).
Limits to anticipate: loss of floor area, thermal bridges, moisture
Yes, you lose floor area, and it adds up fast. Thermal bridges at floor slabs, partition walls and window reveals require insulation returns and careful continuity. Finally, watch out for moisture. A diagnosis, effective ventilation and airtightness management prevent condensation behind the lining.
Choosing the right insulation behind the plasterboard: performance and site practice
Glass wool, mineral wool, plant fibres: strengths and watch-points
Glass wool and mineral (rock) wool remain safe bets for linings. Glass wool is light and economical, handy when you need to move fast. Mineral wool holds up better against fire and often provides better sound insulation, but it's denser and therefore a little less easy to handle. Plant-fibre insulation (hemp, wood fibre, cellulose in panel form) plays the comfort card, but installation needs to be careful to avoid gaps, especially in ITI.
Thickness and thermal resistance: aiming right for the climate zone and budget
On site, think in terms of thermal resistance (R) rather than centimetres. At equal performance, better conductivity can sometimes save a few millimetres, useful in small rooms. Adjust thickness according to the wall, the thermal bridges and the lining constraints, without over-sizing when the budget is tight. Once the thickness is settled, the lining is priced into the quote alongside the other plasterboard items, from a works library.
Summer comfort and acoustics: often decisive criteria in renovation
In renovation, the client also judges by feel. For summer comfort, aim for good heat capacity and continuous installation, because circulating air quickly cancels out the gain. On the noise side, density and decoupling (tracks, resilient supports, strips) matter as much as the insulation itself. A well-installed lining is like a well-wired lamp: the light stays steady.
Carrying out a clean, durable ITI: installation steps and the details that make the difference
Preparing the substrate and treating moisture before closing up with plasterboard
Before an ITI, start from a sound, dry wall. Fill cracks, remove dust, treat efflorescence. If there's active moisture, address the cause first (infiltration, rising damp, ventilation). Once the substrate is stable, plan for a vapour-barrier or vapour-variable membrane depending on the build-up, and take care over joints and overlaps.
Installing on a metal stud frame: alignment, spacing, continuity of the insulation
Chalk-line the tracks, check plumb, then set the frame without compressing the insulation. Keep spacing suited to the boards, often 600 mm, and ensure continuity of the insulation behind the studs and at furring channels. Avoid stray air gaps. Fit the boards with staggered joints. The number of boards, tracks and studs follows from the wall area net of openings, which Argile's plasterer software takes from the site survey along with the quote.
Managing critical points: window reveals, sockets, floor/ceiling junctions
Losses happen through the details. At window reveals, bring the insulation as close as possible and limit thermal bridges with a return. For sockets, use sealed electrical boxes and cable grommets, and re-tape the membrane. At floor and ceiling level, ensure continuous airtightness (sealant, tapes, sleeves) before finishing.
Airtightness and vapour barriers in ITI: avoiding condensation in 2026
Understanding the role of the vapour barrier and vapour-check membrane depending on the wall
In ITI, air passing through the insulation carries a lot of moisture. A vapour barrier limits water vapour diffusion. A vapour-check membrane, often vapour-variable, helps drying towards the interior if the wall has taken on moisture. On insulated walls, sloped ceilings and ceilings, look for a continuous membrane on the interior side, chosen according to the wall type and the insulation.
Joints and tapes: where things typically fail (and how to secure them)
Failures rarely happen mid-sheet. They happen at junctions. Prioritise window frames, floor-ceiling junctions, corners, and every cable or box penetration. Use compatible tapes, smooth them down firmly, and apply a primer on dusty substrates. Avoid ordinary building-site tape.
Checks and best practices: tests, site photos and traceability
Before closing up, do a full visual check and take sharp photos of the sensitive points. An airtightness (blower door) test, or a local smoke test, verifies continuity. Keep product data sheets, membrane and tape references, and dated photos. You're protecting both comfort and your grant applications.
Quality, compliance and grants: what plasterboard + insulation ITI means for your paperwork in 2026
Watch-points for staying within trade standards (DTU, technical approvals, manufacturer documents)
In ITI, quality depends on the whole system. Follow the DTU for plasterboard and the chosen lining method. Rely on the technical approval for the insulation composite, the vapour barrier, the tapes and the flatness tolerances. Pay attention to critical points (window frames, reveals, sockets, floor-ceiling junctions) to limit thermal bridges and condensation risks.
RGE and site evidence: what to record for audits and inspections
For inspections, keep dated photographic evidence. Show the installed thickness, product markings, vapour-barrier continuity and junction treatment. On the quote and invoice, list surface areas, thermal resistance R, exact product references, and the RGE mention for the correct trade category.
CEE and MaPrimeRénov': things to check in 2026 to avoid blocking an application
For CEE, the grant commitment must be made before the quote is signed. The sworn statement must match the applicable operation sheet and the declared characteristics. For MaPrimeRénov', check the 2026 thresholds (minimum R, single-measure or comprehensive pathway) and the consistency between the audit, the quote and the invoices. For more detail, see also the mandatory information that must appear on your documents.