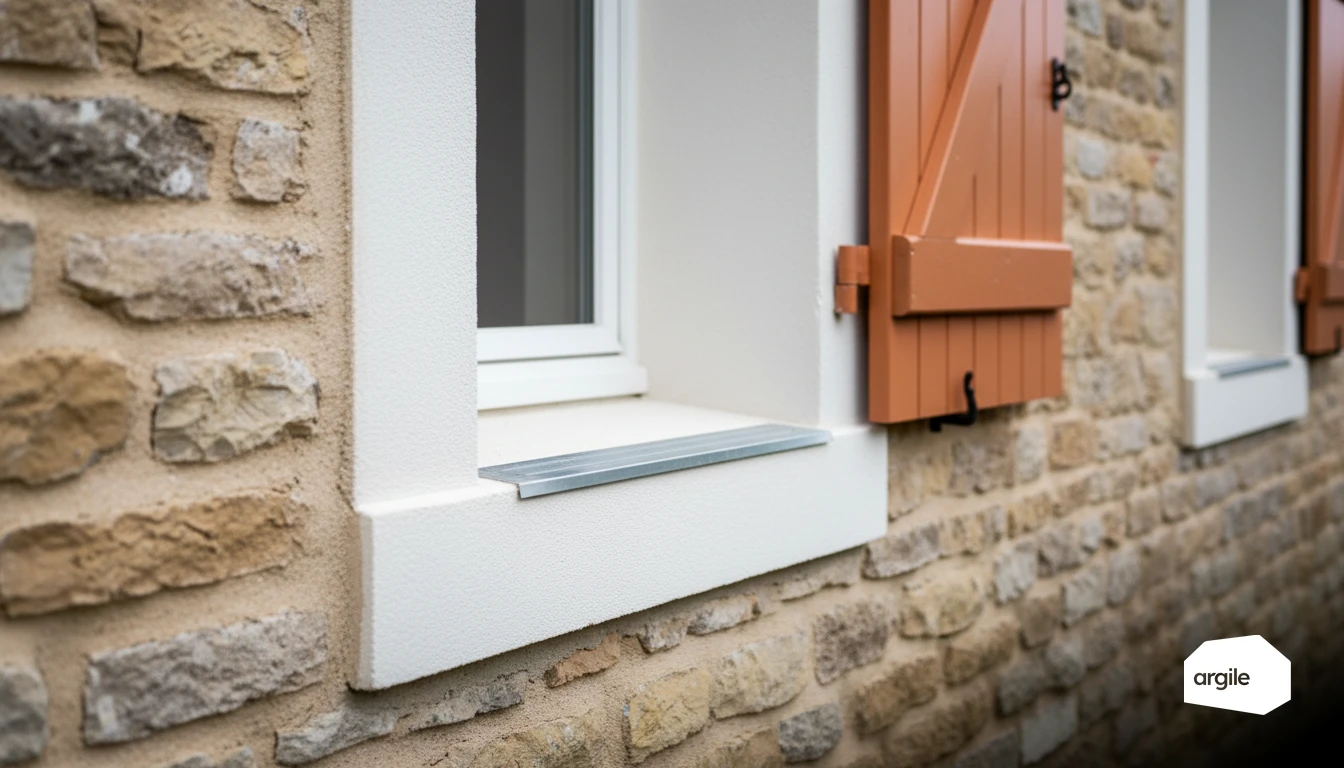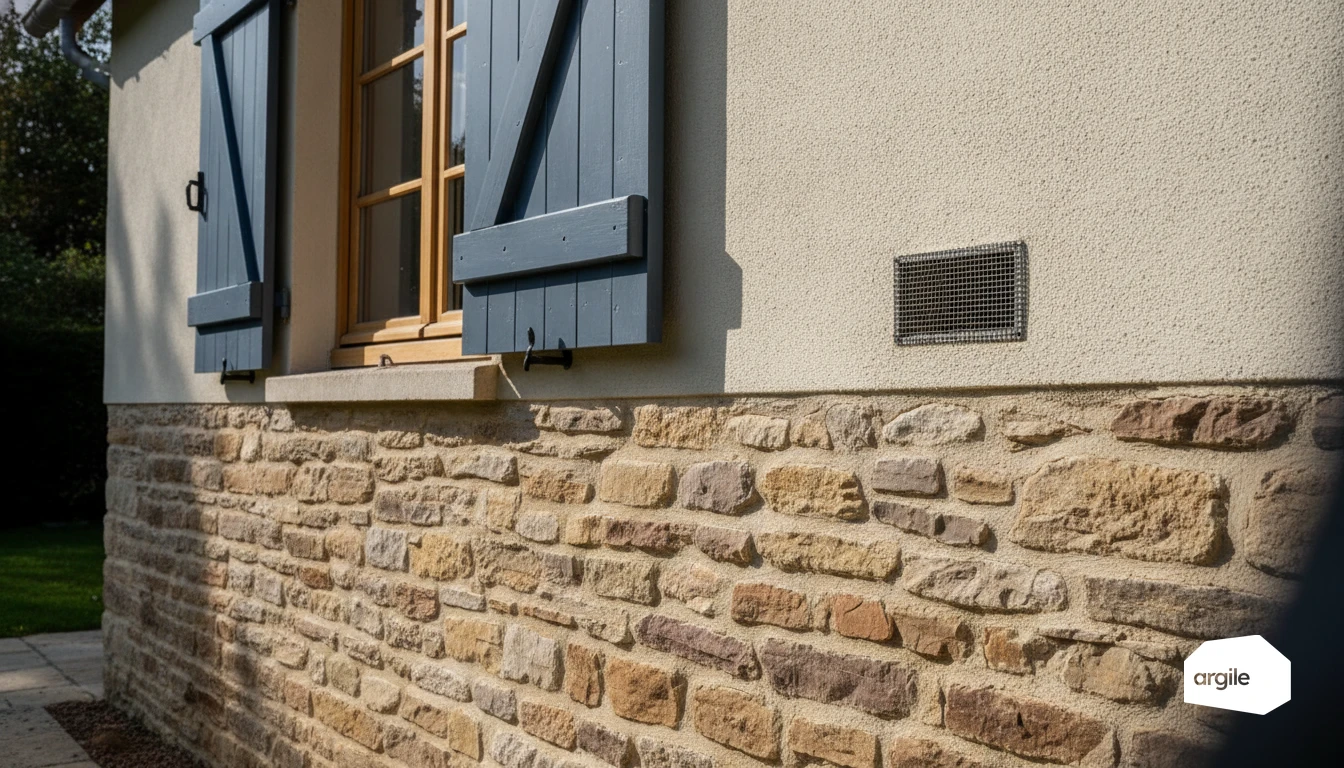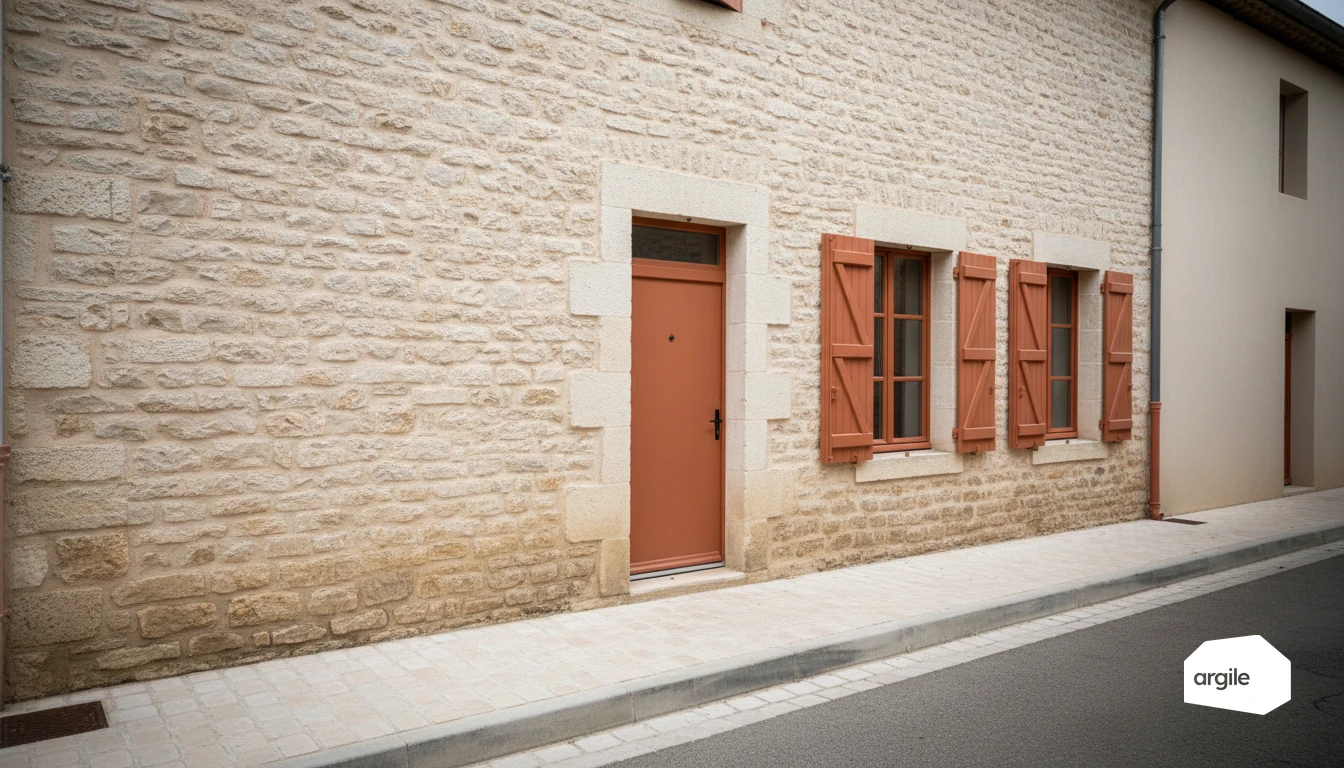
The linear transmission coefficient Ψ measures the loss at a thermal bridge per metre of junction, in W/(m·K), where a wall's U-value is counted per square metre. Losses are calculated by multiplying Ψ by the length of the junction and by the temperature difference. In a retrofit, a well-treated detail stays under 0.10 W/(m·K), above 0.50 the junction weighs heavily on the balance, and the common wall-floor or wall-roof junctions sit between 0.05 and 0.30.
Understanding coefficient Ψ: definition, unit and order of magnitude
What Ψ measures: heat loss at thermal bridges
Coefficient Ψ, also called linear transmittance, measures the heat that escapes at a thermal bridge, for example at a wall-floor, wall-roof junction, or around an opening. Unlike a wall's U-value, it describes a "linear" loss tied to a construction detail. You'll also see it spelled out in full, or under the keyword psi in calculation reports.
What unit for Ψ: W/(m·K) and how to read it on site
Ψ is expressed in W/(m·K). This means "watts lost per metre of junction, per 1°C of difference." On site, you'll mainly find it in the thermal study, the thermal-bridge report or system datasheets (thermal breaks, insulated reveals). The lower Ψ is, the better the detail is controlled.
Typical orders of magnitude: spotting an "at-risk" thermal bridge
In practice, Ψ values often range around 0.05 to 0.30 W/(m·K) depending on the junction and the quality of treatment. Above 0.30, the thermal bridge becomes worth watching, since it quickly weighs on heat loss and raises the risk of a cold wall. A good benchmark: if the detail repeats over dozens of metres, even a small Ψ matters.
Linear transmission: linking Ψ to the overall heat-loss calculation
Difference between U, Ψ and χ: don't mix up area-based, linear and point losses
U describes a wall "per m²" (W/m².K). Ψ, often noted psi, describes a thermal bridge "per metre" (W/m.K), typically at a junction. χ describes a "point" loss (W/K), for example a through-fixing. Mixing the three quickly distorts a heat-loss balance, especially on a well-insulated retrofit.
Practical formula: losses = Ψ × length × ΔT (and how to explain it to the client)
Day to day, remember a simple rule. Losses (W) = Ψ (W/m.K) × length (m) × ΔT (K). To explain it to the client, say that "every metre of junction" continuously leaks a small amount of power. The longer the junction, or the greater the temperature difference, the bigger the leak.
Where the lengths hide: wall/floor, wall/roof junctions, window and door reveals
The lengths to account for are found at wall/floor junctions (slab edge, cross-wall), wall/roof junctions (wall plate, parapet), and around window and door frames. Reveals, lintels and sills count, especially when the insulation is discontinuous. On the plan, measure the actual junctions, then treat them with continuous insulation, thermal breaks or insulation returns. To go further on this topic, see linear thermal bridges.
Where to find reliable Ψ values in 2026: documents, rules and points of attention
Default values vs. calculated values: when you can simplify (and when to avoid it)
In a retrofit, a default psi value can help for pre-costing or a quick scenario, if the assembly is standard and the installation well controlled. As soon as the detail changes (actual thickness, insulation return, thermal break, retrofit window), switch to a calculated value. Otherwise, the gap can become visible on the Bbio, Cep or energy label.
Sources to use: thermal-bridge catalogues, technical approvals, calculation reports
Rely on the Th-U rules and thermal-bridge catalogues (CSTB, system manufacturers). For a product, look for an ATec, DTA or ETA with the junction detail and its performance. If in doubt, ask for a calculation report compliant with ISO 10211 or ISO 14683, produced by recognised software.
Common mistakes: extra linings, thermal breaks, compressed insulation, untreated continuity
Reducing Ψ on site: design solutions and good installation practice
External insulation and continuity: the most robust method for lowering linear transmission
On site, the best way to bring down the psi value is to aim for continuous insulation. External insulation wraps the structure and limits breaks at slab edges, cross-wall ends and window reveals. Take care over the details: insulation returns at reveals, treatment of sills, and continuity up to the parapets. Every insulation break eventually shows up in kWh and discomfort.
Treating junctions: thermal breaks, insulation returns, jamb linings, airtightness
At floor-façade, balcony, cross-wall or window/door junctions, choose certified thermal breaks where they exist. Otherwise, plan sufficient insulation returns and suitable jamb linings to maintain continuity. On airtightness, align tapes, membranes and sealant on a single plan, without "gaps" between trades.
Quality checks: technical-visit checklist to avoid costly rework
- Record specific details and take photos before closing up.
- Check thicknesses, overlaps and fixings of the system.
- Inspect reveals, sills, boxes, and service penetrations.
- Local smoke test or blower-door test if possible, then close out any snags.
Saving time on thermal-bridge analysis with Argile (without complicating your quotes)
Fast energy assessment: spotting sensitive zones and prioritising which junctions to treat
In a few minutes, Argile helps you spot the junctions that really weigh on heat loss. Ground floor, slab edge, window reveal, wall-roof junction. You visualise the sensitive zones and prioritise what will make a difference, even before taking out the tape measure. Immediate gain, without drowning the client in technical detail.
Feasibility analysis: identifying technical constraints at the address (party walls, façades, roofs) to secure your choices
At the address, Argile cross-references public databases to reconstruct the property and avoid bad surprises. Party walls, façade access, roof type, height or co-ownership constraints. You quickly confirm what's feasible and secure your choices for treating thermal bridges, with a clear plan for the site visit.
Pre-costing and quotes: translating linear-transmission improvements into an understandable scenario, incentives included
Argile turns linear-transmission (psi) improvements into a readable scenario. You link the actions to the quote's line items and show their value without jargon. The pre-costing also folds in the funding for a simple, signable proposal.