The choice between internal and external wall insulation is not settled by the performance required. Approved Document L treats a wall being insulated as a renovated thermal element and asks for the same U-value whichever side the insulation goes on, and it does not let you count the existing lining towards it. The choice is settled by what each method costs you in junctions to detail, floor area taken off the dwelling and planning consent. At a lambda of 0.032 W/m·K that threshold means roughly 110 mm of insulation once the existing construction is accounted for, which is what makes internal insulation impossible in some rooms and external insulation impossible at a boundary.
Understanding ITI and ITE for insulating an existing wall
ITI: principle, internal lining and watch-points on thermal bridges
ITI consists of adding a lining on the interior side. You fit either a stud frame or a bonded composite, insulation, then a facing board. It's often simpler in occupied renovation, but you lose a bit of floor area. The key point is the thermal bridges at floor junctions, partition walls and window reveals. Good airtightness and water-vapour management prevent unpleasant surprises.
ITE: principle, continuous envelope and impact on façade appearance
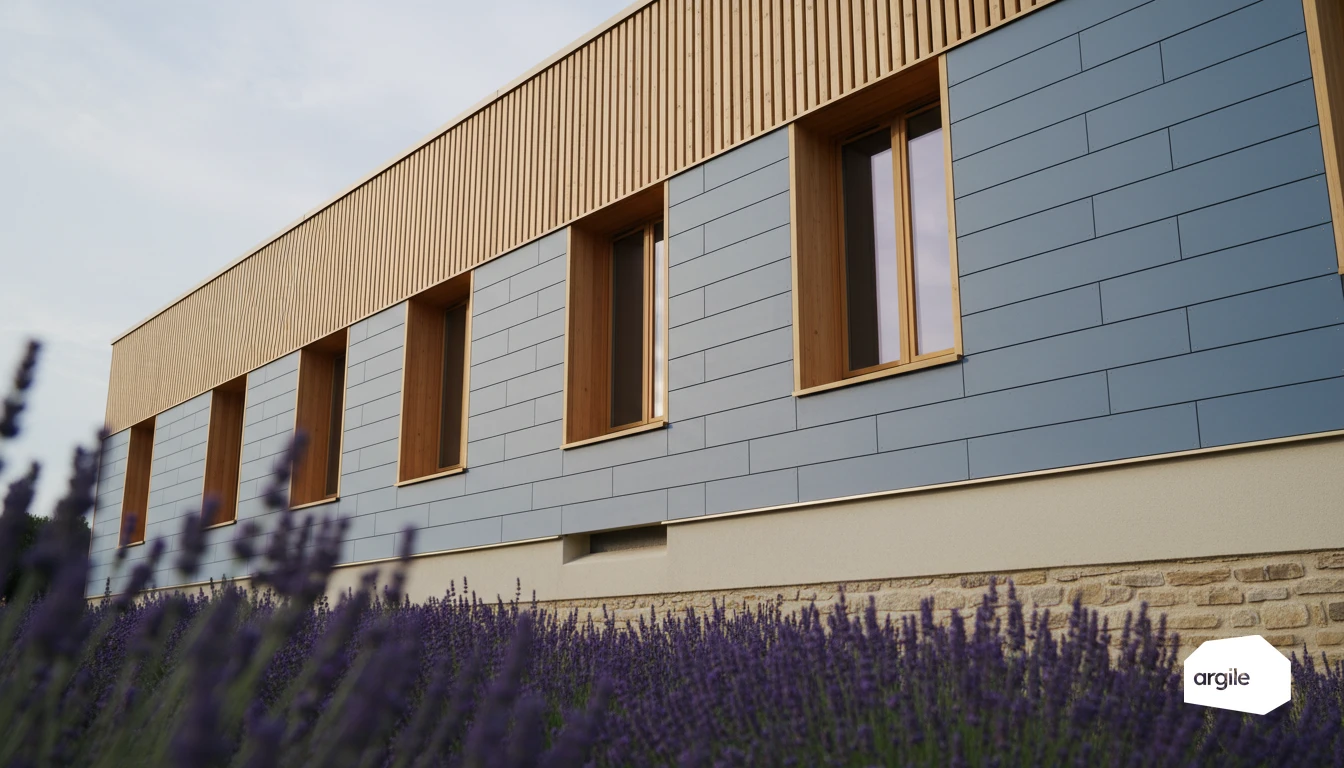
ITE places the insulation on the outside. The building is wrapped more continuously, which naturally limits heat loss at junctions. In exchange, the façade changes. Render or cladding, added thickness, rework of window sills, roof overhangs. Also consider the planning rules and authorisations before starting the job.
Which walls are involved in renovation: brick, concrete block, stone, timber-frame
Brick and concrete block lend themselves well to both techniques. With stone, watch moisture and favour breathable solutions. With timber-frame construction, the goal is to protect the wood and avoid airtightness defects. In all cases, the choice depends on the substrate, façade constraints, and the target performance level.
ITI vs ITE comparison: performance, comfort and pathologies to avoid
Insulation performance and thermal continuity: treating junctions (floors, partition walls, window reveals)
In ITI, the insulation is often interrupted at floors, partition walls and window reveals. As a result, thermal bridges can remain active if insulation returns and thermal breaks aren't planned. In ITE, continuity is easier to achieve, since the envelope stays "wrapped around" the building. In both cases, the stated performance depends on the details of the junctions and airtightness.
Moisture management: dew point, breathability and mould risks depending on the wall
ITI shifts the dew point towards the inside of the wall. Without a suitable vapour check, a sound substrate and controlled ventilation, the risk of mould increases, especially on cold or heterogeneous walls. ITE keeps the wall warmer, limits internal condensation, but requires finishes compatible with the breathability of the materials and careful management of rising damp. For more on this, see also managing rising damp.
Summer comfort and thermal mass: what changes with internal or external insulation
With ITE, the thermal mass of the walls stays on the interior side. It helps smooth out heat peaks and improves summer comfort. With ITI, part of that thermal mass is "insulated" from the room, which can speed up the temperature rise if solar shading, night-time ventilation and heat-gain management don't keep pace.
The job: constraints, overall cost and duration of the work depending on the insulation type
Footprint and living area: losses with ITI, practical gains with ITE
With internal insulation (ITI), you lose a few centimetres on every wall. This lost floor area shows up quickly in small rooms. You also need to manage sockets, radiators, cables, and take care over window reveals. With external insulation (ITE), the interior stays untouched and thermal bridges are easier to treat, but the façade changes.
Access, scaffolding and neighbourhood constraints: planning ahead for ITE in urban areas
ITE requires a clear façade and continuous access. In town, plan for scaffolding or a lift platform, authorisation to occupy public space, pedestrian protection, and sometimes the agreement of the condominium or neighbour. Weather and working hours can extend the duration, especially with render.
Price ranges and the items that add up: insulation, finishes, window frames, sills and protections
Budgets vary depending on the substrate and finish. As a rough order of magnitude, ITI is often more affordable per m² than ITE, which includes a significant finishes item. In terms of duration, ITI is often done room by room, while ITE occupies the façade for several days to a few weeks. On the external side, Argile prices the façade to the square metre, openings deducted and finishes included.
- Insulation, framing, membranes, fixings.
- Finishes, render or cladding, corner rework.
- Window frames, sills, shutters, protections, rainwater drainage.
Regulations, grants and 2026 requirements: what to check before deciding
RGE and trade standards: documents to prepare (quote, technical data sheets, thermal resistances) in 2026
Before starting insulation work, check for a valid RGE certificate for the relevant activity. The quote must be precise (surface areas, thicknesses, products, lambda value, thermal resistance). These details come out of the same calculation as the price when your insulation management software links the take-off, the build-up of each wall and its thermal resistance. Also keep technical data sheets, technical approvals or ACERMI certification, and before/during/after photos. This is your evidence file in case of an inspection.
MaPrimeRénov' and CEE: conditions linked to wall insulation (eligibility, supporting documents, combining schemes)
The minimum performance is read off the regulation, not off the product data sheet. The table below gives the U-values Approved Document L sets for a renovated thermal element, which are the figures an inspection will hold you to.
| Element being insulated | Maximum U-value (W/m²·K) |
|---|---|
| External wall, internal insulation | 0.30 |
| External wall, external insulation | 0.30 |
| Cavity wall, cavity fill | 0.55 |
| Pitched roof, insulation at ceiling level | 0.16 |
| Floor | 0.25 |
Two traps come up at inspection. The existing lining does not count towards the target: only the build-up you install in the course of the works is assessed. And the declared lambda must come from a certified product declaration, not from a sales brochure. Plan for an itemised invoice, a record of the works, proof of payment, and product references. Combining funding routes is possible, but you need to respect the no-double-funding rules and complete the paperwork before signature.
Planning and façade: prior declaration, ABF and possible limits for ITE
ITE changes the façade. Often, a prior planning declaration is required. In protected areas, the ABF (Architecte des Bâtiments de France) can dictate materials, colours or thicknesses. Also anticipate constraints around roof overhangs, property boundaries and encroachment on public space.
Choosing the right wall insulation for your case: a simple decision method
Occupied house, block of flats, farmhouse: which work packages favour internal or external
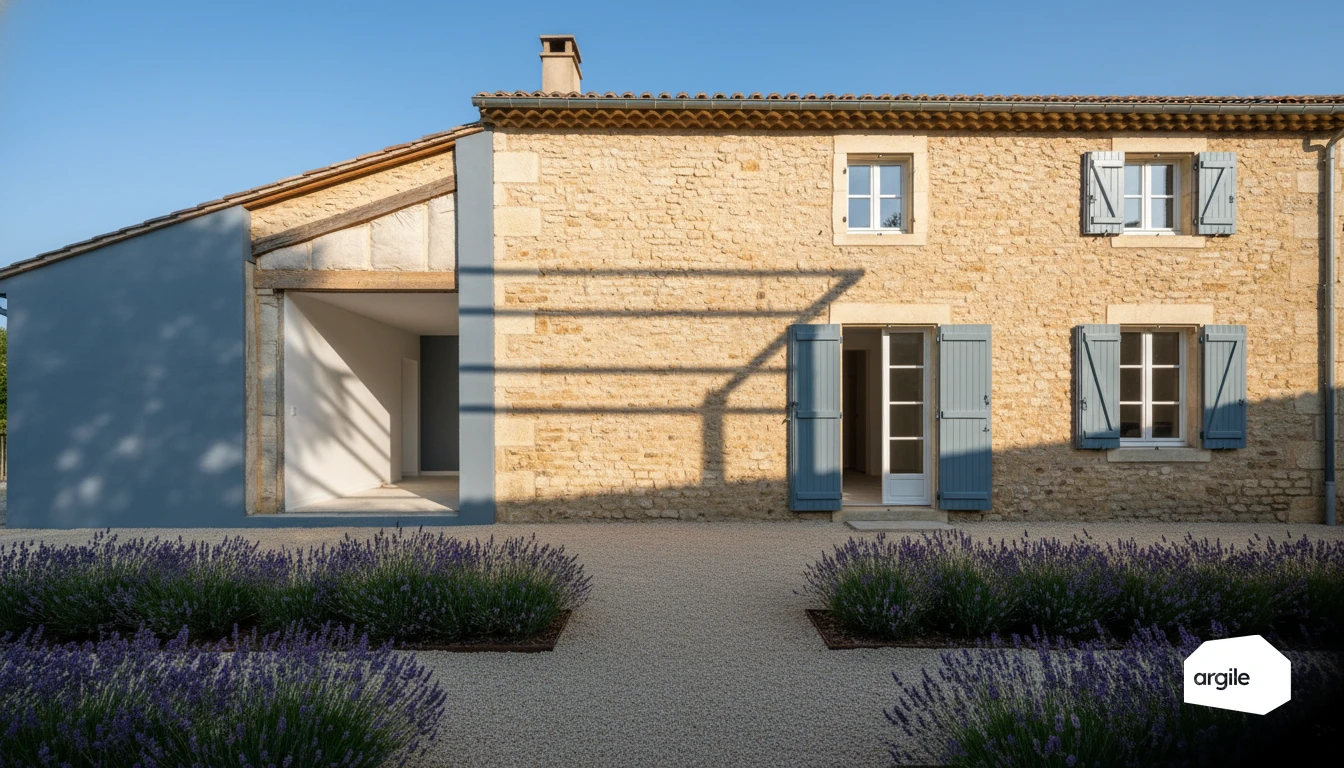
Occupied house. ITE limits work to the exterior, so less dust, but requires scaffolding, management of roof overhangs and sometimes planning constraints. ITI works when the façade must stay untouched or when the budget is tight, at the cost of a slight loss of floor area and more interior rework. In a condominium, ITE is decided collectively. ITI proceeds unit by unit. On a stone farmhouse, aim for insulation that respects the moisture behaviour of the old building, with a consistent choice of materials and vapour check. When doubt remains, Argile suggests the most relevant works from the home's characteristics and the client's goals.
Order of work: coordination with window installation, ventilation, heating (heat pump) and airtightness
Aim for a simple logic. First water leaks and airtightness, then insulation. Window installation is set based on the chosen solution, especially in ITE to properly treat the reveals. Then, suitable ventilation becomes non-negotiable. The heat pump is sized after the envelope has been improved, otherwise it runs too hard for nothing.
Validation checklist: diagnosis, measurements, execution details and end-of-job checks
- Diagnosis. Nature of the walls, moisture, cable/pipe runs, façade constraints.
- Measurements. Surface areas, possible thicknesses, critical points, thermal bridges.
- Execution details. Continuity of the insulation, floor junctions, window sills, treatment of penetrations.
- End-of-job check. Airtightness test if planned, verification of air inlets, photos of hidden points before closing up.