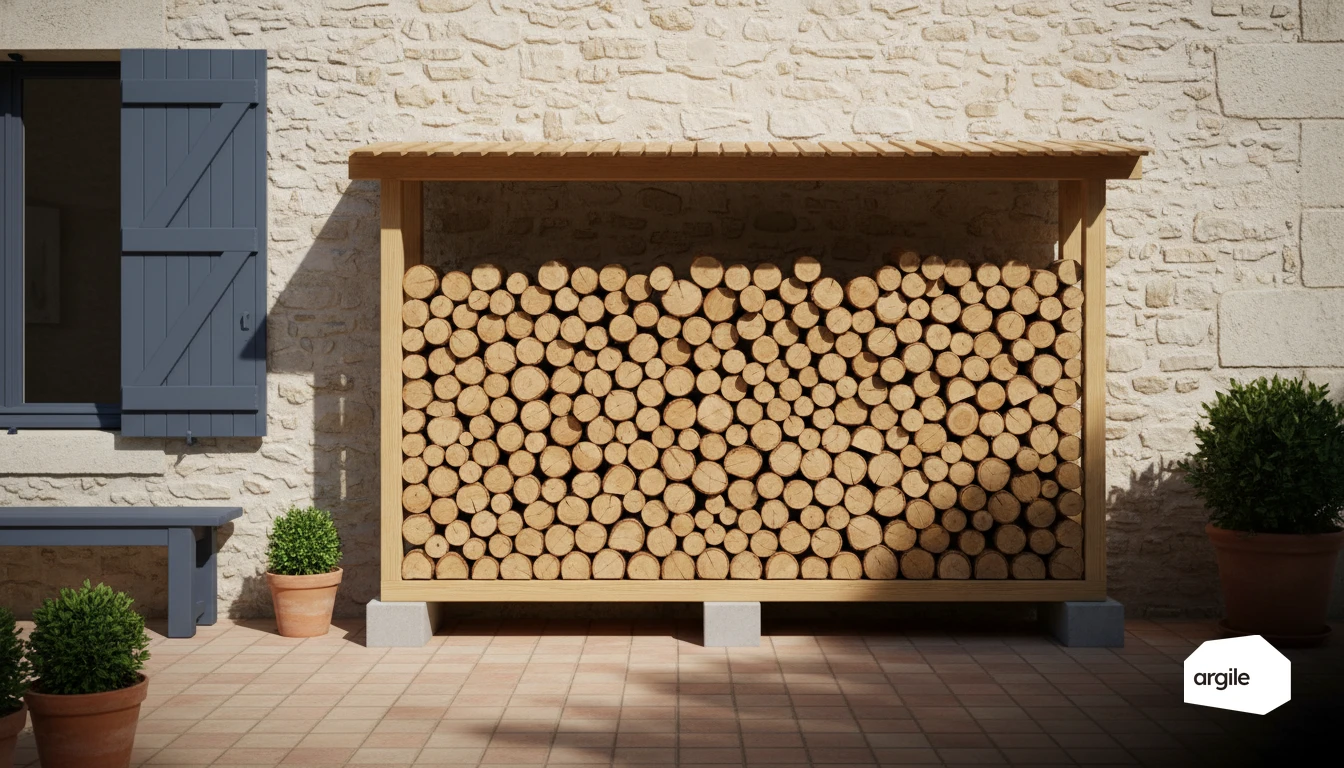
Cover the top only. Air drying depends on a through-draught that carries away the vapour the logs release, and a sheet taken down to the ground kills that draught: the stack becomes a saturated enclosure where the wood settles at the equilibrium moisture of the trapped air instead of dropping below 20%. A cover laid at a fall over the top alone, with enough overhang to throw off driving rain, does the job without closing the sides. The reference target is moisture below 20% and at least eighteen months of drying after felling for wood delivered above 23%. Everything else about storage follows from those two points.
Settling the question of covering
What a sheet actually does
Wet wood releases water vapour. That vapour has to leave, and it only leaves by convection, carried by drier air passing through the stack. The table below sets the common protection arrangements against their real effect on that mechanism.
| Protection arrangement | Effect on the through-draught | Result on wood moisture |
|---|---|---|
| Full sheet taken down to the ground | Draught killed | Settles at the moisture of the trapped air, mould, fermented smell |
| Sheet or metal roof over the top, sides open | Draught kept | Steady fall towards the target, protection from driving rain |
| Open-sided shelter covered on three sides | Draught kept and channelled | Better consistency, less moisture pick-up late in the season |
| Closed unventilated space, cellar, garage | Draught killed, cold damp air | Moisture pick-up, condensation on cold logs |
The conclusion is the same in all four cases: what matters is not the cover, it is the air moving through. A poorly covered but ventilated stack dries better than a perfectly wrapped one.
Overhang and fall matter as much as the material
A sheet laid flat ponds water, runs off at the low points and wets the front row. Lay it at a fall, with an overhang of around ten centimetres each side, and fix it so it cannot flap. A metal sheet on rafters does the same job and lasts longer. The acceptance test is simple: after driving rain, the top face of the logs in the front row should be dry.
The case of pellets and wood chips
Pellets are never stored outside, even covered: they swell and break down at the first contact with moisture, and an auger does not forgive the dust that produces. Pallet, off the ground, dry space, away from a cold wall. Chips tolerate an open shelter, provided the heap stays shallow and is turned, otherwise fermentation starts at its core. The risk of carbon monoxide release in an enclosed space is covered in our dedicated article on pellet storage.
Setting out the location and the stack
The ground decides half the result
A stack laid straight on soil draws water up by capillarity and rots from below, whatever the quality of the cover. Free-draining ground, gravel for preference, and raised at least ten centimetres on pallets or bearers. Keep the stack clear of cold walls, of splash zones under gutters and of automatic watering. The prevailing wind has to be able to reach one of the long sides.
Stacking so the air gets through
Align the logs, same length outwards, and leave a gap between rows rather than packing them tight. At the ends, cross a few courses to form a buttress that locks the whole. Do not build too high: a slender stack moves, and a stack that collapses mid-season mixes dry wood with wet. Two low stacks beat one tall one.
Separating drying wood from ready-to-burn wood
Two zones, two dates, one rotation. Drying wood carries its felling and splitting dates, ready-to-burn wood sits nearest the access. Oldest out first. On a holding or a site, an aisle between zones and a marking by volume are enough to make the rotation obvious to someone who did not build the stacks.
Drying times, and what governs them
Splitting matters more than species
Water leaves wood mainly through the radial faces and the end grain. An unsplit log exposes only its two ends, a split log also exposes fresh internal faces. That is why a dense species split early dries faster than a light species left in the round. Split at felling, not when the wood goes under cover.
| Form and species | Indicative time to reach the target |
|---|---|
| Split softwood, usual sizes | 6 to 12 months |
| Split soft hardwood, poplar, birch | 12 to 18 months |
| Split dense hardwood, oak, beech, hornbeam | 18 to 24 months |
| Unsplit logs, any species | 2 to 3 years |
Those times assume ventilated storage, raised off the ground and covered on top. In confined storage they are not lengthened: they are never reached.
What speeds drying and what does nothing
Ventilation, early splitting and wind exposure speed it up. Heat alone, without air change, does nothing: a closed south-facing space ends up saturated. What you measure at the end of the season therefore depends not on the sun received but on the air changed. That is the point to explain to the customer who moved the wood into a closed garage to protect it.
Measure rather than assume
The check is made at the core of a re-split log, on a fresh face, never at the surface. Five to ten readings and an average. Note the convention your meter uses: depending on whether it expresses moisture on a wet or a dry basis, the same log shows two different figures. That point, which swings whole loads, is developed in our article on firewood moisture content.
Storage defects and their causes
Mould, cellar smell, spongy wood
Those are three signs of one mechanism: water held in, air kept out. Closed sheet, ground contact, cold wall, over-packed stack. An affected load cannot be recovered by re-exposing it: biological breakdown has already consumed woody matter, and therefore calorific value. Take it out of the ready-to-burn stock and deal with the cause before rebuilding a stack in the same place.
Insects and active galleries
Active galleries, recognisable by fresh frass, indicate wood that stayed wet too long. The immediate risk is not combustion, it is contamination of an indoor stack and, on a site, proximity to structural timber. Separate the loads and never bring wood with active galleries into a habitable space.
Late-season moisture pick-up
Dry wood left under a loose sheet picks up moisture in autumn, when nights turn cold and condensation forms under the sheet. That is the most common reason a load compliant in September disappoints in December. A well-tensioned cover, enough overhang and preserved ventilation solve it.
What you write down and what you hand over
The indoor stack and safety clearances
An indoor stack is limited to a few days of use, away from heat sources and outside the clearance to combustible materials carried by the flue designation and by the appliance manual. That clearance is not a comfort margin, it is a tested value. Restate it in writing when the instructions are handed over, naming the appliance concerned.
The instructions handed to the customer
Hand over short, checkable instructions: cover the top only, raise off the ground, leave the sides open, date the stacks, check before the season. A written instruction turns a verbal recommendation into a piece of the file, and it is what separates fouling caused by the fuel from fouling blamed on the installation. Those instructions do not get lost when the job documents are gathered in a dedicated client space.
The link between storage and flue fouling
Wood stored confined burns poorly, cools the flue and accelerates tar formation, which means more frequent sweeping and a higher risk of a flue fire. It is the only argument that lands with a customer who finds full sheeting tidier. On the comparative characteristics of wood fuels and their storage conditions, see the fuel comparison.