The diameter of a ventilation duct follows from the flow rate it has to carry, not from the spigot available on the unit. The useful cross-section is S = Q / 3,600 v, with Q the flow rate in m³/h required by the French order of 24 March 1982 and v the design air velocity in m/s. For the 135 m³/h kitchen peak of a dwelling with five main rooms, that gives 126 mm of internal diameter at 3 m/s and 109 mm at 4 m/s, so a Ø 125 and never a Ø 100. Everything else comes down to lengths and bends, which decide the balancing long before the unit does.
Choosing the right type of mechanical ventilation for the home and the works
Simple-flow, hygro-controlled or heat-recovery: when to choose what
An autoregulated simple-flow ventilation system is often enough as a replacement, when you keep the existing ductwork and the budget is tight. Hygro-controlled ventilation is a good compromise in renovation: it modulates the flow rate on relative humidity and limits the heat lost to air renewal. Heat-recovery (double-flow) ventilation makes sense during a full renovation, with reinforced insulation, new ductwork and space for a unit and ducts.
Identifying site constraints: attics, false ceilings, occupied renovation
Before deciding, look at where the ducts will run. Accessible attics and false ceilings make for a clean installation, especially with heat-recovery systems, and they are the same volumes a ducted air-to-air heat pump network needs, at far higher flow rates. In an occupied renovation, favour a solution with few penetrations and short interventions, for example a hygro-controlled system on the existing ductwork. With no existing ductwork and no space to create any, decentralised ventilation, one unit per room through the wall, becomes the option to price. Also survey the exhaust position, the space for the unit and the maintenance access, because those three points are what blows up a price after the fact: better to record them during the site survey, with photos and positions on the plan, where they feed the quote directly.
Checking compatibility with airtightness and insulation
The tighter the envelope, the less that parasitic leakage compensates for an under-flowing network, and the more precise the sizing has to be. Take care with air inlets, transfer between rooms and duct airtightness, otherwise you get condensation despite correct insulation. For sizing the extract and air-inlet points, see air inlets and balancing the vents.
Sizing the mechanical ventilation ductwork: airflow rates, sections and lengths
Determining airflow rates room by room and matching vents
Start from the regulatory flow rates, not from an order of magnitude. Extraction happens in the kitchen, the bathroom and the WC, with vents whose adjustment range must cover the value required for that dwelling type. Keep properly sized air inlets in the main rooms, otherwise the network goes into negative pressure and the vents whistle without delivering their flow rate.
From flow rate to diameter: the cross-section table
The cross-section is calculated, not chosen. A duct carries a flow rate Q at a velocity v through a section S, with S = Q / 3,600 v, which gives a minimum internal diameter. The table below applies the formula to the article 3 flow rates, at three design velocities.
| Flow rate to carry | Internal Ø at 3 m/s | Internal Ø at 4 m/s | Internal Ø at 5 m/s | Common diameter used |
|---|---|---|---|---|
| 15 m³/h, WC | 42 mm | 36 mm | 33 mm | Ø 80 |
| 30 m³/h, bathroom | 59 mm | 52 mm | 46 mm | Ø 80 |
| 45 m³/h, kitchen, continuous | 73 mm | 63 mm | 56 mm | Ø 80 |
| 75 m³/h, kitchen peak, 1 main room | 94 mm | 81 mm | 73 mm | Ø 100 |
| 105 m³/h, kitchen peak, 3 main rooms | 111 mm | 96 mm | 86 mm | Ø 125 |
| 135 m³/h, kitchen peak, 5 main rooms or more | 126 mm | 109 mm | 98 mm | Ø 125 |
Velocity is not free for all that. The order sets flow rates only, but NF DTU 68.3 advises velocity ceilings, on the grounds of noise transmitted into the rooms, which the ministry reproduces unchanged in its briefing material on the text.
| Duct run | Maximum advised velocity |
|---|---|
| Branch carrying the flow of a single vent | 4 m/s |
| Branch carrying the flow of several vents | 5 m/s |
| Vertical part of a communal duct | 5 m/s |
| Horizontal communal run, exhaust and intake | 6 m/s |
Two reading precautions. These are values advised by the DTU, not imposed by the order: they are justified on the calculation note and defended on acoustics, not on compliance. And it is the internal diameter that counts, not the nominal diameter printed on the sleeve of an insulated duct. In a block of flats, the same calculation applied to the cumulative flow is what separates a single riser from a branched network.
Anticipating lengths, bends and branch connections for a balanced network
Once the diameters are set, imbalance comes from the lengths. Every bend, tee and reducer counts as an equivalent length of straight duct and adds to the real run, which is why a vent close to the unit takes all the flow while a vent at the far end sees none. Aim for comparable branch lengths, replace tight bends with wide curves, and keep adjustment range at the vents to absorb what is left.
Routing and organising the ductwork: a simple, accessible path
Limiting bends and shortening runs: what is decided on the layout
The layout is drawn before the first hanger goes up. Short, direct runs, as few changes of direction as possible, wide curves where a detour is unavoidable. Ducts kept taut, with no sagging and no crushing where they cross the framing: a pinched duct loses cross-section along the whole pinch and makes noise permanently.
Manifold, unit, branch connections: organising to avoid imbalances
Position the unit and, if there is one, the manifold as close as possible to the centre of gravity of the service rooms. Then distribute the branch connections legibly, bringing branch lengths closer together. Label each line as you install it, room, diameter and direction, because that is what prevents mix-ups at commissioning and misdiagnosis ten years later.
Planning maintenance access: filters, unit, hatches and inspection points
Leave a passage to open the unit, remove the filters on a heat-recovery system and reach the connections. Plan an inspection hatch at changes of direction and near the branch connections, especially where the network runs through a loft. NF DTU 68.3 also sets the vent installation clearances, at least 1.80 m above the floor and at least 20 cm from the vent axis to the adjacent walls: a vent tucked into a corner does not deliver its flow rate, whatever the unit. The detail of the positions is in our article on maintenance access.
Quality installation of mechanical ventilation ducts: airtightness, insulation and durable fixing
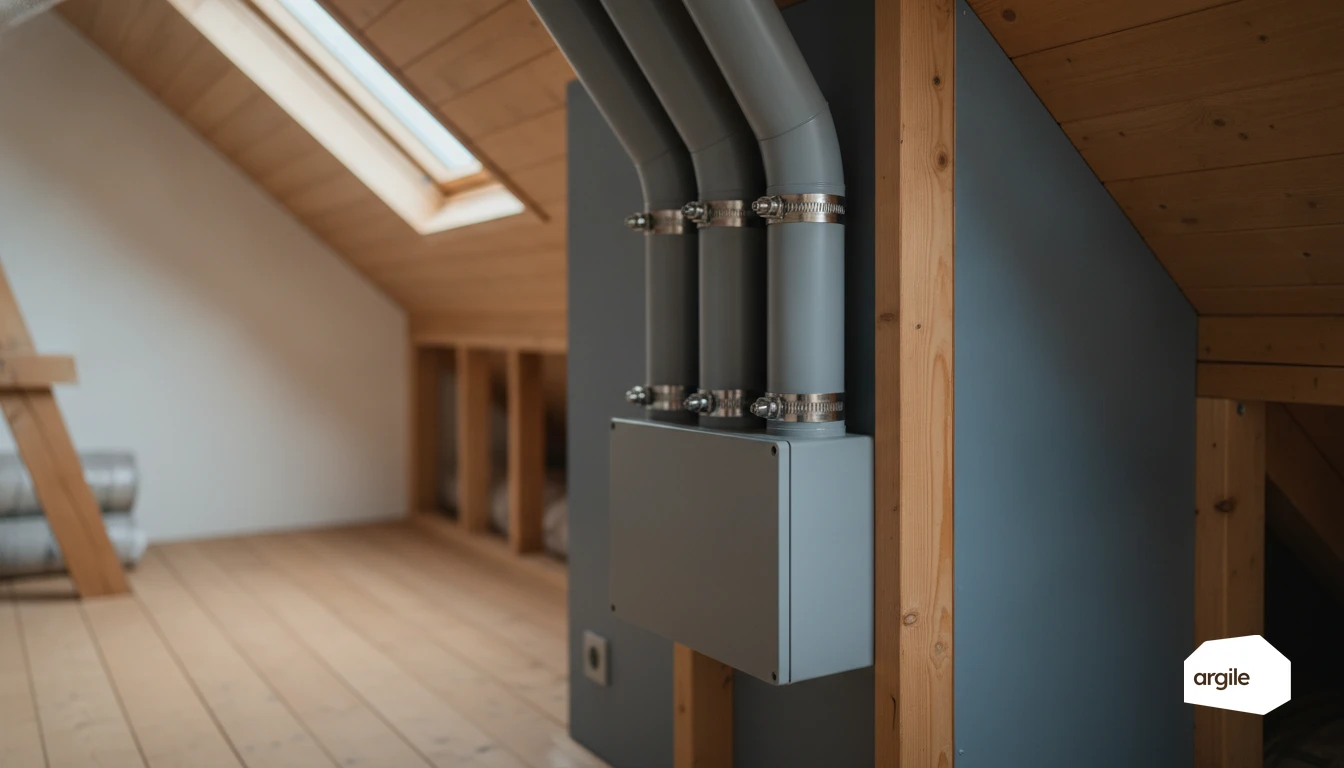
Ensuring airtight connections: clamps, sleeves and suitable tapes
The flow lost between the unit and the vent is lost at the joints. Use sleeves at the right diameter, tightened with a screw clip, and finish with ducting tape, aluminium or butyl, according to the manufacturer's specification. Rule out multi-purpose cloth tape, which lifts within a few seasons on a dusty substrate. The full method and the classes to require in the quote are in our article on duct airtightness in mechanical ventilation.
Insulating ducts in cold zones to prevent condensation and losses
In an unheated loft, a garage or a crawl space, switch to insulated duct or add an insulating sleeve. What is at stake is condensation of the extracted air, warm and humid, inside a cold duct, not heat loss. Take care with the continuity of the insulation at the joints, avoid low points where water collects, and plan the slope to the drain when the instructions require it. The subject is covered in our article on insulating ventilation ducts in unheated lofts.
Fixings and supports: avoiding crushing, vibration and noise
Suspend the ducts without pinching them. Wide clips, sound-isolating supports, regular spacing according to the duct's instructions. Respect the product's minimum bend radius and rule out sharp-angled elbows. Less mechanical strain means the cross-section is preserved along the whole run and the noise level stays stable over time.
End-of-job checks and points of attention in 2026
Measuring and adjusting airflow rates: method and common mistakes
At the end of installation, measure vent by vent with a flow hood, filters clean and the network stabilised, then adjust to recover the article 3 values. The classic mistakes are always the same: vents swapped between rooms, adjustment left hard against its stop, flexible duct crushed behind a lining. The instruments and the method are covered in our article on measuring ventilation flow rates.
Condensate handling and drainage: avoiding water backflow
On a heat-recovery system, check the continuous slope to the drain, the presence of a primed trap and the absence of any counter-slope. A pinched pipe or a leaky connection is enough to cause water backflow and odours in the unit. The test takes one gesture: pour a glass of water into the tray and watch it drain before closing up.
Documents to hand over to the client: network diagram, maintenance and useful references
Hand over the network diagram with the location of the adjustment components, the hatches and the filter access. Add the maintenance instructions, with the cleaning interval for the vents and the filter replacement schedule. The signed record of the flow rates measured vent by vent is the document that secures the handover, and the only one that protects you if the flow rate is disputed afterwards.