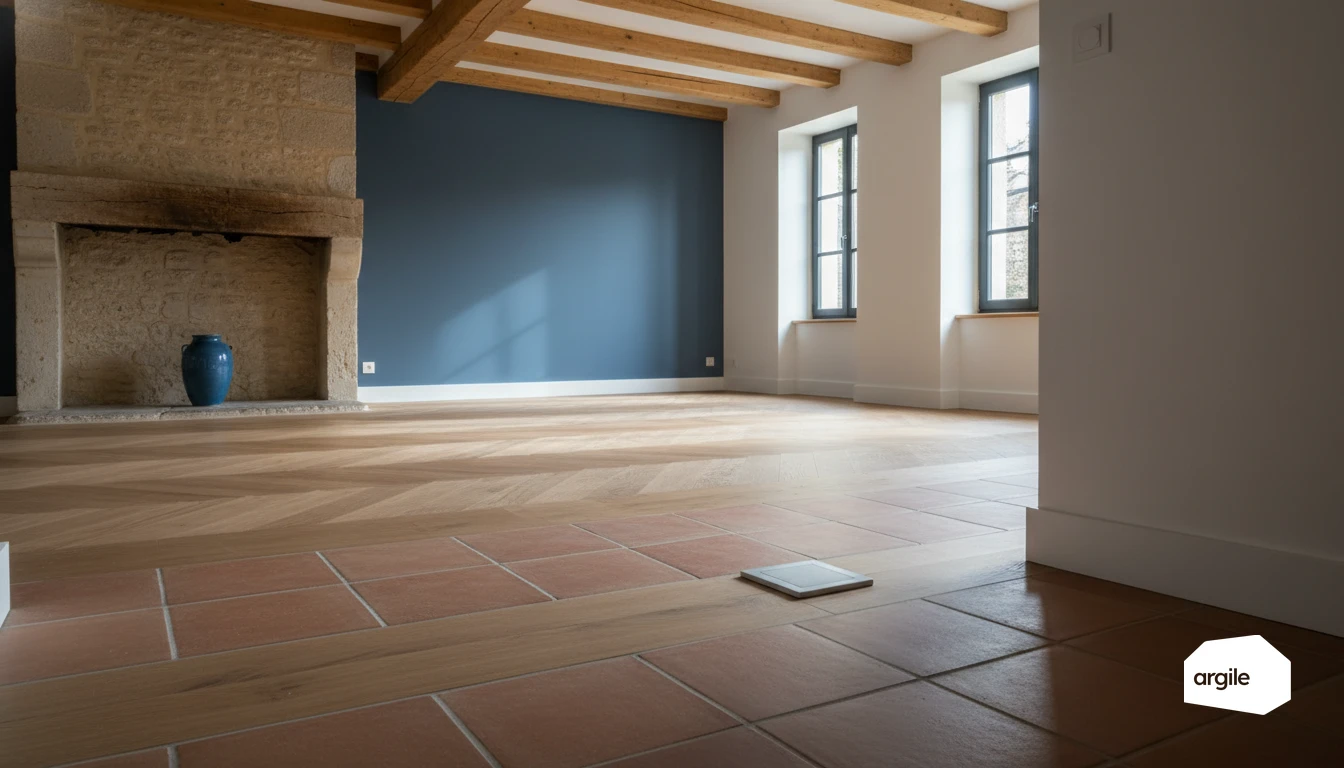
The floor probe is what makes an underfloor heating surface temperature limit enforceable rather than aspirational. BS EN 1264-2 works to a maximum surface temperature of 29°C in the occupied zone and 35°C in the peripheral zone, and the flooring manufacturer's own limit usually sits below both. A room thermostat sees none of that: it measures air, not screed, and leaves the finish to absorb every swing. On engineered wood, laminate or vinyl, the floor sensor is what decides whether the finish lasts a decade or brings you back in the second season.
Understanding the floor probe on underfloor heating and its protective role
Room thermostat vs. floor probe: what measures what, and why it changes everything
The room thermostat measures the air, controlling comfort room by room. The floor probe measures the temperature in the screed (or as close as possible), so the real thermal mass of the underfloor heating. The result: fewer sudden swings, and stable control even when the sun or cooking warms up the room.
Limiting the surface temperature: the key point to avoid warping and cracking
The protective role is about setting a limit. Too hot, and the flooring works, the adhesives fatigue, the joints open up. In practice, the target is a surface temperature around 28°C in living areas, and higher only in a dedicated zone (e.g. bathroom), depending on the system and the flooring.
When the probe becomes essential (wood flooring, vinyl, laminate, bathroom)
It becomes almost mandatory as soon as the flooring is sensitive. Wood flooring and laminate, to limit shrinkage and cupping. Vinyl and PVC, to avoid softening and marking. In a bathroom, it secures comfort without overheating, especially when the room setpoint is high or internal gains vary. To go further on how the floor affects things, see flooring's impact on thermal mass.
Choosing and installing the probe correctly: location, conduit and site accessibility
Where to place the probe in the floor: zones to avoid, depth and distance from the pipes
On underfloor heating, place the probe in a "representative" area of the room. Avoid free heat gains (sun behind a bay window, a stove), door thresholds, the base of a cold wall, and areas covered by a rug or fixed furniture. The tip is positioned between two pipes, generally 30 to 50 cm from a wall. Aim to install it in the screed, about 1 to 2 cm below the flooring. Keep a few centimetres of distance from the pipes so as not to measure their direct heat.
Mandatory conduit routing: allows replacement without damaging the flooring
Always run the probe through a dedicated smooth conduit (ICTA type) that rises to an accessible point (a box in the skirting or a partition). Avoid tight bends. A wide radius and a continuous conduit are what allow replacement without breaking the tile or wood flooring. Cap the floor-side end before pouring to stop cement laitance from blocking the probe.
Common site mistakes and simple solutions to avoid them
Before pouring, check the routing and that it slides freely. Also consider the quality checkpoints to carry out at this stage (photos, location marking, compliance), as with a site handover.
- Conduit embedded or too short. Route it out to an accessible, marked location.
- Probe too close to a pipe. Fix the conduit to the mesh, in the middle of the grid.
- No location record. Photo, as-built plan, label at the control panel.
Underfloor heating control: useful settings to avoid overheating
Maximum floor temperature: setting the limiter and setpoints suited to the flooring
| Value to set and to log | Reference figure | Document that governs it |
|---|---|---|
| Surface temperature, occupied zone | 29°C | BS EN 1264-2 |
| Surface temperature, peripheral zone | 35°C | BS EN 1264-2 |
| Maximum admissible temperature at the screed / covering interface | the flooring manufacturer's figure | laying instructions for the wood, laminate or vinyl |
| Probe nominal resistance at 25°C | usually 10 kΩ, sometimes 12 or 15 kΩ | thermostat or control module manual |
The first two rows are design limits, not comfort setpoints. A room setpoint that forces the control to cross them is telling you the emitter is undersized, not that the limiter needs raising.
On underfloor heating, overheating often comes from a setpoint that's too high. Set the temperature limiter on the manifold or the mixing valve. Adapt the surface temperature to the flooring. Tile can take more, wood flooring needs it lower, following the manufacturer's manual. In practice, aim for 27 to 29°C in living areas, and at most 33°C in a bathroom if necessary.
Water curves and flow temperature: adjusting without losing comfort
With a heat pump or boiler, work on the water curve. Lower the slope in small steps, then shift the curve rather than adjusting the thermostats. Look for the lowest flow temperature that still holds comfort. The floor's thermal mass requires slow adjustments, over 24 to 48 hours. The flow temperature you can hold follows from the sizing, which the tool calculates room by room before selecting equipment from up-to-date catalogues.
Loop balancing and flow rates: stabilising heat to protect the floor
Poorly set flow rates create zones that are too hot. Do the balancing at the flow meters, loop by loop, and bleed the air. Aim for a flow/return difference of around 5°C. A well-balanced installation stabilises heat, limits cycling, and protects the floor. To go further, see heating network balancing.
Combining probe and control based on the configuration: new-build, retrofit, multi-zone
2026 retrofit: typical cases (existing screed, shallow build-up, dry floor system)
In a retrofit, the challenge is thermal mass. On an existing screed, keep a gentle water curve and an outdoor probe, with a flow-temperature floor probe to avoid sudden swings. With a shallow build-up or a dry floor system, the temperature rises faster. Plan for more responsive settings and a limiter via a floor probe to protect the flooring.
Hydronic vs. electric underfloor heating: control differences and points to watch
With hydronic systems, control manages the water temperature (mixing valve, circulator, manifold). Points to watch: flow balancing and anti-cycling with a heat pump. With electric systems, control is room by room. The thermostat often relies on a floor probe. Set a maximum surface temperature and check compatibility with the flooring.
Room-by-room management: when to use several probes and how to configure zones
In a multi-zone setup, fit a room thermostat per zone and electrothermic actuators at the manifold. Add a floor probe in sensitive rooms (wood flooring, bay windows). On underfloor heating, avoid setpoints that differ too much between zones. Offset by 1 to 2°C and use simple time schedules. To go further on control strategy, also see the importance of an outdoor probe in water-curve control.
Troubleshooting and checks: diagnosing control that's putting the flooring at risk
Warning signs: floor too hot, expansion noise, boards lifting
On underfloor heating, the first sign is a floor that's too hot underfoot, especially near bay windows. Add creaking, "ticking" expansion noises, then gaps opening up or boards cupping. If the flooring lifts at the edges, the control is heating too fast or too high, and the wood doesn't have time to keep up.
Quick checks: consistency between probe/thermostat readings, calibration and tests
Check the maximum "floor" setpoint and compare the probe reading against a surface thermometer measurement. A reading discrepancy of a few degrees is enough to exceed the limit. Then test by lowering the setpoint and watching the flow temperature. If it stays high, suspect a stuck mixing valve, too steep a water curve, or a disabled limiting parameter.
Lasting fixes: replacing the probe, redoing settings, usage advice for the client
If the probe is out of tolerance, replace it and make sure it's installed in a sleeve. Redo the settings. Surface temperature limiting suited to the flooring, gradual warm-up, moderate night setback. Aim for stable settings. On the usage side, advise avoiding thick rugs, not cutting the heating off and then blasting it back on, and keeping humidity levels steady.