On external wall insulation under wood cladding, two sets of values drive the job. NF DTU 41.2 requires a ventilated air gap of at least 20 mm nominal thickness, a minimum flow of 50 cm² per linear metre at every point of that gap, and a 200 mm clearance above ground at the base of the cladding. On the grant side, the French CEE sheet BAR-EN-102 requires a thermal resistance of the insulation of at least 3.7 m².K/W; under a MaPrimeRénov' whole-house retrofit, the threshold rises to 4.4 m².K/W as soon as the insulation goes on the outside.
The values that hold external wall insulation under wood cladding
The ventilated air gap is not leftover space, it is a designed element. It needs an inlet at the base and an outlet at the top opening directly to the outside, and it has to keep its flow over the full height: on a multi-storey building you either increase the flow or split the gap. These are the values to carry onto the execution drawing.
| Installation point | NF DTU 41.2 value |
|---|---|
| Minimum nominal air gap thickness | 20 mm |
| Minimum flow at every point of the air gap | 50 cm² per linear metre |
| Minimum batten section, spacing ≤ 400 mm | 22 × 40 mm |
| Minimum batten section, spacing ≤ 650 mm | 27 × 40 mm |
| Ground clearance at the base of the cladding | 200 mm |
| Overlap of the protection device at the top vent | 30 mm |
| Cladding use class in general conditions | 3.1 |
| Maximum board moisture content at installation | 17 % hardwood, 19 % softwood |
The second set of values covers the insulation, and this is where files fall over: the thermal resistance threshold depends on the scheme, not on the product installed. A build-up set at 3.7 m².K/W passes under the CEE scheme and is rejected on a whole-house retrofit done from the outside.
| Scheme | Element | Minimum thermal resistance |
|---|---|---|
| CEE, sheet BAR-EN-102 | façade or gable walls | R ≥ 3.7 m².K/W |
| MaPrimeRénov' single measure | walls: no payment since 1st January 2026 | not applicable |
| MaPrimeRénov' whole-house retrofit, internal insulation | walls | R ≥ 3.7 m².K/W |
| MaPrimeRénov' whole-house retrofit, external insulation | walls | R ≥ 4.4 m².K/W |
French decree no. 2025-956 of 8 September 2025 removed wall insulation from the single-measure route on 1st January 2026: on external wall insulation sold on its own, the national grant left is the CEE premium under BAR-EN-102, and the MaPrimeRénov' payment only comes back on a whole-house retrofit.
The choice between the two techniques is settled upstream, as covered in our comparison of internal versus external wall insulation.
Understanding external wall insulation with wood cladding: principles, advantages, and limits
External wall insulation: what you actually improve (comfort, heat loss, thermal bridges)
With external wall insulation, you wrap the building. The result is less heat loss, warmer walls, and noticeably better winter comfort. External insulation also addresses part of the thermal bridges at floors and partition walls, points where interior insulation often leaves weak zones.
Wood cladding: protective role and impact on façade aesthetics
Wood cladding acts as a shield. It protects the insulation from UV and impacts, and works with a ventilated air gap and a ventilated breather membrane to manage rainwater. On the façade side, it allows a genuine change in appearance, from contemporary to traditional.
Cases where external wall insulation under wood cladding isn't the best option (moisture, substrates, constraints)
It's not the ideal option if the substrate is heavily degraded, if there's untreated persistent moisture, or if the façade is subject to strong constraints. Also consider local rules (zoning plan, Heritage Architect), roof overhangs, window sills, and fire requirements based on building height: for these details, see window sills.
Choosing the system: insulation, framing, breather membrane, and cladding (without compatibility mistakes)
Which insulation for external wall insulation under cladding? (rock wool, wood fibre, EPS) depending on the project
For external wall insulation under cladding, choose the insulation based on exposure and fire constraints. Rock wool if you're targeting fire safety and good acoustics. Wood fibre for solid summer comfort and a rigid substrate. EPS to optimize budget, only within a fully validated system (breather membrane, facing, fixings, fire rating). To go further, also see the fire safety rules to follow for external wall insulation.
Framing and fixings: carrying the cladding's loads without creating thermal bridges
The added framing carries the cladding. It's sized for wind loads and weight, with adjustable brackets and insulating shims to limit thermal bridges. Follow the spacing specified in the technical approval and keep fixings compatible (stainless steel, wood treatments, corrosion).
Breather membrane, ventilated air gap, and rodent-proof grilles: the points that make it last
A suitable breather membrane protects the insulation and the wall. Aim for a vapour-permeable but water-tight membrane, and take care with the overlaps. The ventilated air gap must stay continuous, with an inlet at the base and an outlet at the top. Add rodent- and insect-proof grilles, without blocking ventilation.
Achieving good wood cladding aesthetics while preserving external wall insulation performance
Vertical, horizontal, or open-joint installation: visual effects and installation constraints
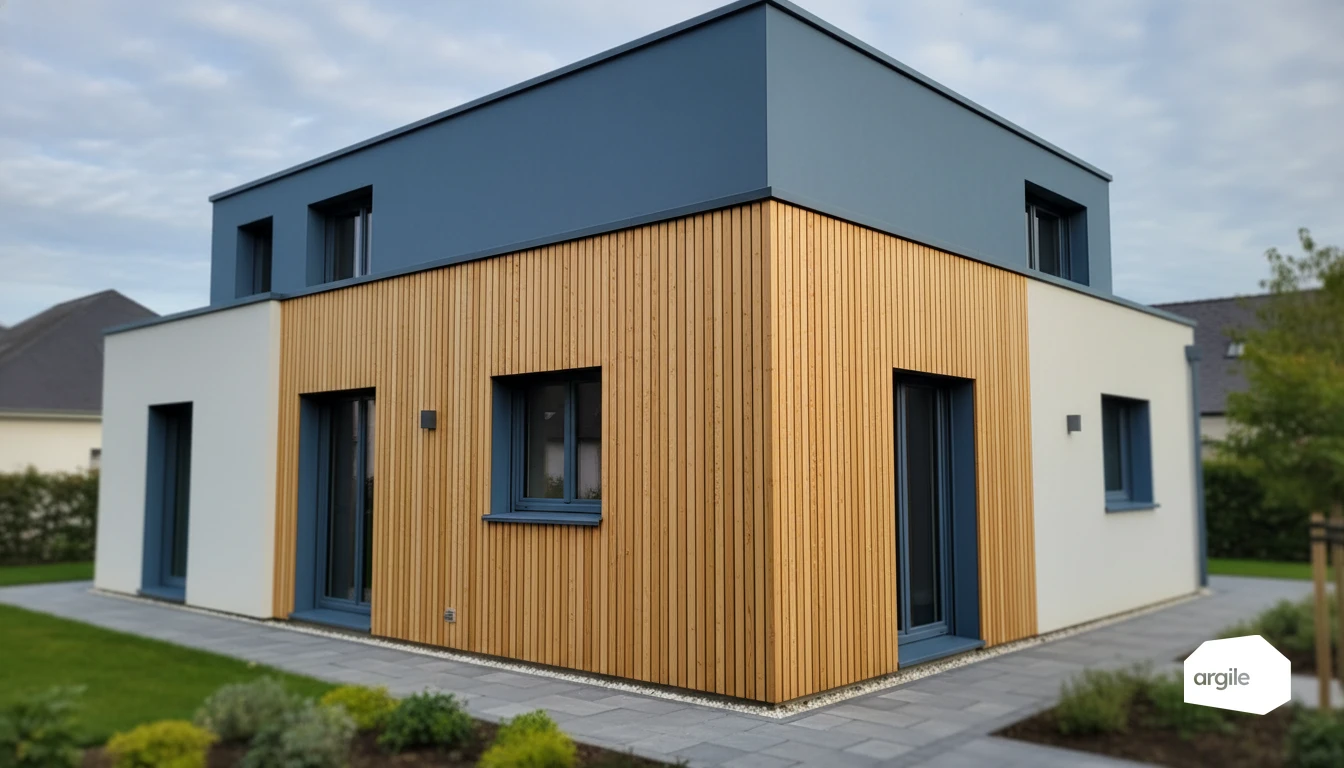
Vertical installation elongates the façade and drains water well. Horizontal installation visually widens it, but requires a clean layout to avoid misalignment. Open-joint cladding is very graphic, but requires a protected backing and a continuous air gap so that the insulation stays dry and durable. Keep the framing regular and provide top and bottom ventilation, with an insect-proof grille. To settle the choice with the client, the finished cladding is projected onto the facade photo taken during the visit.
Choice of species and finishes: pressure-treated, saturator, natural graying, maintenance
Choose a species suited to exterior use and exposure. Pressure treatment secures performance in damp conditions. A saturator preserves the colour, at the cost of periodic maintenance. Natural graying is the simplest option, if you accept the colour change over time. In all cases, treat the cuts with a touch-up product.
Treatment of visible details: corners, reveals, sills, outlets (finish cleanliness)
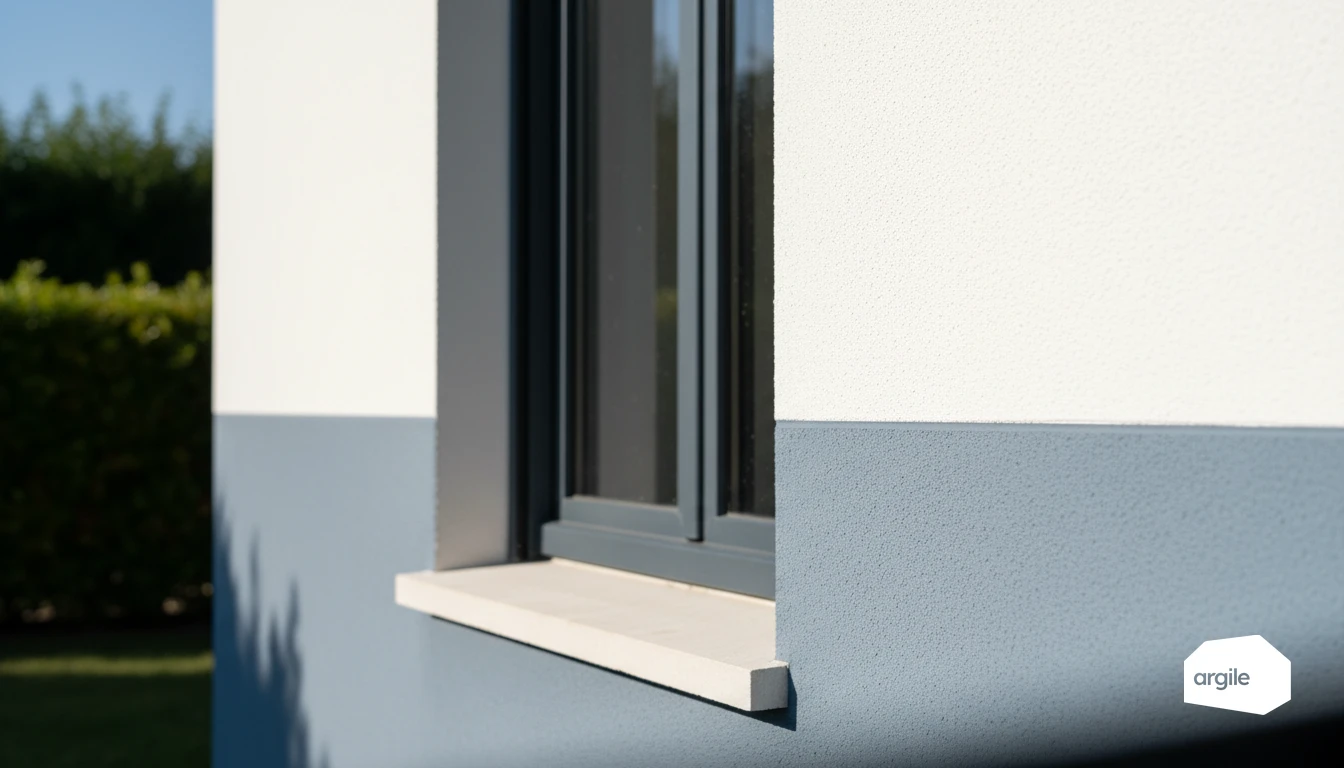
The difference is made in the details. At corners and reveals, plan for profiles or clean cuts, without crushing the insulation. At sills, create a drip edge and a sealing return. Around outlets, use a sealed drip cap and compatible fixings, to avoid thermal bridges and water ingress.
Installation on site: checkpoints, water and air tightness, safety
Substrate preparation and layout: starting straight to avoid rework
With external wall insulation, everything starts with a sound substrate. Check flatness, moisture, render adhesion, and treat friable areas. Marking out the levels, the external wall insulation starter, then a simple layout avoid "cutting as you go along the wall" and thermal bridges at the joints. The goal: aligned panels, staggered joints, zero surprises when it's time for the render.
Managing singular points: joinery, parapets, base of façade, utility runs
Singular points determine the sealing. Around joinery, plan for sills, drip caps, drip grooves, profiles, and compressible foam tape. At parapets and the base of the façade, protect against rising water and maintain insulation continuity. Every utility penetration gets a sleeve or a membrane, otherwise air and water find the smallest gap.
Quality checks: flatness, insulation continuity, ventilation, fixings (checklist)
Before closing up, run a quick checklist. To frame the end of the project, you can also rely on the quality checkpoints to verify at handover.
- Flatness. No "bulges," no gaps at junctions.
- Insulation continuity at reveals, corners, floors, sills.
- Fixings. Type, number, depth, and washers sitting properly flush.
- Ventilation. Air inlets and outlets unobstructed, grilles protected.
- Safety. Compliant scaffolding, PPE, dust control, cutting zones marked off.
2026 grants and requirements: RGE, MaPrimeRénov', CEE, and supporting documents for external wall insulation
External wall insulation eligibility: thermal resistance levels and documents to prepare in 2026
In 2026, external wall insulation is grant-eligible if the company is RGE-certified and the insulation reaches the threshold of the scheme targeted, R ≥ 3.7 m².K/W on the CEE side and R ≥ 4.4 m².K/W on a MaPrimeRénov' whole-house retrofit from the outside. Prepare detailed quotes and invoices. Add the technical data sheets (ACERMI, DTA, or Technical Approval) with thickness, lambda, and treated area. The thickness and thermal resistance of the insulation chosen carry over from the catalogue to the quote, together with the measured areas.
Coordinating MaPrimeRénov' and CEE: how to avoid stalled applications
The CEE amount is calculated per square metre of insulation, by climate zone and by the dwelling's heating fuel. This is the table to have in mind when pricing the incentive before the first appointment.
| Climate zone | Electric heating | Fuel heating |
|---|---|---|
| H1 | 2,400 kWh cumac/m² | 3,800 kWh cumac/m² |
| H2 | 2,000 kWh cumac/m² | 3,100 kWh cumac/m² |
| H3 | 1,300 kWh cumac/m² | 2,100 kWh cumac/m² |
Blockages mostly happen over dates and scope. Submit MaPrimeRénov' before starting work. On the CEE side, register the client before signing the quote and make sure the same address, the same area, and the same R-value appear on all documents. Also declare the CEE bonus amount in the file. To go further, see our tips to avoid stalled applications on the MaPrimeRénov' side.
Site traceability: photos, product data sheets, acceptance reports, invoices (evidence in case of inspection)
Inspections do happen, especially for CEE schemes. Keep a complete site file.
- Dated photos before, during, and after (details of thermal bridges, fixings, finishes).
- Product labels and references, delivery notes, insulation and render data sheets.
- Acceptance reports, signed CEE sworn statement, paid invoices.