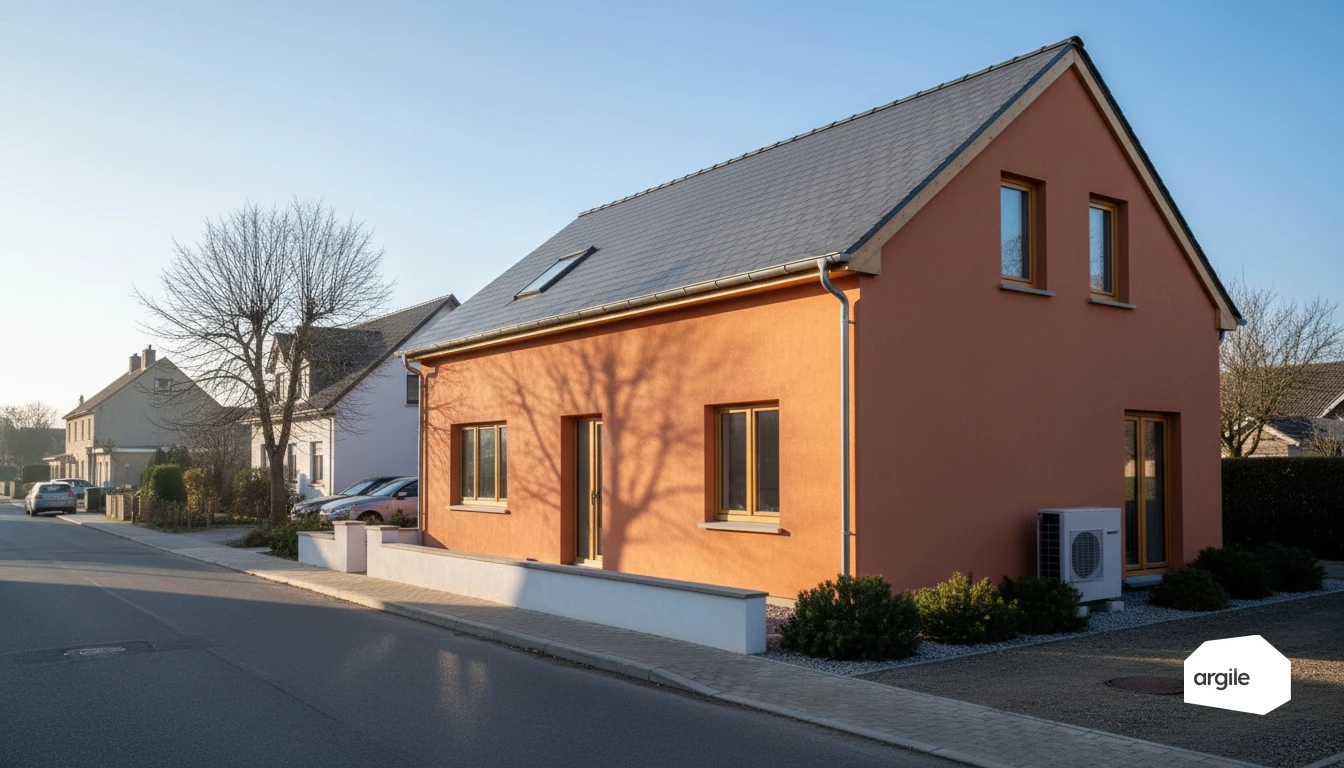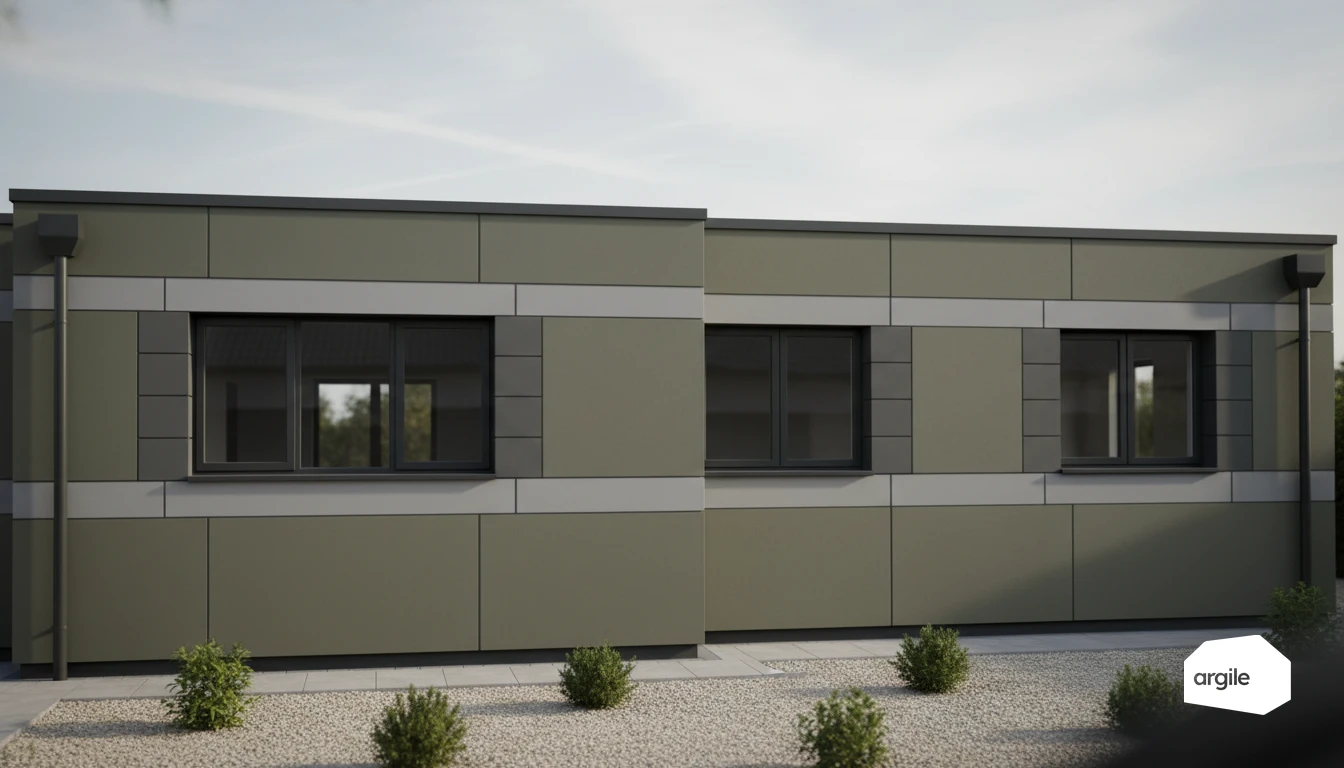
In external wall insulation, the fire safety rule depends on the height of the building and on the category it falls into. Above the third category, 20 cm rock wool fire-stop bands are interposed every two floors in a rendered system with a combustible insulant, and above 28 metres the complete system falls under a Lepir 2 type test. On a single house the requirement is lighter, but the weak point stays the same: penetrations, service openings and joinery junctions, sealed with products compatible with the system installed.
Understanding the fire risks linked to ITE depending on the building
Fire spread on a facade: chimney effect, flames coming out of windows, flaming droplets
With ITE, the scenario changes depending on the building's height and use. In a house, the main risk often comes from a fire breaking out through a window. Flames lick the facade, spread to the floor above, and then air gaps, boxes and cladding can create a chimney effect. With certain insulants, flaming droplets can fall and reignite the fire at the base of the wall.
The impact of insulants and finishes: EPS, mineral wool, wood fibre, renders and cladding
EPS is combustible. It's protected by a complete system (reinforced render, profiles, cladding) and, depending on the case, by fire barriers. Mineral wool is non-combustible and limits the contribution to fire. Wood fibre is combustible. It requires a suitable design and cladding. Ventilated cladding and certain finishes can speed up fire spread if the air gap isn't compartmentalised. The decision therefore rests on the insulant/finish pairing, which you pick from external wall insulation catalogues kept up to date rather than product by product.
Sensitive points on site: penetrations, reservations, services, joints and sealing
The details make the safety. Every penetration (mechanical ventilation, air conditioning, cables) must be filled and sealed with compatible products. Around window and door frames, take care with joints, drip caps and insulation returns. On apartment buildings and ERPs, also check the fire-stop bands, sills and floor-to-facade junctions. A single weak point can serve as a pathway for fire. To go further on the requirements and best practices for fire detection and renovation, see our dedicated article.
2026 regulations: texts, reaction-to-fire classes and facade requirements
Which references to use: the building code, ministerial orders, standard practice and technical opinions
In 2026, start from the official texts of the Construction and Housing Code. Then align with the order of 31 January 1986 (housing) and, depending on the project, the order of 25 June 1980 (ERP) or technical instruction 249 (high-rise buildings). For ITE, you also rely on standard practice, CSTB technical guides, and an ATec or DTA for the system. Keep the fire classification test reports on hand.
Fire classification of products: Euroclasses, s1/d0, and what that changes for ITE
Classification is read via the Euroclasses EN 13501-1 (A1 to F). The s1, s2, s3 indices qualify smoke production, and d0, d1, d2 qualify flaming droplets. For ITE, it's not just the insulant that's assessed. It's the complete system (insulant, fixings, render or cladding, air gaps) that must justify its fire behaviour, especially on a facade.
Special cases: ERPs, high-rise buildings, apartment buildings and single-family homes
ERP and high-rise cases demand tighter evidence and often more restrictive facade solutions (vertical spread, critical junctions, openings). In apartment buildings, the housing order governs and requires consistent implementation. In a single-family home, the rule stays the same. No improvising. Choose a documented system and treat the details as safety switches.
Designing a safer ITE: system choices and fire-stop provisions
Fire-stop bands and barriers: where to place them (floors, openings, parapets, party walls)
For ITE, the goal is simple: slow the spread from the outside. Plan for fire-stop bands in non-combustible material, primarily at every floor level, around window and door openings, at the top of parapets and vertically at party walls and changes in volume. Also think about corners and expansion joints.
Systems under render vs under ventilated cladding: points to watch for fire safety
Under render, continuity limits air movement. But the system must be complete and validated (DTA, test report, Euroclass). Under ventilated cladding, the air gap can create a chimney effect. The ventilation needs to be compartmentalised, gaps closed off at each floor, and penetrations carefully treated.
Treating interfaces: window and door frames, shutter boxes, sills, slab edges and base walls
Fires often start in the details. Take care with insulation returns, shutter box protection, sills and slab edges. At the base wall, plan for a more resistant zone with materials suited to impacts and moisture. The goal: zero hidden pathways.
Implementing on site: quality checks and best practices to limit the risk
Receiving and tracing materials: batch, marking, storage and compatibility
On delivery, check the labelling and note the batch number on the delivery note. Store insulants dry, off the ground, out of the sun. Confirm compatibility between insulant, adhesive, fixings and render.
- Insulant: CE marking, batch, ACERMI certificate or equivalent, stored flat, dry, protected from UV.
- Complete ITE system: rails, profiles, bands, fixings, accessories that are consistent and covered by a technical opinion.
Key installation steps: bonding/fixing, continuity of barriers, sealing and airtightness
For ITE, performance depends on continuity. Follow the manufacturer's bonding/fixing patterns, then carefully treat critical junctions, reveals, sills, parapets, service penetrations.
- Tight joints, limited thermal bridges, sealing continuity around window and door frames.
- Continuous air/water barriers, sealing with no gaps, penetrations filled immediately.
Self-checks and evidence to keep: photos, product sheets, test reports, manuals and job files
Before closing up, carry out a self-check. Photograph the substrate, the fixing, the sealing and the thicknesses. Keep product sheets, DoPs, manuals, test reports, drawings and delivery notes. In 2026, a clear file secures your grant applications and limits callbacks.
Protecting your business: liability, insurance and documents to provide the client
Liability in the event of a claim: ten-year warranty, subcontracting and duty to advise
If a defect appears after handover, your ten-year warranty insurance (décennale) may be called on for the works concerned. If you subcontract, you remain the client's point of contact. Check the subcontractor's insurance, put it in the contract, and document your duty to advise (material choices, compatibility, ventilation, maintenance).
Client file: specifications, compliance, maintenance manuals and fire reaction test reports
Hand over a clear file: manufacturer specifications and DTUs applied, technical datasheets, compliance certificates, maintenance manuals for the heat pump, mechanical ventilation and controls. For ITE, keep the performance evidence (ACERMI or equivalent) and the fire test reports for the insulants and cladding, useful for inspections and in the event of a claim.
How to respond to requests: energy audit, RGE, grants and safety requirements
When you're asked for an energy audit, check whether it's required by the grant pathway. For MaPrimeRénov' and CEE, an RGE qualification in the right trade is generally expected. On safety, document the sensitive points: airtightness, condensate drainage, fire clearances, and commissioning with a signed report.