Should you merge this with your existing article on “insulating sloped roof rafters”? (angle and promise of this page)
What this page adds: a site decision method, not a general training guide
Here, we are not redoing a “step-by-step installation” guide. We are giving you a decision framework you can use during the site survey to choose between 1 layer between rafters, 2 cross-layers with counter-battening, or sarking if the roof covering is removed. You start from simple measurements: available depth, finished ceiling height, type of underlay (HPV or not), continuity of the vapour control layer, and singular points such as gable, truss and roof window. The goal: decide quickly, document the choice and price the job without overselling.
When to merge: same search intent, same solutions, risk of duplicate content
Merge if the existing page already answers the query “insulating sloped roof rafters” with the same answers, and the new page only adds a few variants. Two similar pieces of content create cannibalisation, dilute internal links and blur the message. A single consolidated, better-structured piece improves readability and performance.
When to keep two pages: different intents (choice method vs installation method) and internal linking
Keep two pages if one deals with on-site decision-making (constraints, target R, depth consumed) and the other with detailed installation technique. In that case, make the internal linking explicit. Reciprocal links, precise anchors, and a “method” page that points to the “installation” page depending on the selected option, for example to content dedicated to the detailed installation method.
Measuring on site before choosing: available depth, target R and finishing constraints
Measure the depth between rafters and the finished ceiling height (occupied renovation case)
To insulate sloped roofs without getting trapped at installation stage, measure the usable depth between rafters, then the acceptable finished height after framing, lining and joint treatment. Also note low points (purlins, trusses, valleys) and the allowances around roof windows. On occupied renovations, anticipate local make-ups and continuity of airtightness without multiplying thicknesses.
Set the performance target: R required by the incentives in force in 2026 and by good site practice
| Reference | Minimum R (m².K/W) | Keep in mind |
|---|---|---|
| Incentives (pitched roofs, sloped rafters) | ≥ 6 | Check the sheet and effective date before quoting |
| Site target | 6 to 8 | Balance consumed depth, thermal bridges, treatment of singular points |
State the R target on the quote, together with the selected lambda and the installed thickness. That is your basis for traceability in the event of a check.
Check the roof context: covering retained or removed, HPV or non-HPV underlay, condition of the timber
If the covering is retained, identify the underlay. Non-HPV means a ventilated air gap must be preserved. If the covering is removed, sarking becomes a realistic option again. Check the condition of the timber (moisture, infestations, deflection) before closing up, and document the planned remedial works.
Warning: Do not fill the ventilation air gap beneath a non-HPV underlay. You will create a condensation risk under the roof covering.
Choosing “between rafters”: one layer, two cross-layers or sarking (comparison of achievable R / depth consumed)
| Solution | Typical achievable R (m².K/W) | Internal depth used (mm) | Additional roof build-up (mm) |
|---|---|---|---|
| 1 layer between rafters | 3 to 5 | 120 to 180 | 0 |
| 2 cross-layers + counter-battening | 5.5 to 7 | 200 to 280 | 0 |
| Sarking (external) | 6 to 9 | 0 | 160 to 260 |
One-layer insulation between rafters: when it is enough, typical R and thickness used
When you need to insulate sloped roof rafters without touching the roof covering and the available depth between rafters is limited, the “one layer” solution is the simplest. On site, the main trade-off is finished ceiling height and the straightness of the rafters. With a common insulation product (lambda 0.032 to 0.038), a thickness of 140 to 160 mm typically gives an R of around 4 to 5.
Two cross-layers with counter-battening: gain R and reduce thermal bridges (impact on height)
The additional layer below the rafters, installed on counter-battens, gives you more R and addresses the thermal bridges created by the timber. It is often the most robust option if you are aiming for a demanding incentive level (often R ≥ 6). Allow 45 to 60 mm for the counter-battens and 80 to 140 mm of insulation on the inner face, i.e. 80 to 140 mm extra height to be included in the plastering package.
Sarking from the outside: preferred when the roof covering is removed (target R, thicknesses, treatment of overhangs)
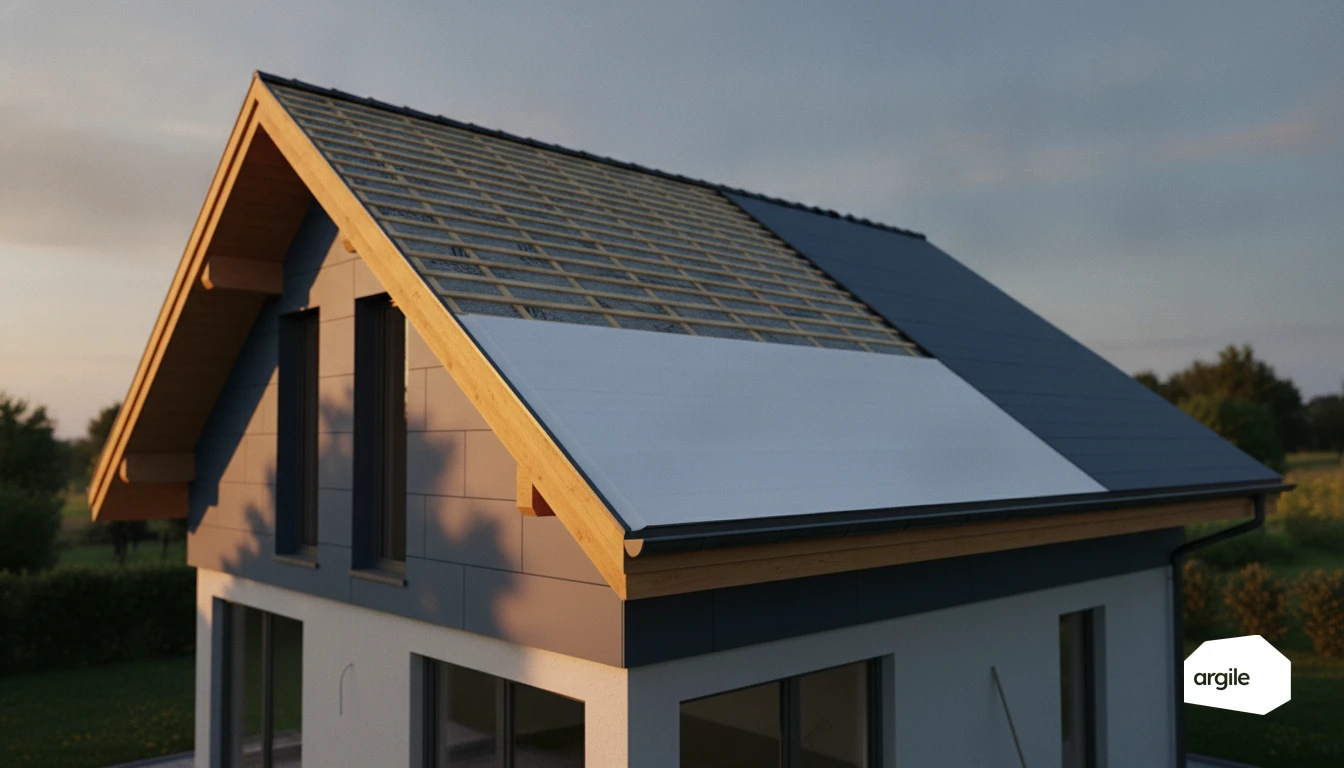
If the roof covering is removed, sarking avoids eating into the internal height and simplifies continuity. You size the thickness to achieve the target R (often 6 to 9 depending on the material). Anticipate roof overhangs, raised eaves, gutter hook adjustments, and the treatment of singular points (valleys, ridge, roof windows) in your setting-out plan.
Hygrothermal safety and airtightness: avoiding condensation when insulating sloped roofs
Air gap beneath the covering: when you must keep it if the underlay is not HPV (the classic trap)
If the under-roof membrane is not HPV, maintain a ventilated air gap between the insulation and the membrane. Aim for at least a continuous 20 mm, from eaves to ridge, without compression at purlins, valleys or verges. The trap, when insulating sloped roofs, is to press the insulation against the membrane. The vapour then gets trapped and condenses under the covering.
Continuous vapour control layer: overlaps, joints, tapes and sealant, handling penetrations (lights, ducts)
On the inside, install a continuous vapour control layer. Tape all overlaps, and treat wall joints, purlins and eaves with adhesive tape and sealant. Every penetration must remain airtight, with a collar or bonded patch for downlights, ducts, MVHR pipes and flues. The objective is to maintain airtightness without weak spots.
Underlay, ventilation and continuity: how to secure the build-up without “blocking” ventilation
Secure continuity between the underlay, counter-battens and high/low ventilation. Do not block either the air inlets at the eaves or the outlets at the ridge; provide deflectors and upstands if the insulation reaches the limit. At singular points — roof window, gable, truss — connect the underlay and vapour control layer with suitable accessories for a durable build-up.
Singular points to address for a durable result that complies with the incentives
Gables, eaves and ridge: continuity of insulation and airtightness
At gables, eaves and the ridge, aim for continuity: insulation tight to the joint, no gap at the wall plate, wall connection sealed with mastic or system tape. If the under-roof membrane is not HPV, keep a ventilated air gap beneath the covering and do not fill it with insulation. Document these junctions (photos, marking); they are inspection points.
Trusses and tie beams: working around them without breaking continuity (and without compressing the insulation)
With trusses, to insulate sloped roofs without compression, cut to size and add cheeks around the timber. If needed, complete with a cross-layer below the tie beams. The objective is to preserve useful thickness, limit thermal bridges, and maintain a continuous vapour control layer (overlaps, tapes, sleeves).
Roof window: reveals, vapour barrier connections, thermal bridges and finishes
Around a roof window, treat the reveals as a wall element in their own right. Ensure continuous insulation returns or an insulated frame. Connect the vapour barrier membrane with a compatible kit, then secure the penetrations (hangers, cables). For the finish, choose a lining that does not open the membrane.