Understanding a wall’s U-value for successful high-performance insulation in 2026
What the U-value (W/m².K) means and what it really tells you about your insulation
The U-value measures the amount of heat that passes through 1 m² of wall for a 1-degree difference between inside and outside. The lower it is, the better the wall resists heat loss. It describes a whole assembly (existing wall, insulation, cladding, surface resistances), not a single material. A good U-value helps you aim for a more stable house, like a lamp with a good shade.
U, R and lambda: the relationships you need to price a wall insulation job correctly
Lambda (λ) is an insulation material’s thermal conductivity. For a single layer, R = e/λ (thickness e). For the complete wall, you add up the R-values of each layer, then approximate U = 1/R. Watch out for framing, fixings and thermal bridges, which degrade the real-world result.
2026 target values and watch points: new build, renovation, deep renovation and trade coherence
In 2026, aim for insulation that’s consistent with the rest of the building. In new builds, performance also hinges on airtightness and thermal bridges. In renovation, align walls, roof, floors and joinery. In deep renovation, check ventilation, moisture and heating sizing to avoid “over-insulating” without renewing the air. To go further on this topic, see our thermal transmittance coefficient.
Method for calculating wall U-values: the step-by-step field approach
Surveying the wall composition: materials, thicknesses, cladding and linings
On site, identify the wall’s layer structure. Note each layer, from outside to inside: render, masonry, air gap, insulation, vapour barrier, plasterboard. Measure the thicknesses (probe, spot drilling, drawings) and identify the material to find its conductivity λ. Watch out for discontinuous linings and uninsulated areas around load-bearing partition walls.
Calculating total thermal resistance: layer R-values + surface resistances (Rsi/Rse)
Calculate the R-value of each layer. R = e/λ (e in m). Then add up all the resistances and include the surface resistances Rsi/Rse appropriate to the direction of heat flow and the wall’s orientation. This gives you Rtotal. The U-value follows directly. U = 1/Rtotal, in W/m².K.
Special cases to anticipate: damp walls, ITE/ITI, framing, thermal breaks and thermal bridges
A damp or degraded wall distorts λ and can reduce the insulation’s effectiveness. With ITI or ITE, address fixings, framing and thermal breaks. For timber framing, think in terms of the proportion of studs versus insulation. Finally, correct where needed with a ψ value for thermal bridges (slab edges, window reveals), since the “wall alone” U-value doesn’t tell the whole heat-loss story.
Practical tables for estimating U-value by wall type and insulation
Ballpark figures for existing walls: stone, brick, concrete block, concrete, timber
For a first estimate before insulation, keep to simple ranges. They vary with thickness, moisture and render. In renovation, aim above all for consistency, not the hundredth decimal.
- Solid stone 50 cm, U often 1.8 to 2.8 W/m².K
- Solid brick 20 cm, U 1.3 to 2.0 W/m².K
- Hollow concrete block 20 cm, U 1.0 to 1.6 W/m².K
- Concrete 20 cm, U 2.5 to 3.5 W/m².K
- Old timber frame (uninsulated), U 1.0 to 2.0 W/m².K
Impact of common insulation materials: mineral wool, cellulose, wood fibre, PU/PIR (examples of U after works)
With 120 mm of insulation, you often land between 0.20 and 0.35 W/m².K. Example for a typical wall, excluding thermal bridges, using standard lambda values.
- Mineral wool 120 mm, U ≈ 0.25 to 0.30
- Cellulose 140 mm, U ≈ 0.22 to 0.28
- Wood fibre 140 mm, U ≈ 0.25 to 0.32
- PU/PIR 100 mm, U ≈ 0.18 to 0.24
How to use the tables without getting caught out: tolerances, uncertainties and on-site checks
Treat these figures as benchmarks. Allow easily for ±20% depending on the wall’s condition, hidden linings, joints and thermal bridges. During the visit, measure the thickness, spot damp areas, note possible thermal breaks (floors, reveals), and confirm the lambda of the planned product on its technical data sheet. To refine the figure, you can also use a thermal resistance calculator for walls rather than relying solely on tables.
Saving time with software: how Argile automates wall U-value calculation
Fast diagnosis and insulation scenarios: from site visit to a solid estimate in minutes
With Argile, you describe the wall (materials, thicknesses, lining). The software applies the thermal-resistance-based calculation method to estimate the U-value, then compares several insulation scenarios. The result: a first estimate in a few minutes, with no spreadsheet and no back-and-forth.
Help with the technical site visit: collecting the key wall data and documenting evidence (photos, measurements, constraints)
During the visit, Argile guides you through the data that makes all the difference. Substrate type, moisture, thermal bridges, access, surface area, condition of the finishes. You attach photos and measurements to keep clear evidence and secure your insulation choices. That is the job of a technical visit documented measure by measure from the phone, which makes those readings reusable in the costing.
Quotes and funding: integrating wall insulation into a coherent costing
Once the scenario is validated, Argile feeds the surface areas, target performance and work items into the quote. The funding is factored in for a coherent costing, with assumptions that are clear to both you and your client. To go further on calculating and integrating it, see funding, costs and savings.
Use cases for installers: selling better-sized, better-signed wall insulation
Comparing ITI and ITE with a U-value-based case (comfort, floor area, risks)
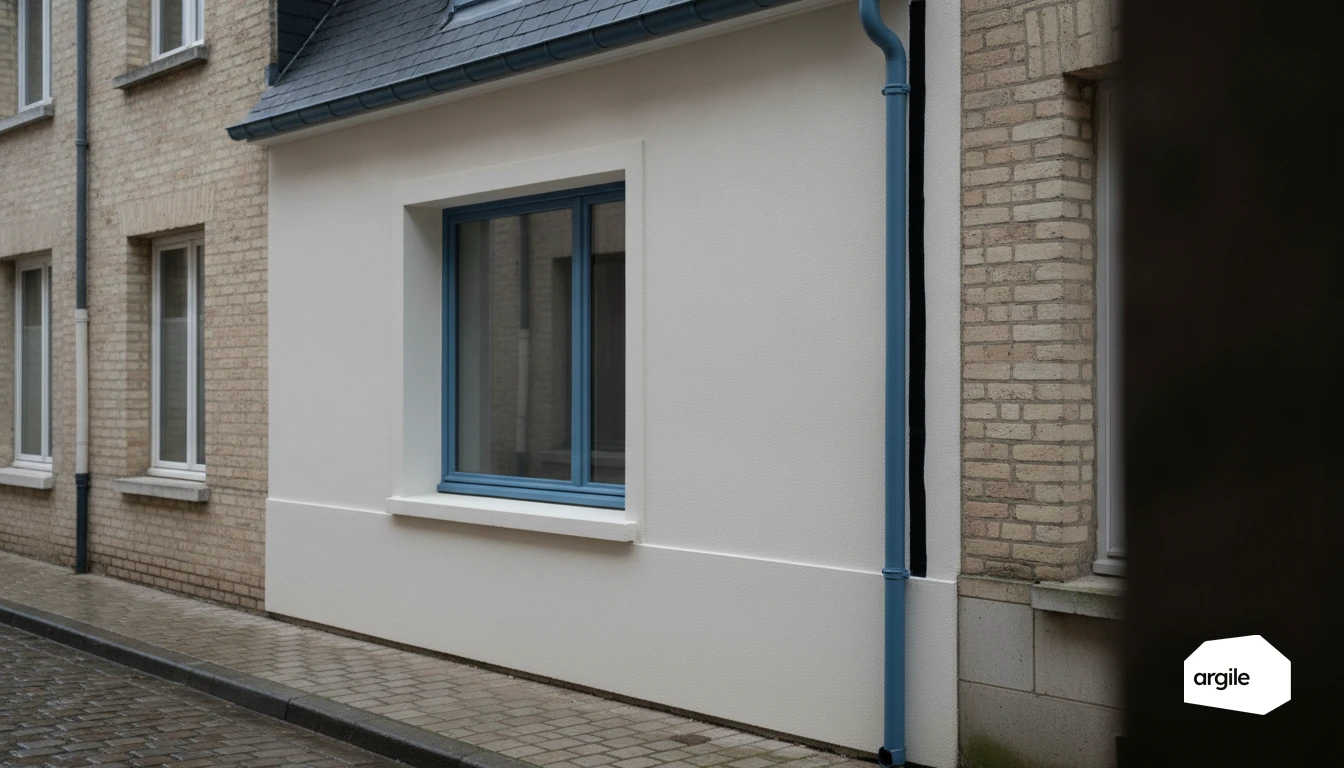
To make the choice objective, start from the U-value (W/m².K). The lower it is, the better the wall resists heat loss. ITI can reach a good U-value at a contained cost, but it eats into floor area and leaves more thermal bridges if partition walls and floors aren’t treated. ITE preserves the m², improves comfort and limits cold-wall risk, but requires a consistent façade (window sills, utility runs, overhangs). If you need to quickly clarify the pros and cons of each solution, see our ITI and ITE comparison. When the choice leans towards external insulation, the project is priced from the façade survey to the quote, openings detected and insulation picked from an up to date catalogue.
Prioritising work in deep renovation: walls vs roof vs floor, based on real gains
In deep renovation, base your decisions on real gains, not on habit. A poorly insulated roof can weigh heavily in the heat loss, with walls often coming next. The ground floor becomes a priority if the crawl space is ventilated or the garage is unheated. With a quick simulation, you can show the order of works that actually pays off.
Limiting call-backs: installation requirements, insulation continuity and treating junction details
The best insulation on paper is worthless without continuity. Panel layout, fixings, a warm-side vapour barrier in ITI when needed, and joinery interfaces are your safety nets. Address the junction details upfront (slab edges, window reveals, roof-wall junctions). You’ll cut down on rework, mould and disputes.