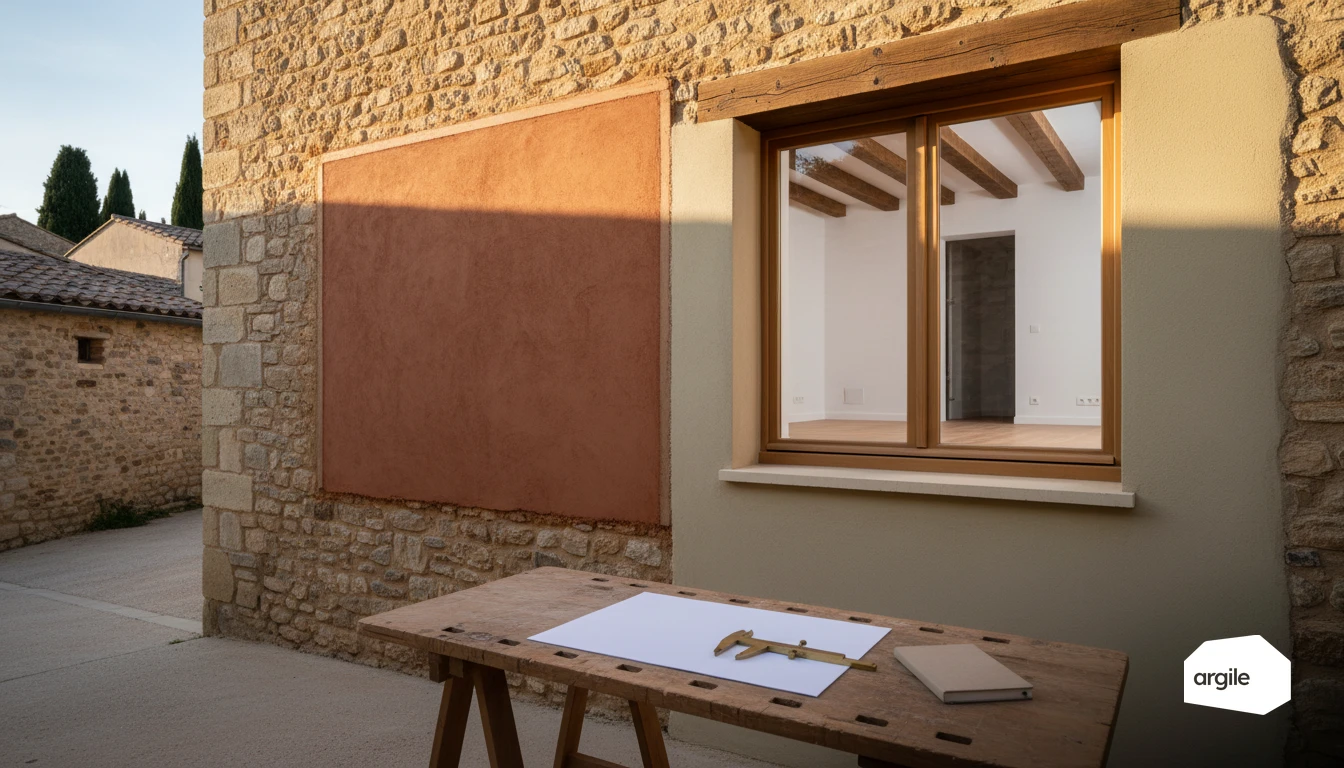
No single figure caps the heat loss of a junction in an existing dwelling. Approved Document L asks for reasonable provision on continuity of insulation and avoidance of thermal bridging, and leaves the numbers to the calculation: linear transmittance, in W/mK, junction by junction, with a default penalty applied whenever you cannot evidence a psi-value. What is a hard criterion is condensation risk, and there the benchmark used across the industry is the temperature factor of BRE IP 1/06: fRsi of 0.75 or more at any internal surface of a dwelling. That is the number worth writing on a detail drawing, because a junction that fails it will grow mould whatever the U-value of the wall around it.
Understanding structural junctions and their impact on job quality
Simple definition: where do structural junctions hide (wall/floor, roof, window connections)?
Structural junctions are the connection zones where two elements meet and where insulation or sealing changes plane. You'll find them at the base of a wall on a floor, at the top of a wall under a roof, and around windows, doors, and shutter boxes. Each connection is a small crossroads. If continuity isn't designed and then executed, performance leaks away along the route.
Thermal bridges, condensation, cracks: the concrete risks of neglecting details
| Criterion | What it says | Where it comes from |
|---|---|---|
| Continuity of insulation and avoidance of thermal bridging | Reasonable provision, evidenced by the detail actually built | Approved Document L, Volume 1 |
| Linear thermal transmittance of each junction | Calculated in W/mK, with a default penalty where no psi-value is evidenced | SAP, thermal bridging inputs |
| Temperature factor at an internal surface, dwellings | fRsi of 0.75 or more, to keep surface condensation off the junction | BRE IP 1/06 |
Neglecting these details creates thermal bridges. The interior surface cools down, air moisture condenses, then mould and odors follow. With materials that move differently, cracks appear at corners or reveals. On roofs and windows, a poorly caulked connection can also let air and water through. The result: lower comfort and rising callback rates.
What the tradesperson should spot from the site visit: sensitive points and common mistakes
From the site visit, check the continuity of insulation and membranes. Check insulation returns at reveals, floor ends, shutter boxes, utility penetrations, and loft connections. Common mistakes: insulation interrupted at a lintel, compressed insulation, forgotten adhesive tapes, foam alone with no backing. Treating structural junctions properly is what locks in a clean job. To go further on risk areas, also see thermal bridges.
Survey, diagnosis, and preparation: securing your details before renovating
Measurements and photos: building a usable detail file (before/after, thicknesses, sills)
Before demolishing or insulating, take clean measurements. Reveal widths, sill depths, cladding thicknesses, floor levels, roof overhangs. Add framed photos of the junctions, plus 2 or 3 overview shots. A dated photo file avoids misinterpretation, especially when several companies are involved. Argile holds that file during the visit: measurements, photos and equipment positions logged on the phone, with no re-keying back at the office.
Reading the substrate: moisture, irregularities, mixed materials, and structural constraints
A detail that looks clean on paper doesn't hold up on a damp wall. Identify infiltration, rising damp, mould, active cracks, and crumbling zones. Note flatness deviations, mixed materials (stone, brick, concrete), and load-bearing points. The goal: start from a sound substrate before adding insulation and airtightness.
Coordinating with other trades: who handles what at structural junctions (external/internal wall insulation, roofing, windows)?
Thermal bridges hide at interfaces. Map out who handles the insulation returns around windows, the connections at the base of the façade, the roof-to-wall connections, and the thresholds. With clear roles, there's no blind spot. You secure your structural junctions, whether in external or internal wall insulation, and the job stays airtight, in the literal sense. On the external wall insulation package, Argile assists the facade take-off, detects the openings and carries on to the choice of insulant and finish.
Key details by zone: practical solutions for reliable structural junctions
Wall/floor connection: insulation continuity, thermal breaks, treatment of slab edges
At this level, structural junctions quickly drive up losses. Aim for insulation continuity between external wall insulation and the floor. Treat the slab edge with suitable insulation and, if possible, thermal breaks on major renovations. On the sealing side, a compatible strip or sealant avoids air leaks at the base of the wall.
Reveals and window sills: airtightness, upstands, durable caulking
At reveals, take care of the frame-to-wall connection with a complete system. A membrane or dedicated tapes ensure airtightness. At the sill, an upstand and a correct slope limit infiltration. Favour a compressible, UV-protected caulk rather than bare exposed foam. To go further, also see treating critical junctions in external wall insulation.
Roof/wall connection and lofts: vapour barrier, vapour retarder, sealing continuity
In lofts, the rule is simple. No hole in the skin. Install a vapour barrier or vapour retarder suited to the wall assembly and connect it to the wall with tapes and sleeves. Check continuity at rafters, hatches, and ducts, otherwise vapour sneaks through and the insulation loses performance.
On-site quality control: checking structural junctions at the right time
Checkpoints before closing up: checklist of details to validate (bonding, tapes, overlaps)
Before closing up, your structural junctions are validated in 3 steps. Continuous bonding on a clean, dry substrate. Tapes properly smoothed at junctions and corners. Overlaps compliant with the instructions, with no folds or bubbles.
- Insulation continuity at wall-floor, wall-roof, and reveal connections.
- Membrane-to-window and membrane-to-masonry connections with no "free" zone.
- Fixings and hangers treated with the intended accessories.
Airtightness and water vapour: managing penetrations (utilities, boxes) without degrading quality
Every penetration can become an air leak or a condensation point. Anticipate the runs (ducts, ventilation, plumbing) and use sleeves, grommets, and compatible tapes. For electrical work, favour sealed boxes and a sealant finish. The goal is controlled penetrations, not "patches."
Traceability: photos, product sheets, and self-inspection to prove quality in case of dispute
Before closing up, take dated photos of sensitive zones. Archive product sheets, installation instructions, batch references, and layout diagrams. A signed self-inspection sheet, with 5 to 10 points, provides solid evidence in case of a dispute or a request for proof (CEE, grants). To frame the approach, also rely on quality control checkpoints at handover.
2026 requirements and practices: selling the quality of your structural junctions better
Client expectations and audits: how to showcase your details and your quality in 2026
In 2026, between energy audits and comfort expectations, it's often the connections that make the difference. Show off your structural junctions with simple visual proof. Sketches, before, during, and after photos. You make your quality visible, and therefore sellable.
Quotes and specifications: clearly stating structural junctions (zones, materials, installation)
In the quote, name each sensitive zone. Wall-floor connection, window reveal, shutter box, utility penetrations. State the material, the thickness, and the planned installation. A clear sentence avoids misunderstandings.
Reservations and callbacks: anticipating returns through standardized, repeatable details
Reservations rarely come from the "main" trade. They come from a detail that differs from one room to the next. Formalize your structural junctions. Same diagram, same check, same photo for the handover file. The goal: zero surprises on callbacks.