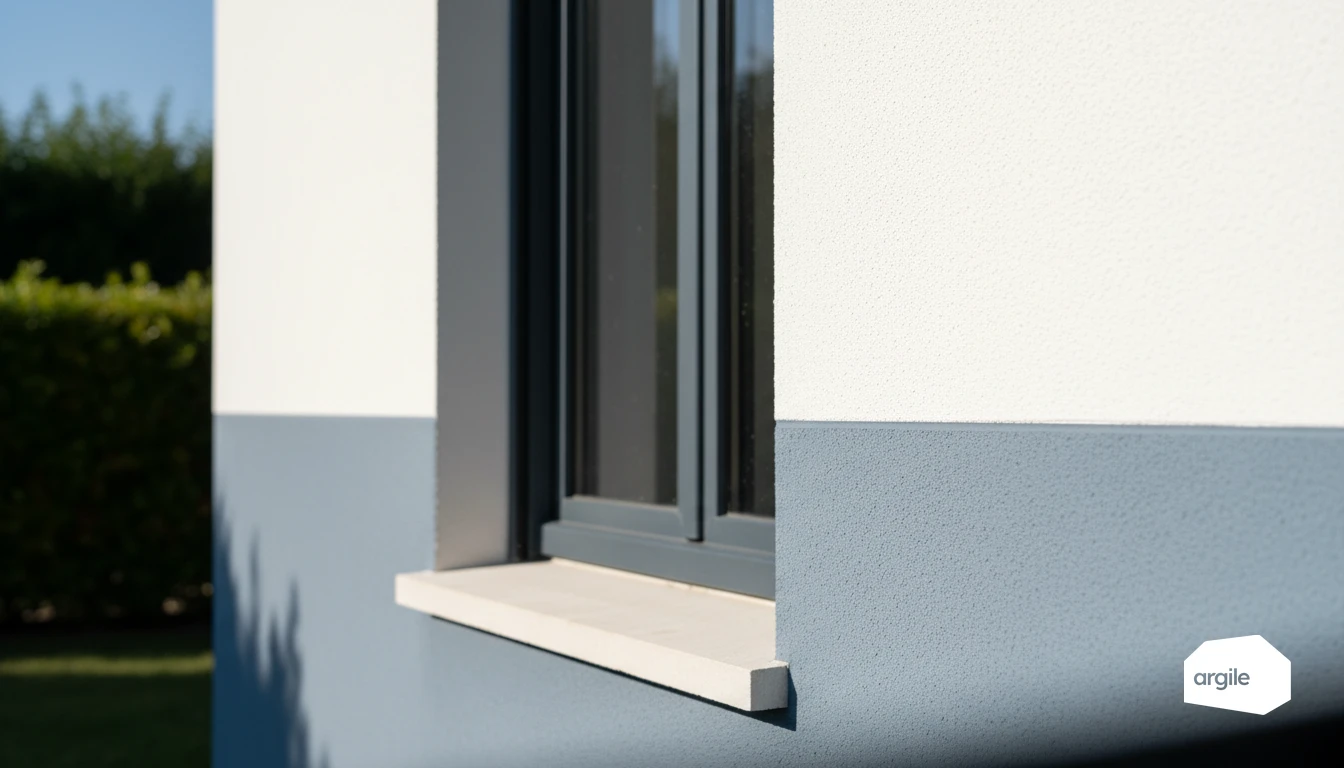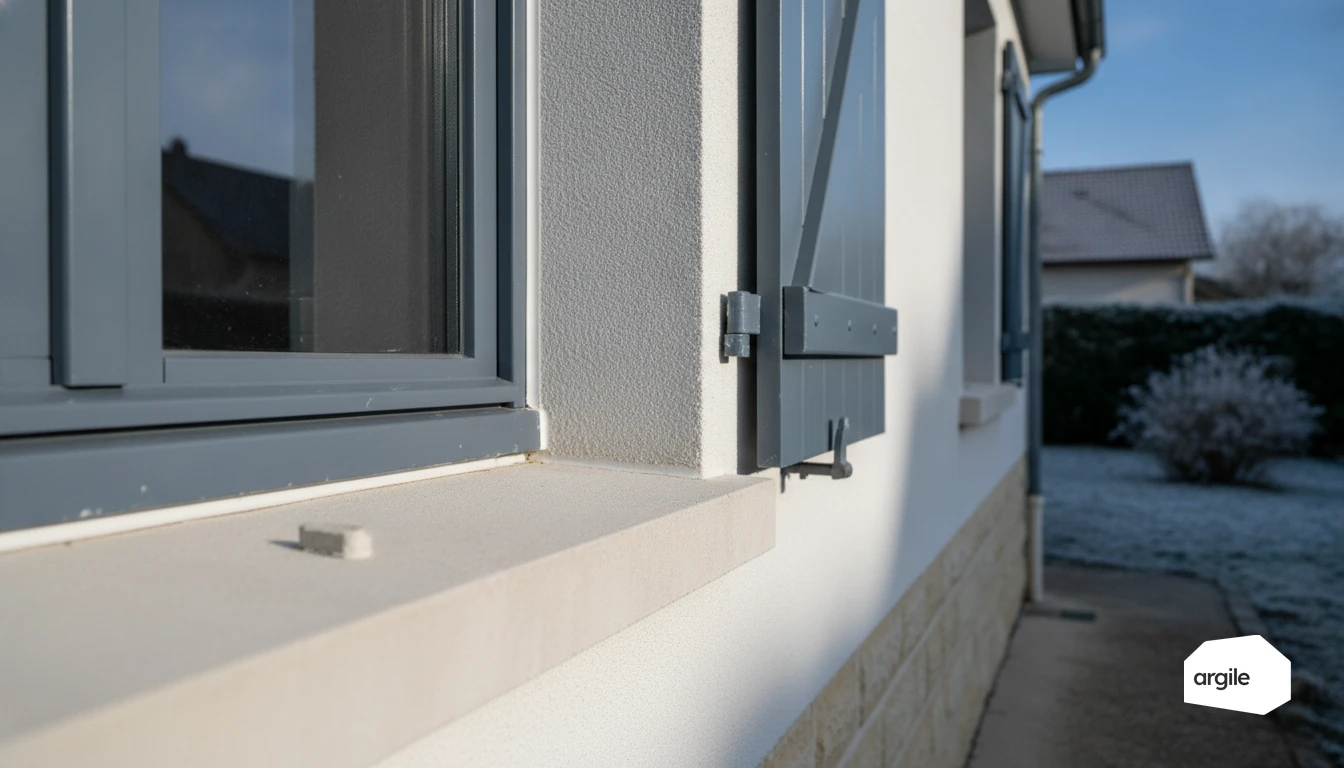
Why the window reveal is a sensitive point in external wall insulation
Thermal bridge: understanding what happens at the reveal
In external wall insulation, the insulation covers the wall, but continuity breaks at the reveal. If the insulation doesn't return far enough toward the frame, you create a thermal bridge. Cold travels inward, especially through the concrete, cills, and fixings.
Infiltration and condensation: spotting risks before the job
The reveal also concentrates sealing points. Before starting work, check the condition of the joints, the flatness of the substrate, the window cills, and water drainage. A sealing defect can lead to water infiltration, then condensation in the insulation or on the return, with stains and mould.
Comfort and finishes: the impacts your client sees
This is where the client judges the result. A poorly treated reveal means a cold-wall sensation, visible plaster patching, and cracking corners. With a clean insulation return, suitable profiles, and careful trim, you gain perceived comfort and clean finishes.
Diagnosing the existing situation before insulating reveals in external wall insulation
Measuring the openings: cills, frames, overhangs and alignments
Before closing up the reveals with external wall insulation, record the actual dimensions and carry them into your external insulation quote. Measure the width and height of the opening, the reveal depth, the frame position, and especially the cill (slope, drip groove, nose). Also check existing overhangs (drip edge, cill flashing). These measurements avoid reducing the usable opening and help set the return insulation thickness.
Identifying the window type: replacement in situ, full removal, timber/uPVC/aluminium frame
Identify the installation type. In a replacement onto the existing frame, the new frame is fixed onto the old one, which changes the depth available in the reveal. In full removal, you start with a sound substrate, which is simpler for ensuring external wall insulation continuity. Depending on whether the frame is timber, uPVC, or aluminium, check possible insulation jamb extensions, fixings, and treatment of the thermal bridge around the perimeter.
Checking air and water tightness: checkpoints on site
On site, check the sensitive points. Perimeter joints, compressible foam tape, substrate cracks, moisture stains, water drainage, and drip groove. On the air side, look for leaks by feel or with a smoke pencil, especially at corners and around shutter passages. Correct these before closing up with external wall insulation, using sealant, adhesive tape, and compatible membranes.
Choosing the right insulation solution for window reveals in external wall insulation
Thin insulation panels on the reveal: when to favour them and their limits
Thin panels (often 10 to 30 mm) are useful when the reveal depth is limited and you need to preserve light and sash opening. They serve as a supplement to reduce the thermal bridge around the window. Their limit is straightforward: if the external wall insulation stops too far from the frame, the gain remains partial. And an overly airtight composite that's poorly positioned can encourage moisture issues if airtightness isn't properly treated.
Insulation return and suitable profiles: treating the junction cleanly
Where possible, returning the external wall insulation into the reveal (with a consistent thickness) provides a continuous junction. Consider reveal profiles with a sealing lip, mesh-reinforced corner beads, and render-stop profiles. You save time on finishing and secure the render's hold at the corners.
Material compatibility: insulation, render, tapes, adhesives and fixings
Stick to a validated system from end to end. Insulation, adhesive, base coat, mesh, profiles, and finishing render must be compatible and covered by the manufacturer's technical documentation. Also check the sealing tapes (compressible foam tape, membranes) and choose fixings suited to the substrate and thickness, to avoid cracks and infiltration. To go further on execution details on the façade, also see treatment of singular points.
Installation: key steps to insulate a window reveal without defects
Substrate preparation: dust removal, repairs, sealing and primer
Before installing the insulation, the reveal must be clean and sound. Remove dust, strip old joints, patch chips and cracks. Seal air passages around the frame with a backer rod or suitable foam, without forcing against the window. Apply a suitable primer if the substrate is friable or highly absorbent.
Installation and junctions: window cill, drip groove, lintel and jambs
Treat the cill first. Check the slope and condition of the drip groove, then bring the insulation up without blocking water drainage. Connect the lintel and jambs continuously with the external wall insulation, with clean cuts and bonded joints. Continuous airtightness is achieved with tapes, compressible foam tape, or sealant, depending on the system.
Durable finishes: corner beads, drip edges, joints and protection
Protect the edges. Install corner beads and a drip-edge profile to prevent streaking on the render. Finish with a flexible perimeter joint compatible with the façade. Keep the reveals protected until fully dry for a durable finish.
2026 requirements and best practices for external wall insulation and window reveals
Building Regulations and certification: documents to keep and sensitive points to justify
Solid wall insulation depends as much on the paperwork as on the wall. Under Approved Document L, a wall upgraded as a thermal element is expected to reach 0.30 W/m²·K, and Scotland's Section 6 and the Welsh Part L set their own equivalents. Keep on hand the system's BBA (or equivalent third-party) certificate, your TrustMark registration and PAS 2030 scope, a detailed quote and invoice, and the manufacturer's installation details. On site, window reveals must demonstrate continuity of insulation and airtightness.
Funded work (ECO4, Great British Insulation Scheme): what your site evidence must show
For funded measures, your site evidence must connect the product to the result. Show the installed thickness, the reference, the lambda value, and the stated thermal resistance. Add before, during, and after photos of the singular points, especially reveals, cills, and lintels, with a visible measurement marker, that record is what the retrofit coordinator lodges, and what an audit comes back to.
Checks and callbacks: photos, self-inspection and habits that prevent rework
Anticipate inspections with a simple self-inspection. Dated photos of the mechanical fixing, starter profiles, corner reinforcements, window junction treatment, and sealing. A good reveal is a clean, continuous frame with no gaps. It also means fewer callbacks.