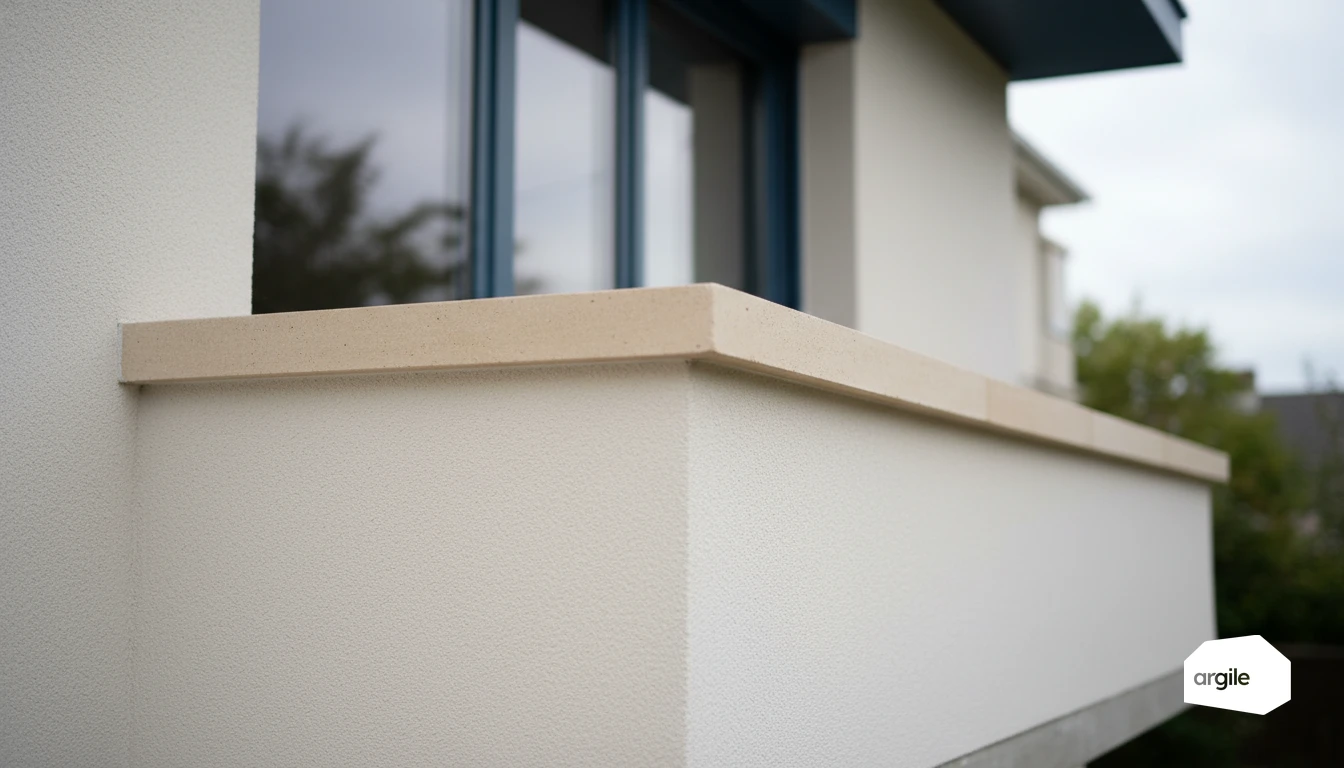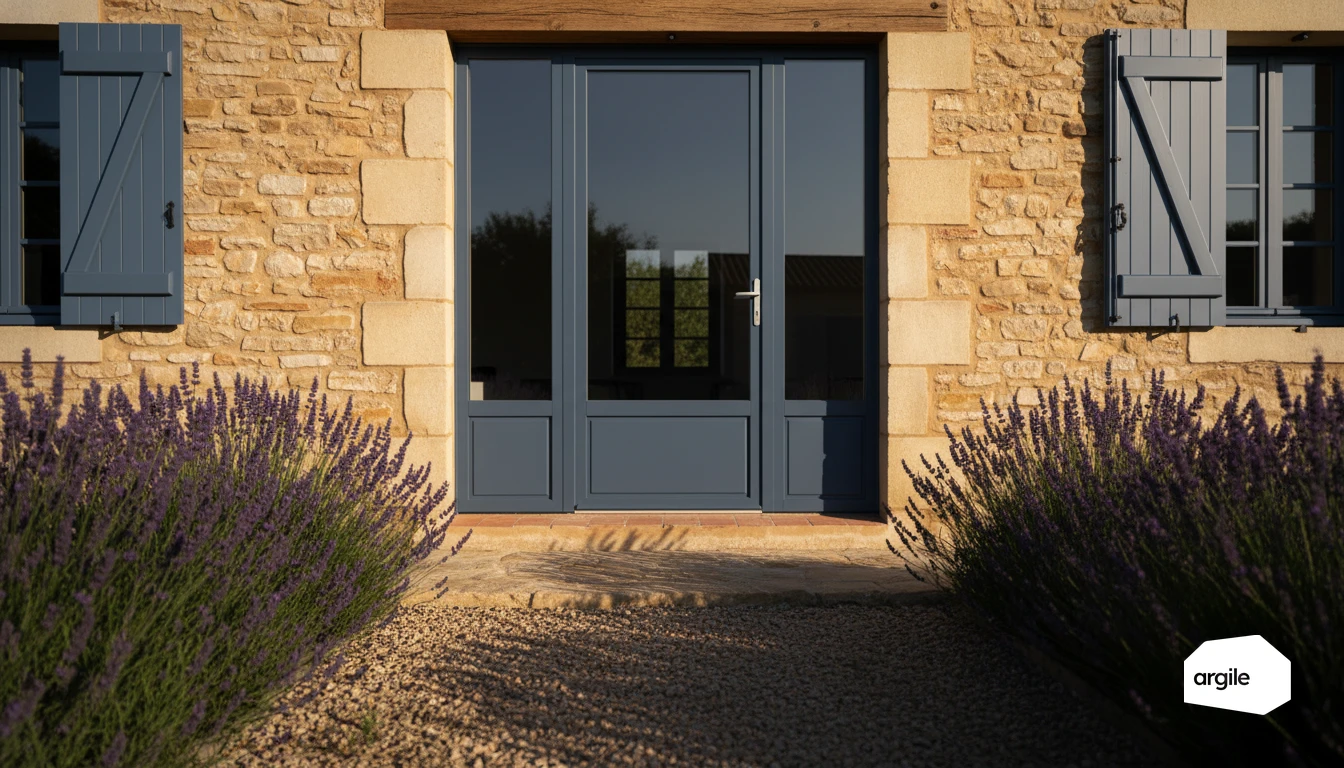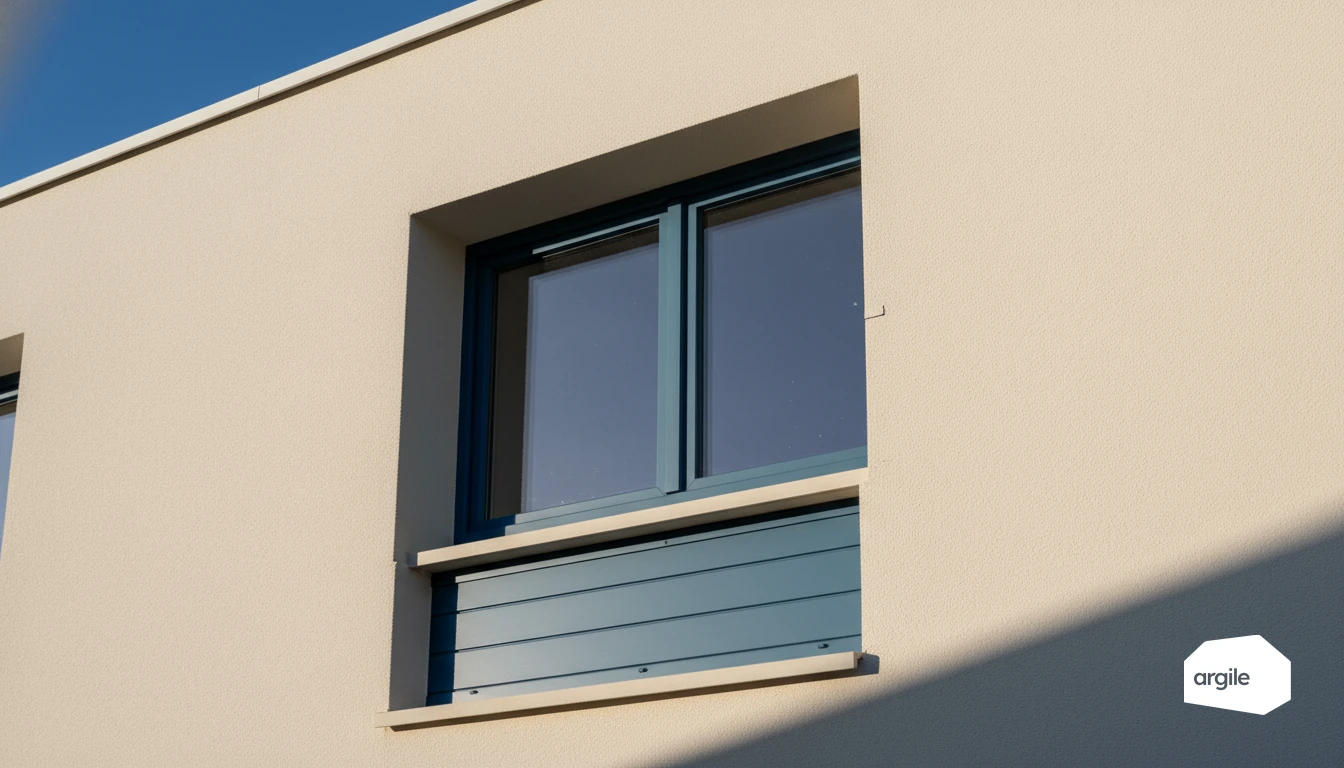
Between a face-fixed installation and a tunnel installation, the difference shows up on the window-wall thermal bridge: of the order of 0.02 W/(m·K) face-fixed against 0.06 W/(m·K) in tunnel, over a perimeter of 6 to 8 m for a standard window. Face-fixed installation, with the frame set against the face of the wall, keeps the insulation continuous at the reveal provided the jamb extenders are calculated on the actual insulation thickness. Tunnel installation, with the joinery inserted into the thickness of the opening, only holds if the peripheral insulation and the sealing run continuously all the way round, and rebate installation reuses an existing recess, so it calls for a survey of the gaps before ordering. The item that triggers callbacks is neither the glazing nor the frame but the joint: compression sealing tape sized on the measured gap, an airtightness tape on the inside, and sealant as a finish only.
Understanding window-related thermal bridges: what's at stake at the reveal
Where the heat loss comes from: frame, reveal linings, sills and masonry-joinery connections
At the reveal, the problem often comes from discontinuities in the insulation around the window. The frame touches cold masonry, the reveal linings don't always match the insulation thickness, and the sill can create a real thermal "step", to the point of cancelling the gain of a thermally broken aluminium window. Add fixings, shims, flashings and poorly positioned seals. The result is a short path for the cold and, in winter, a zone where the temperature drops.
Site signs: condensation, mould and the feeling of a cold wall
On site, this is quickly spotted. Condensation at the base or corner of the reveal, black marks, blistering paint, the feeling of a cold wall when you pass your hand over it. In renovation, these symptoms often appear after a window replacement if the insulation connection wasn't redone.
Sensitive airtightness points: membranes, compression sealing tape and sealant
Thermal performance follows air. Careful continuity is key. Membranes or sealing tapes on the interior side, properly sized compression sealing tape around the perimeter, and sealant as a finishing touch only, used as a complement. The goal is simple: no leaks, no drafts, and a reveal that stays "warm." For more on the impact of the joinery type, see the impact on airtightness.
Choosing the right installation method based on the substrate: face-fixed, tunnel or rebate
Face-fixed installation: insulation continuity on the interior/exterior side and managing reveal linings
Face-fixed installation places the window frame against the interior or exterior face of the wall. It's often chosen when you have insulating lining, to maintain insulation continuity at the reveal and limit air leaks. The reveal linings are used to make up the insulation thickness and align the frame with the cladding. Measure them as precisely as possible, or sealing quickly becomes a "patch job."
Tunnel installation: wall thickness, embrasures and risk of thermal bridges around the perimeter
In tunnel installation, the joinery is inserted into the thickness of the opening. On thick walls, check the plumb of the embrasures and the position to avoid too large a gap around the perimeter. Without peripheral insulation and continuous sealing, the thermal bridge around the perimeter can cancel out part of the gain. For more on these effects, see thermal bridges.
Rebate installation: reworking an existing opening, adjustments and sealing constraints
Rebate installation allows you to reuse an existing recess. It requires precise measurements, sometimes recutting, and a check of the gaps to avoid friction. Take care with the sealing using suitable tapes, sealant and, if needed, airtightness membranes for a lasting installation.
Execution details to break thermal bridges around the window
High-performance sealing: compression sealing tape, controlled PU foam and sealant bead (proper use)
Around the window, aim for the "3-layer" joint. On the outside, compression sealing tape ensures rain resistance without blocking drying. In the middle, PU foam is dosed to fill without bowing the frame. On the inside, a sealant bead or a sealing tape guarantees airtightness, not just aesthetics.
Treating sills and thresholds: sill upstand, flashing, thermal breaks and water drainage
A well-managed sill avoids leaks and cold zones. Check the slope toward the outside, the presence of a sill upstand and a flashing with a drip edge. Under the sill and at the threshold, plan for a thermal break or compatible insulation, and leave a clear water drainage path.
Connections with ITE/ITI: insulation returns, insulated reveal linings and vapour barrier continuity
With ITE, make insulation returns at the reveal to cover the edge of the frame. With ITI, insulated reveal linings limit the "cold frame" effect. In all cases, cleanly connect the vapour barrier or vapour check to the joinery with suitable tapes to maintain continuity. To choose the right replacement method, also see full removal vs. installation on existing frame.
Getting the installation right in renovation: full removal, partial removal and adjustments that matter
Full removal vs. partial removal: impact on thermal bridges and performance
In renovation, full removal takes out the old frame. It's often the best choice for treating thermal bridges at the reveal and starting fresh with clean airtightness. Partial removal keeps the existing frame. It's faster and limits rework, but you lose a bit of glazed area and keep the substrate's defects. On a window, the right choice mainly depends on the frame's condition, the reveal insulation and the performance targets.
Tolerances, plumb and squareness: limiting gaps and avoiding patched-up fixes
Before fixing, check the diagonals, plumb and level. Shimming, reveal linings and even perimeter gaps make the difference. Aim for a continuous sill, with no strain on the frame. A squareness defect ends up as a sash that rubs, crushed seals and sealant patches that don't hold.
End-of-job checks: simple smoke test, resealing and finishes
At the end of the installation, run a simple smoke test. Smoke drifting along the perimeter signals a leak. Redo the sealing with a continuous joint, then check the hinge adjustment and seal compression. Clean finishes, trims and details. This is where quality shows, and is felt in comfort.
2026 requirements and best practices: installation quality, RGE and aid schemes (without taking risks)
What clients expect in 2026: comfort, savings and clean finishes around the window
In 2026, your clients judge the result first. Careful installation brings thermal and acoustic comfort, limits the feeling of a cold wall and avoids drafts. Finishes matter as much as the product, sills, reveals, trims, neat seals, no visible foam, and continuous airtightness around the window.
Consistency with a bundle of work: insulation, ventilation and window replacement
Window replacement works better as part of a coherent bundle. If insulation is progressing, think about ventilation, air inlet adjustments, mechanical ventilation, and treating thermal bridges at the frames. Coordinate your steps with internal or external wall insulation to avoid rework and disputes, listing the windows and the net façade areas as early as pricing, which Argile does by spotting the openings on façade photos.
Documents to secure: technical data sheets, test reports/approvals, sealing photos and job-site traceability
For aid schemes (CEE, MaPrimeRénov'), anticipate inspections. Keep clear job-site evidence: quote signed before work, invoice, up-to-date RGE certificate, technical data sheet (Uw, Sw), AEV test report or technical approval if applicable, CEE attestation, and dated photos of the interior and exterior sealing. To frame these requirements and limit non-compliance risks, rely on the best practices in securing your applications and avoiding disputes.