The outer frame of a window is its fixed frame, bedded or screwed into the masonry, from which the sashes hang: it is the part you keep or take out when you replace a window. Choosing between full removal and installation on the existing frame is not a matter of preference. Keeping a frame means taking responsibility for it, which is why BS 8213-4 makes a survey of the existing opening the starting point of the job, and why a frame that carries a guarding function is not a frame you install over. The performance threshold, meanwhile, has nothing to do with the method: Approved Document L sets a replacement window at a Uw of 1.4 W/m²·K or better, whatever the frame underneath. The method is therefore decided on the condition of the retained frame and on how much rework you are prepared to take on, not on the energy rating of the unit.
Window outer frame: definition and joinery vocabulary
The outer frame is the part of the window that does not move: a frame of four sections fixed into the opening. Here are the terms that come up on a replacement quotation.
| Term | What it is | What happens to it in a retrofit |
|---|---|---|
| Outer frame | Fixed frame bedded or screwed into the masonry | Kept when fitting over, taken out in full removal |
| Sash | Moving part that carries the glazing | Always replaced |
| Rail | Horizontal section (head, bottom rail), the jambs being the verticals | The bottom rail is the first to rot |
| Sill | Bottom of the frame, with its drainage slots | Covered when fitting over, renewed in full removal |
| Upstand | Raised lip of the masonry sill that stops water | To check in both cases |
| Frame extension | Section widening the frame to make up for a wall lining | Needed if the wall was insulated internally |
| Cover strip | Section hiding the joint with the old frame | Specific to fitting over the old frame |
A renovation frame is the new frame designed for this method: its cover flange overlaps the old frame, and it is what costs you glazed area.
Full removal or fitting over the frame: cost, time and performance compared
Here is what each method actually changes on site.
| What changes | Full removal | Installation on the existing frame |
|---|---|---|
| What you take out | Frame, sashes, jamb linings and sometimes the trim | Nothing of the frame: it stays in place and takes a new frame on top, then cover strips |
| The opening | Reworked before installing: sealing, weatherproofing, sills | Kept |
| Glazed area | Kept, or even gained | Reduced by the visible width of the new frame |
| The job | Longer, more finishing rework | Faster and less invasive |
| Installation time | Half a day to a day per window, finishing included | One to two hours per standard window |
| Extra labour cost | Around €150 to €500 per window, depending on the reveal rework | Baseline |
| Performance delivered | That of the unit, with sealing redone from scratch | That of the unit, limited by the condition of the old frame |
Times and extra cost are orders of magnitude from the French market, excluding supply: the reveal rework weighs more than the removal itself.
Full removal: taking out the existing frame and fully reworking the opening
It's the cleanest method for starting from a sound base and aiming for lasting airtightness.
Installation on the existing frame: keeping the frame and adding a new one
In exchange, the performance depends heavily on the condition of the substrate and the installation.
When the existing frame becomes a weak point (wood, PVC, aluminium)
The frame becomes a weak point if it's deformed, poorly anchored, or if the old sealing lets air and water through. In wood, watch for blackened or soft zones. In PVC, watch for deformation and poorly sealed cuts. In aluminium, watch for thermal bridges and corrosion of the fixings. In these cases, full removal avoids "building on top of a problem", related to the trade-offs between full replacement vs changing just the glazing.
Full removal: when a window renovation justifies the heavier intervention
Gaining airtightness and avoiding sealing defects
When the old frame is kept, the connection between the new window and the building often relies on "best effort" sealing. With full removal, you start from a bare substrate. You can address the clearances, install suitable compression tape and take care with sealing continuity all the way around. The result: fewer air infiltrations, fewer cold draughts and less risk of condensation around the perimeter. That perimeter also weighs on the air permeability of the building measured at the end of the job.
Correcting plumb defects and damaged frames without a patch job
If the frame is warped, rotten or cracked, installing on top of it in renovation masks the problem without fixing it. Full removal lets you restore square, rework the reveals and fix the window on a sound support. You avoid endless shimming and closures that force. It's cleaner, more durable, more adjustable.
Preserving glazed area: what fitting over the frame costs you
The glazed area is the visible glass. When fitting over the frame, the new frame sits inside the old one: on each side you lose its visible width, often around 3 to 5 cm. On a window whose glass measured 100 × 120 cm, 4 cm per side bring it down to 92 × 112 cm, that is 1.03 m² instead of 1.20 m²: 14 % less light. On a small shower-room window of 50 × 60 cm, the same 4 cm take away more than a quarter. With full removal, the new frame takes the place of the old one and you keep a good glazed area, along with the solar gains that come with it, without changing the balance of the façade.
Full window removal without damage: the steps and making good the reveals
A clean full removal comes down to one rule: take the frame out in pieces rather than tearing it out in one block.
- Survey before touching anything: on a building put up before 2000, an asbestos refurbishment survey is required under the Control of Asbestos Regulations 2012 (putties and sealants may contain it).
- Protect the floor and the render, take off any trim you will reuse.
- Lift the sashes off their hinges.
- Saw the frame in the middle of the jambs and the head, so it comes out in pieces without levering against the masonry.
- Cut fixing lugs and screws with a reciprocating saw, never with a crowbar.
- Clear out the old sealant and make good any spalling with mortar.
- Pack, fix into the structure, seal continuously before any trim.
- Make good the reveals: render outside, plaster, board or frame extension inside.
Making good the reveals is what sets the price of a full removal. Inside, returning the insulation into the reveal avoids a thermal bridge if the wall is lined; outside, under external wall insulation, the reveal follows its own rules, set out in insulating the window reveal under EWI. Price these items line by line: that is where the gaps between two quotations hide.
Installation on the existing frame: the right choice when the substrate is sound
How to check whether an old frame can be kept
This method involves keeping the existing frame and fixing the new window to it. Before starting, the substrate is checked point by point.
What you check on the retained frame
- The frame properly square, rigid and solidly anchored into the masonry.
- Diagonals measured and compared, plumb and level recorded: an out-of-square frame carries into the new one.
- On wood, the sensitive zones (bottom, corners, transom) free of any trace of rot or swelling.
- With an awl or screwdriver, the wood should stay hard.
- Sill sound, upstand present and drainage slots clear.
- No guarding function: otherwise, full removal is required.
- No lingering moisture, or the installation won't hold.
A single failed point is enough to switch to full removal: you do not repair a frame under a new one, you hide it.
Fitting a new window over an old timber, PVC or aluminium frame
On timber, the usual case, you plane off the projecting parts of the old frame, treat the exposed wood, then fix the new frame through it, down to the masonry if the timber does not hold. On an old PVC frame, the method works with more caution: old PVC becomes brittle and its chambers only hold a screw in the steel reinforcement. An old aluminium frame without a thermal break stays cold once covered, and full removal is usually the answer. On choosing the material of the new unit, see PVC, aluminium, timber or composite.
Limiting interior work: trim, finishing and managing the sills
The advantage is reducing the mess. Most of the time, you keep the reveals and part of the finishes. Plan for clean trim to cover the old frame, and anticipate jamb extensions if interior insulation has thickened the wall. On the sill side, take care with water drainage: drip edge, slope, and continuity with the sill piece.
Watch out for performance: thermal bridges, seals and added thickness
You save time, but not at the cost of airtightness. Treat the perimeter with suitable seals, continuous and durable over time. Otherwise, air infiltration and thermal bridges come back quickly. Another point: the added thickness reduces the glazed area and can change the light comfort. Also check the adjustment of the sashes, to keep a clean, even closure.
Choosing the best window solution in 2026: technical criteria and site constraints
Depending on the wall and reveal type: stone, brick, concrete, timber frame
The substrate dictates the method. In stone, the reveals are rarely square. Plan for shimming and localized rework to guarantee airtightness. In brick, watch for chipping when drilling and the thermal bridge at the frame. In concrete, fixing is simpler but the adjustment must stay precise. In a timber frame, the window must respect the membranes. Take care with the rain barrier and vapour barrier connections.
Depending on the goal: insulation, acoustics, security, façade aesthetics
For thermal comfort, aim for a low Uw and glazing suited to the orientation. In a noisy area, favour acoustic glazing. For security, laminated glazing and reinforced hardware make the difference. On the façade, check the constraints on colour, glazing bars or alignment. Your window needs to fit in without degrading the envelope.
Depending on the schedule and budget: installation time, rework, overall cost
Installation time is only part of the equation. Cost out the overall price including trim, sills, touch-ups, and disposal. In 2026, check the subsidies at quote time, since the rules keep changing.
Thresholds and evidence in 2026: what goes on the quotation
The U-values that decide whether the work is compliant
Approved Document L does not care how you installed the unit, only what the installed unit achieves. The thresholds below are the ones that must appear on the quotation and the invoice, taken from the manufacturer's declaration of performance rather than from a brochure. For comparison, in France decree no. 2026-822 of 25 August 2026 took windows out of the MaPrimeRénov' per-measure grant for applications filed from 1 September 2026, as the end of the MaPrimeRénov' window grant explains.
| Component | Maximum U-value (W/m²·K) |
|---|---|
| Replacement window | 1.4 |
| Replacement rooflight | 2.2 |
| Replacement external door | 1.4 |
What you remain liable for beyond the product
The U-value on the data sheet says nothing about what you hand over. What you are liable for is the continuity of the air seal around the perimeter, the treatment of sills and reveals, and the ventilation of the dwelling once the units are in. Record the existing background ventilators and their compatibility with the system in place before ordering, as Approved Document F requires: an airtight window fitted onto undersized ventilation produces condensation at the reveal, and you are the one going back to it.
The evidence pack to build during the job
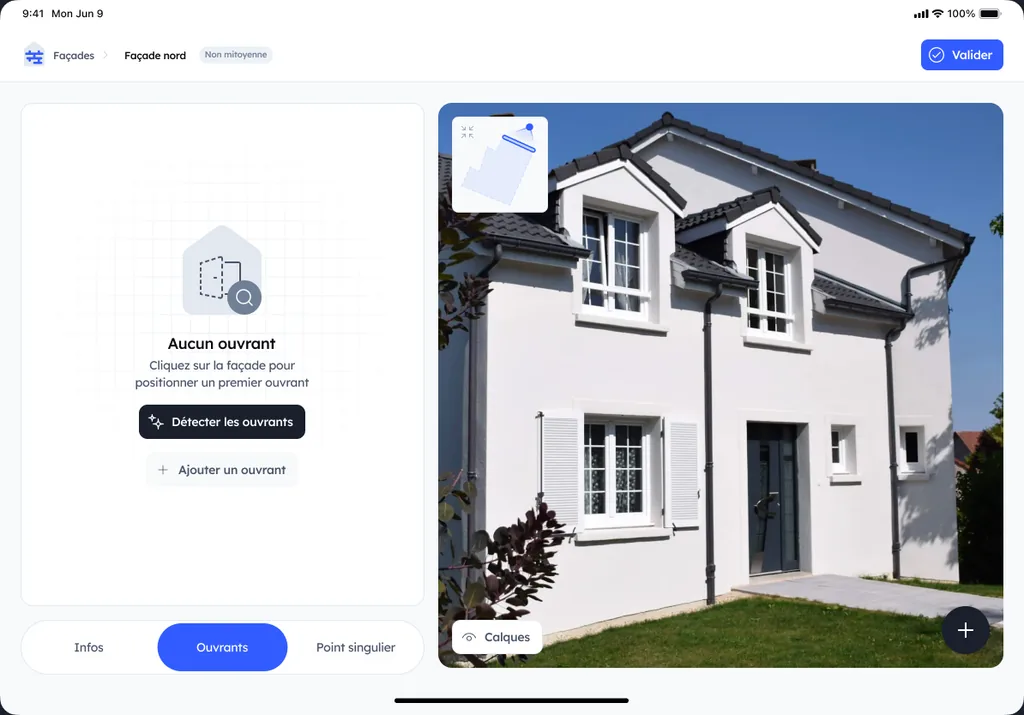
A detailed quotation (number, dimensions, opening type, U-value and g-value per reference), a pre-works record of the condition of any retained frames, before, during and after photos, the installation instructions and the delivery note. The pre-works record is what protects you in a dispute over an installation on an existing frame: without it, the condition of the substrate before you arrived is no longer demonstrable. That window schedule need not be built by hand: Argile's AI picks out the openings on the façades and feeds them into the pricing.