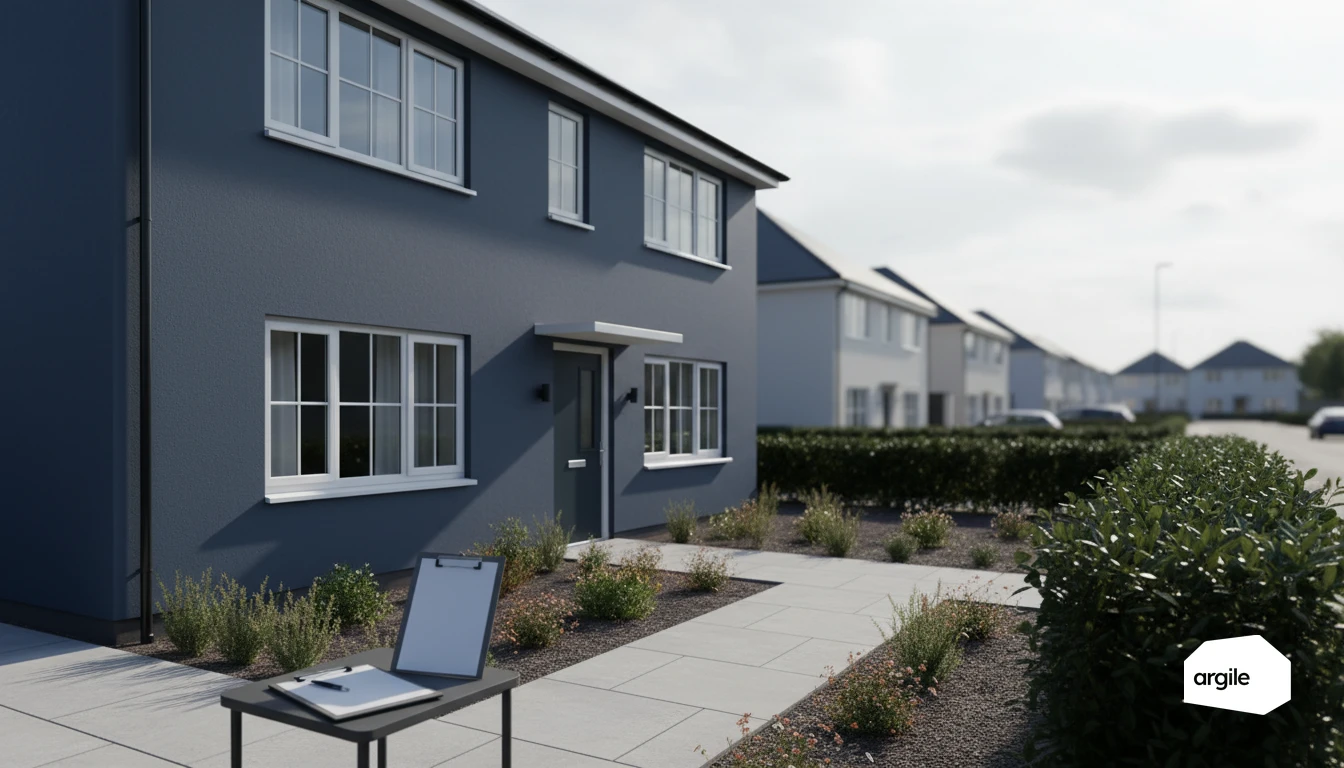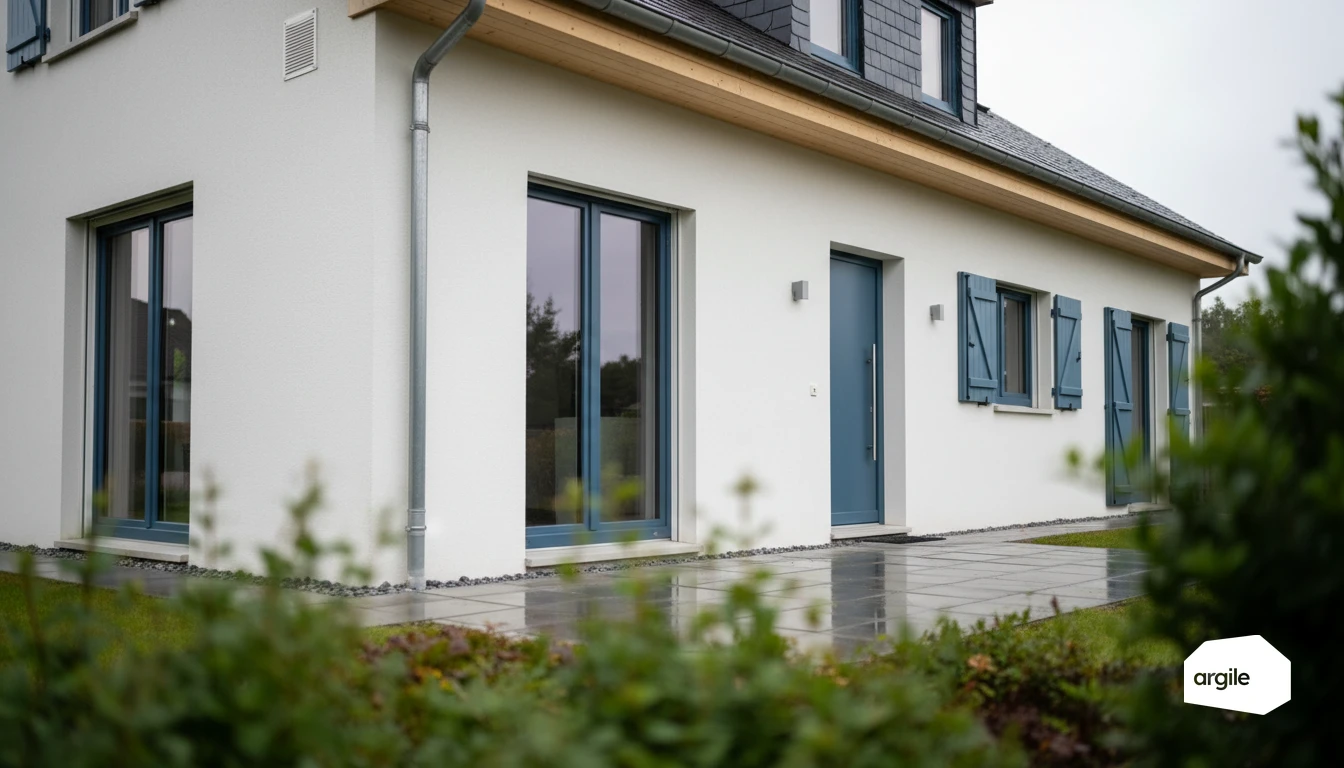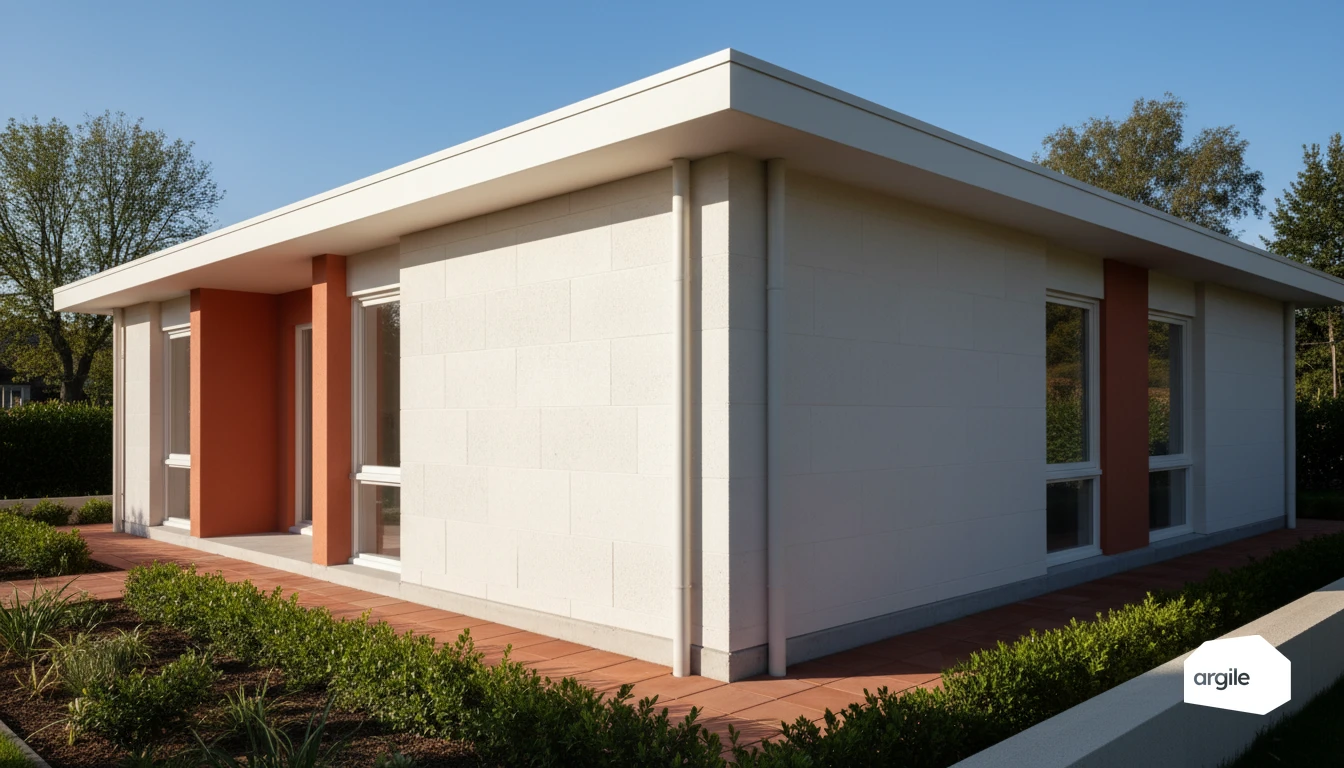
Costing a thermal bridge comes down to three figures: Q = Ψ × L × ΔT, the linear coefficient in W/(m·K), the length of the junction in metres and the temperature difference. Orders of magnitude found in retrofit run from 0.02 to 0.15 W/(m·K) for a window-wall junction, 0.15 to 0.35 for a partition wall and 0.30 to 0.65 for a ground floor-wall junction, the last of these almost always being the heaviest item. The length is taken off the survey, junction by junction, and the Ψ value is read from the installed system's catalogue or from the accredited construction details where they apply. A Ψ carried into a quote without its source does not survive a check, and it is the line the client removes first when comparing two offers.
Understanding linear heat loss and its impact on your jobs
Heat loss, thermal bridges: what are we actually talking about on site?
On site, heat loss doesn't only come from large insulated surfaces. Thermal bridges are areas where the insulation is interrupted or crossed by a more conductive material. When the loss follows a junction (in W/m.K), it's called linear heat loss. This is often where "the cold gets in" and where the client feels it.
Where linear losses hide: wall/floor junctions, partition walls, windows/doors, balconies
The points to watch are fairly repetitive. Junction between external wall and ground floor or intermediate floor, slab edges and balconies, partition walls crossing the insulation, window/door reveals, roller shutter boxes. One poorly treated detail is enough to create a continuous leak line, even with good thermal resistance across the surface.
Why it's decisive in 2026: comfort, condensation risks, performance after works
In 2026, you're expected to deliver measurable results. A thermal bridge can lower the surface temperature, increase the risk of condensation and mould, and degrade the final performance. Treating these junctions secures comfort, the durability of the finishes, and consistency between study, quote and post-works performance. To go further, see the types of linking thermal bridges modelled in the assessment.
Spotting and qualifying thermal bridges before quantifying them
What you can diagnose from the first visit: visual clues and points of vigilance
Spot the simple signs that give away a break in the insulation. Traces of mould, recurring condensation, blistering paint, blackened skirting boards. Focus above all on wall-floor junctions, wall-roof junctions, window reveals, shutter boxes, balconies, partition walls and walls against a garage. This is often where heat loss spirals.
Measuring without overcomplicating things: readings, photos, sketches and traceability for the file
Without pulling out heavy artillery, take dated, located photos, then note the area, the material, the visible insulation thickness and the length of the junction. A quick dimensioned sketch is enough. If you have an infrared thermometer, record a few temperature gaps to objectify the finding, and keep everything in a single client file.
Prioritising critical areas: what weighs most on heat loss and the energy rating
Prioritise what breaks the continuity. Ground floor-external wall junctions, intermediate floor-facade junctions, window/door perimeters, untreated slab edges and balconies. In costing, these priorities guide the right package to the right spot, external insulation, thermal breaks, reveal insulation, to gain kWh without unnecessary extra thickness. To go deeper on treating a common thermal bridge, see insulating roller shutter boxes.
Calculation methods for quantifying linear heat loss without mistakes
The data to gather: lengths, materials, insulation continuity and execution details
Start by surveying each junction concerned (floor/wall, partition wall, bay reveal, parapet). Measure the lengths at the interior face or according to your own measuring convention, then keep the same rule everywhere. Note the composition of the surfaces, the thickness and installation of the insulation, and above all any breaks in continuity. One photo per detail and a dimensioned sketch avoid 80% of forgotten heat loss errors.
Choosing the right approach: tabulated values, a simplified calculation or a deeper study
For a quick costing, use tabulated linear coefficient Ψ (W/m.K) values for common details, starting with the accredited construction details where they apply. If the case falls outside standard patterns (mixed insulation, timber floor, retrofit on irregular walls), move to a simplified calculation compliant with ISO methods. For sensitive specific points or Part L requirements, a 2D study of the ISO 10211 type secures the result.
Turning the calculation into euros: impact on sizing, consumption and quotes
Convert into lost power. Add up Ψ × L to get a linear U equivalent, then apply the project's temperature difference. You then translate this into kWh over the heating season using degree-days and into euros using the client's energy price. A poorly treated bridge can inflate a heat pump's sizing and the finishing quote, something a sizing note compliant with BS EN 12831-1 sets out junction by junction. Show the order of magnitude and propose the most cost-effective correction.
Works solutions: reducing heat loss at junctions (and selling a more coherent retrofit)
Internal wall insulation: treating junctions without creating cold spots
With internal insulation, performance is often decided at the wall-floor junctions, partition walls and reveals. Plan insulation returns of 30 to 50 cm, thermal breaks where possible, and a continuous vapour barrier, taped at the specific points. The goal is to cut heat loss without trapping moisture.
External wall insulation: envelope continuity and treatment of slab edges
External insulation simplifies the hunt for thermal bridges if you maintain insulation continuity around the building. Take care with slab edges, balconies and parapets using dedicated solutions, and connect cleanly to the windows and doors. This is often where the gain promised on paper gets lost.
Windows/doors and thresholds: connections, jamb linings, sills and airtightness
At installation, the connections make the difference. Choose jamb linings suited to the insulation thickness, treat sills and thresholds to avoid infiltration, then secure airtightness with compression tape, membranes and sealant in the right places. To go further, also see airtightness at common specific points. You sell a coherent package, not line items that contradict each other.
With Argile: faster costing and a stronger file for your retrofit projects
Fast energy diagnosis: simulate the effect of thermal bridges on heat loss in a few minutes
You quickly visualise where heat is escaping. Argile helps you estimate the impact of thermal bridges on heat loss, then compare scenarios (insulation, windows/doors, ventilation, heat pump) even before finishing the visit. You save time and explain more clearly to the client what's weighing on their bill.
Feasibility analysis: spotting constraints at the address (open data) and securing your assumptions
From the address, Argile cross-references public information to spot constraints relevant to the project. Exposure, altitude, hazards, urban context, access, presence of networks. You secure your technical choices and keep a usable record for your compliance file, without working blind, thanks to open data.
Quotes and funding: pre-costing, detailed quote and integrated calculation to argue your case better
You start from a pre-costing, then generate a detailed quote. The funding calculations are integrated according to current rules, with elements ready to be shared. The result: a sharper argument, a tighter file, and integrated funding that supports the decision.