An untreated roller shutter box leaks 5 to 15 W/K, which makes it one of the most frequent thermal bridges in window replacement work. Putting it right targets a thermal resistance of at least 2.0 m²·K/W on the box, obtained with an insulation kit where the access hatch is reachable from inside, or by replacing the unit where the box cuts the insulation at the lintel. Air leaks concentrate on three points, the hatch, the side cheeks and the strap or cable opening, which behaves like a small chimney. Insulating the box without treating those three points corrects the cold radiation only, and the air pressure test shows it straight away.
Spotting a thermal bridge at the box: signs on site and points to check
Distinguishing interior box, exterior box, and half-lintel: impact on insulation
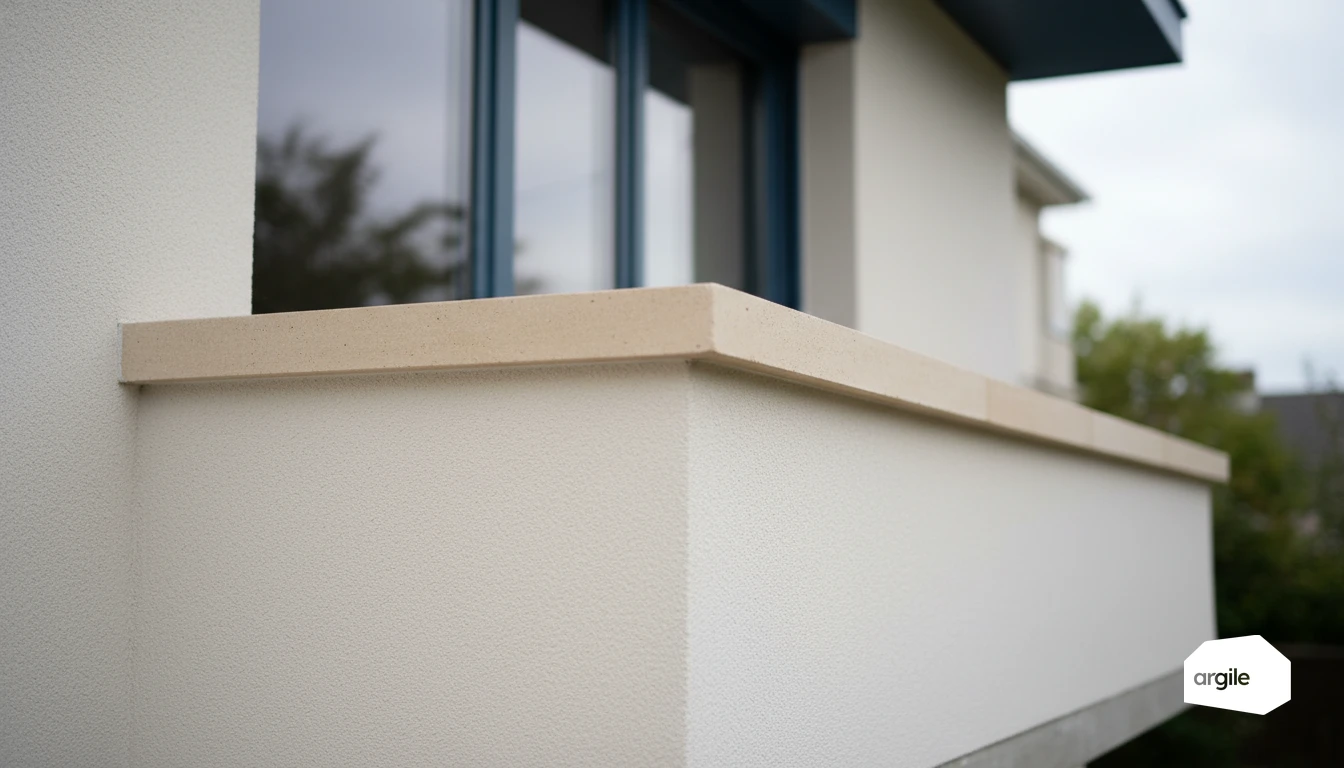
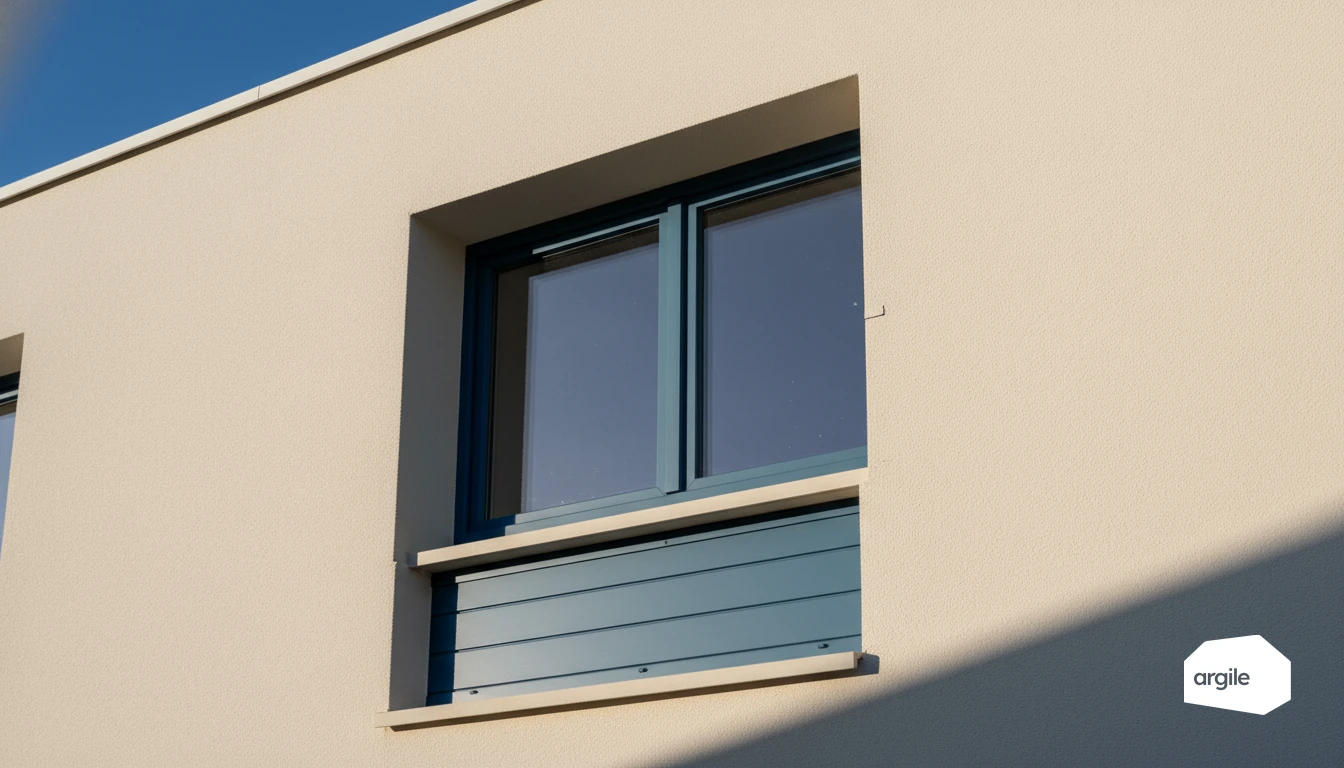
On site, start by identifying the type of box. An interior box often interrupts the insulation right at the lintel. An exterior box limits this risk, provided you keep insulation and airtightness continuous between the window, the reveal, and the box. The half-lintel, integrated into the structural shell, can hide a cold zone if the lining doesn't properly wrap the lintel.
Identifying air leaks around the roller shutter: gaps, drafts, noise, and dust
The clues are simple. A visible gap at the cover, a sense of draft, whistling in the wind, or dust settling around the box. Quick test: pass your hand, or light smoke, over it with the shutter closed. In renovation, a thermal camera or a blower-door test confirms the defect.
Targeting the weak zones: box hatch, side panels, strap or cable penetration
Check three points. The hatch, often poorly insulated and poorly sealed. The side panels, with gaps against the wall. The strap or cable penetration, which becomes a small air chimney. A continuous seal and an insulated cover often make the difference.
Choosing the right box insulation solution based on the shutter configuration
Installing a box insulation kit: when it's suitable and what it actually fixes
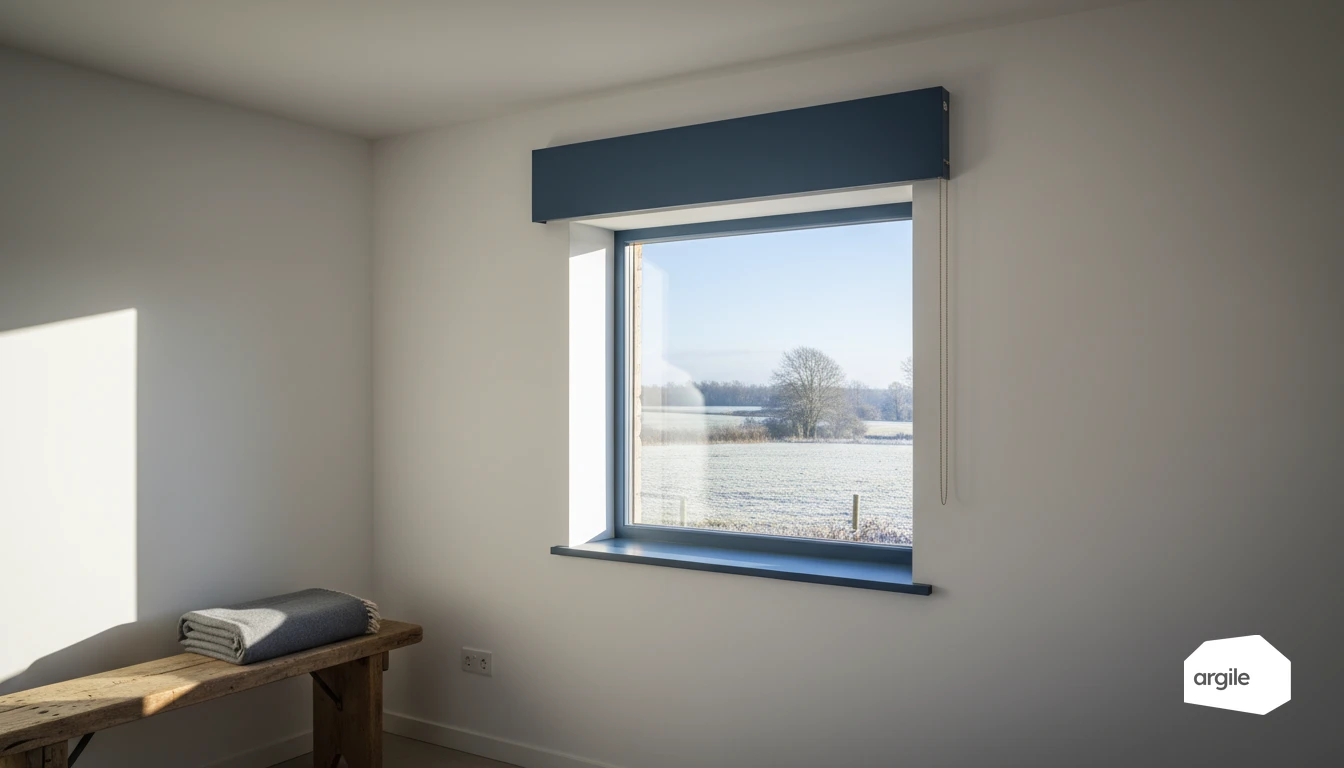
A kit makes sense when the box hatch is accessible from the interior and the shutter is already in place. The insulating panels and seals mainly limit air leaks and cold radiation at the hatch. However, this won't fix a significant thermal bridge if the reveal or lintel is poorly insulated.
Insulating from the inside around the box: panels, foam, sealing, and vapour barrier continuity
When you redo the lining, insulate the side panels and the underside of the box with rigid panels, then fill the gaps with foam or sealant. The goal is a continuous box, with no air path into the casing. Also take care with vapour barrier continuity by connecting it to the wall's vapour control layer.
Treating the box from the outside with external wall insulation: connections and insulation continuity without hindering the mechanism
With external wall insulation, the box is treated as a facade's tricky junction. Bring the insulation back over the reveal and under the lintel, while keeping the tracks and inspection hatch free. A flashing or profile ensures water-tightness. Check that the added thickness doesn't interfere with the shutter's operation or maintenance. To go further on installation, see our guide on external wall insulation.
Achieving a clean installation: airtightness, maintenance access, and durable finishes
Ensuring the box's airtightness: tapes, sealants, joints, and patch points
Aim for air barrier continuity around the box. Treat the box-to-wall and box-to-window junctions with tapes suited to the substrate, then finish with a bead of sealant wherever a tape won't hold. Also take care with sensitive points: cable penetration, fixings, plaster returns. Every patch-up needs to remain durable, even if the substrate shifts slightly.
Preserving accessibility: removable hatch, roller shutter maintenance, and warranty-service constraints
An insulated but inaccessible box often ends up needing a service call. Keep a removable hatch with accessible screws, with no irreversible bonding. Leave the clearance needed to remove the shaft, access the motor, dust off the curtain, and check the end-of-travel stops. A clean finish can still stay discreet: a compressible perimeter seal, a screwed-on cover, disassembly markers.
Avoiding common mistakes: compressed insulation, residual thermal bridges, and condensation
Three pitfalls keep coming up. 1) Compressing the insulation inside the box, which loses performance. 2) Leaving thermal bridges at the side panels, the lintel, or the connection with the external insulation. 3) Creating a cold zone. Check the continuity of the insulation and the sealing. And if the space is damp, plan for moisture management and consistent ventilation.
Costing and 2026 subsidies: valuing box treatment within an insulation package
Estimating the cost of the work: labor time, supplies, and job-site contingencies
Treating a box is mostly costed on time spent. Generally count 1 to 3 hours per opening depending on access, removal of trim, added insulation, airtightness, and finishing. That still means counting the openings: windows and doors are picked out automatically on the home's façades, which settles the quantity before pricing. On the supplies side, plan for suitable insulation, a vapour barrier if needed, tapes, sealant, and small plaster repairs. Keep a contingency line: an old mechanism, hollow masonry, moisture, or cables can all shift the quote.
Positioning the box within a work package: insulation, windows, and ventilation
Treating the box makes sense when it's done alongside the walls or windows. You reduce thermal bridges and stray air entry points, and you avoid redoing finishes twice. Also think about ventilation. A tighter envelope without adequate air renewal can quickly bring back condensation around window openings.
Finding your way through the 2026 funding and the associated performance requirements
In 2026, the schemes mainly fund "main" measures (insulation, window replacement, ventilation). Box treatment is then valued as inseparable work, to be detailed on the quote and invoice, since it contributes to performance and sealing. Check the technical criteria required for the funded measure, and keep evidence of the work performed. To frame your costing and avoid common mistakes, refer to a practical guide on the funding schemes.
Pitching to clients: concrete gains in comfort, the heating bill, and finish quality
Explaining the benefit: reducing the thermal bridge and eliminating the cold-surface effect
When insulation passes without interruption at the roller shutter box and the reveals, thermal bridges are limited. The result: the interior surface warms up and the cold-surface effect recedes. The client feels less draft, the room becomes more stable, and the heating system works less hard.
Highlighting acoustic comfort: the box and the roller shutter as a weak point
The roller shutter, especially its box, often lets noise through. By treating this weak point, you gain acoustic comfort in bedrooms and the living room.
- Fewer air leaks, so less whistling.
- Less vibration from the curtain and the side panels.
Proving quality: before/after photos, smoke tests, and visual inspection of connections
To reassure the client, show before/after photos and detail the finishes. A simple smoke test highlights any remaining air entry points. Finish with a visual inspection of the connections, the seals, and the plaster or facing repairs.