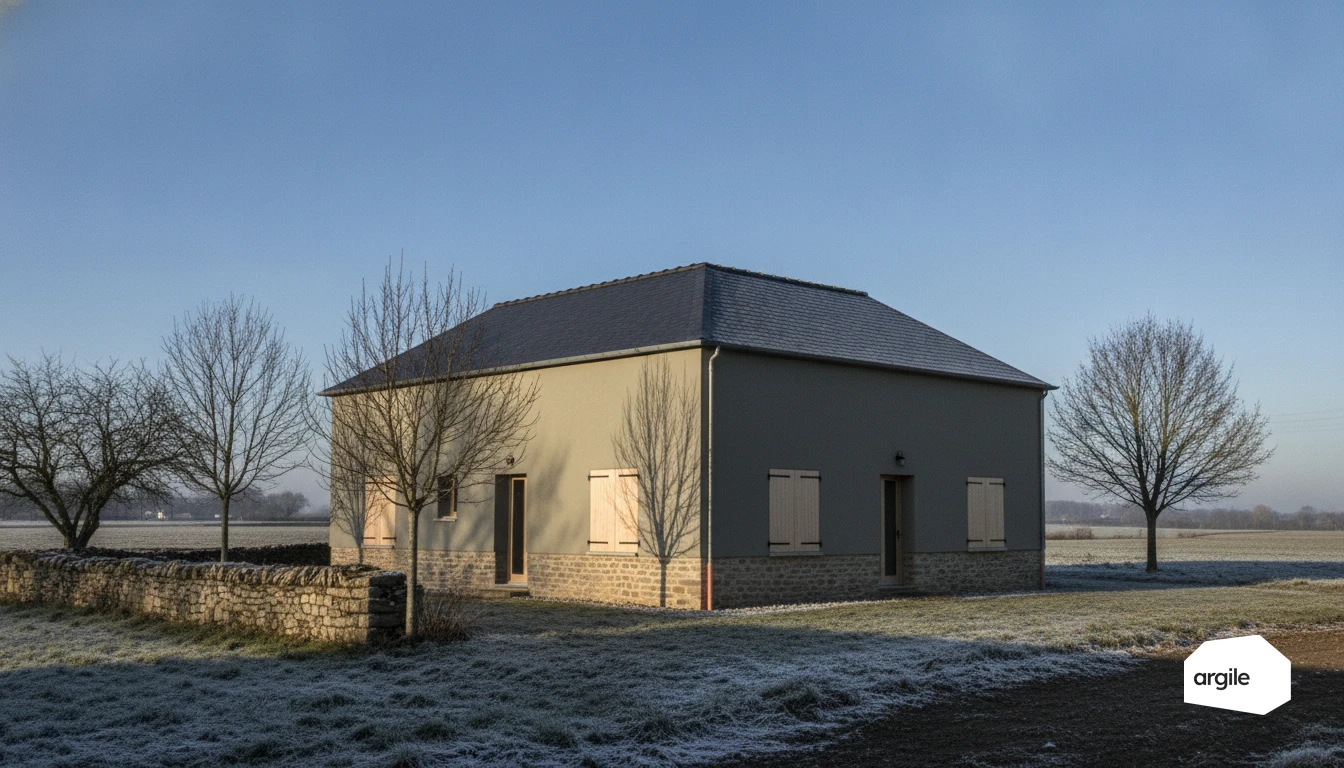
The compactness of a building is expressed by the S/V ratio, heat-loss surface divided by heated volume: a detached house sits between 0.8 and 1.2, a small block of flats between 0.3 and 0.6. At identical insulation, the difference in compactness makes the heating demand vary by a factor of 1.5 to 2.5, which is why a heavily broken-up house resists the performance target where a compact volume reaches it without over-engineering. A broken-up shape also multiplies the junctions, so the corner, slab-edge and reveal thermal bridges, and it complicates airtightness. The S/V is calculated at the survey from a dimensioned sketch, excluding the garage, the uninsulated loft and the untreated stairwell from the heated volume, failing which the ratio is wrong and the heating output is sized with it.
Understanding compactness and its impact on heat loss
A simple definition: heat-loss surface, heated volume, and building shape
Compactness describes how "compact" a building is. It's often expressed via the S/V ratio: the heat-loss surface (walls, roof, floors over the outdoors) divided by the heated volume. The lower this ratio, the less surface area there is exchanging heat with the outside.
Why compactness weighs on heating needs and comfort
With good compactness, heat loss goes down. At the same temperature, the heating power needed decreases, and the walls are less cold. Comfort becomes more consistent, with fewer cool zones near the walls. A very broken-up shape does the opposite.
A direct link to thermal bridges and sensitive zones
A complex shape multiplies the junctions. That's where thermal bridges hide: corners, wall-floor and wall-roof connections, window reveals, balconies. In renovation, treat these details like air leaks. Look for continuity of the insulation and careful airtightness. To go further, discover thermal bridges and the key points to address.
Architecture: how a building's shape changes performance
Compact vs. broken-up buildings: effects on the envelope and heat loss
Performance depends heavily on the ratio between the envelope surface and the heated volume. The higher the compactness, the fewer walls, roofs, and floors are in contact with the outside. The result: less heat loss and often fewer thermal bridges at corners and connections. A broken-up building multiplies these sensitive zones and complicates airtightness, which the heat-loss survey turns into watts element by element.
Common architectural choices: single-story, upper floor, extensions, and offsets
A single-story home often has a large roof and a large ground floor for the same habitable surface. Conversely, an upper floor groups the volumes together and reduces the exposed surface. Extensions and offsets require insulation continuity at the junctions, and careful treatment of the roof and facade connections.
Typical renovation cases: older homes, standard houses, small multi-family buildings
In older homes, you find irregular volumes, lean-tos, and partially heated attics. Identify the heated/unheated boundaries before insulating. In standard houses, watch out for the garage or basement. In small multi-family buildings, shared walls help, but balconies, party walls, and stairwells create thermal bridges that need treatment. To dig deeper into the impact of the surface/volume ratio and compactness on heat loss, a methodological refresher is useful.
Measuring compactness on site: methods and points of attention
Indicators used: the surface/volume ratio and a quick reading of the plans
On site, compactness is first read through a simple ratio. The envelope surface in contact with the outside, divided by the heated volume. The lower this surface/volume ratio, the less potential heat loss there is. Without pulling out a calculator, a quick look at the plans is often enough. A "cubic" volume, not very broken up, with few corners and short facades, is generally more compact.
Data to gather: surfaces, volumes, walls, shared walls, attics, and basements
To make it objective, gather the surfaces of exterior walls, roofs, and ground floors, and the heated volume involved. Note the shared walls, since a party wall doesn't count as a heat-loss surface. Also check whether attics and basements are heated, insulated, ventilated, or in a buffer zone. These details change the "useful" compactness, the one that weighs on the bill. These figures can do without drawings when the building is rebuilt in 3D from a phone during the visit, with usable areas and volumes.
Common mistakes to avoid: unheated volumes, garages, buried walls
Mistakes often come from "in-between" volumes. An unheated garage, sunroom, porch, or storage room shouldn't inflate the reference volume. Conversely, buried walls and slab-on-grade floors have specific exchanges with the ground. Don't treat them like a facade exposed to the wind. When in doubt, clearly draw the heated boundary, then count only the walls actually in contact with the outside.
Acting in renovation to limit heat loss when compactness is unfavorable
A sprawling or very broken-up house has lower compactness. The surface of walls in contact with the outside increases. So do the losses.
Prioritize insulating the most exposed surfaces: roof, walls, ground floors
Start with the roof, then the walls, then the ground floors. This is often where the gain is greatest. Aim for continuous insulation adapted to the substrate's moisture level. A poorly insulated attic acts like a half-open lid.
Treat the connections: insulation continuity, airtightness, joinery
The junctions make the difference. Treat the window reveals, slab edges, wall-roof connections, and take care with airtightness. Well-fitted joinery with proper caulking and weatherstripping limits infiltration, without blocking ventilation.
Choose between solutions: ITE/ITI depending on the architecture and job-site constraints
With external insulation (ITE), you reduce thermal bridges and protect the masonry, which is practical when the facade allows it. With internal insulation (ITI), you preserve the exterior appearance and work room by room, but you need to manage the utility lines and condensation. An energy audit helps decide based on the architecture and the job site: to frame this choice, also see ITE/ITI.
Compactness and grants in 2026: better justifying your technical choices
Relying on the energy audit and the work scenario: consistency between architecture and compactness
In 2026, the retrofit assessment is your guiding thread. It helps you connect the building's shape, its compactness, and the order of the work. You show that insulation, ventilation, and heating work together, instead of stacking measures. It's also easier to justify when the funding is assessed.
Making the case in your quotes: explaining the effect on heat loss and expected performance
In your quotes, translate compactness into something concrete. Explain where the heat goes and what your choices reduce in terms of heat loss and comfort.
- Envelope surfaces treated, insulation continuity, junction treatment.
- Target values (thermal resistances, airtightness, ventilation flow rates) and expected effect.
- Impact on heating power and heat pump sizing.
Certification and inspections: documenting compactness assumptions and weak points
In case of a certification or funding inspection, keep a clear record. Plans or sketches, before/during/after photos, product sheets, and an assumptions note (surfaces, volumes, compactness). Treat weak points like fine details of craftsmanship. That's where performance is won, or lost.