Heated volume is the volume of air actually held at temperature by the emitters, bounded by the thermal envelope of the home, and it is calculated room by room by multiplying the floor area by the measured ceiling height. Argile uses 250 cm of ceiling height by default and corrects rooms with sloping ceilings from two heights taken at the foot and at the ridge of the slopes. The garage, the unheated conservatory, the cellar and the loft stay outside the heated volume, even where they open onto the home. An overestimated volume inflates ventilation heat loss and leads to an oversized generator, with a gap between survey, assessment and quote that then complicates putting the funding file together.
Understanding heated volume and its impact on your job sites
Heated volume: a simple definition and boundaries not to confuse (living volume, useful volume)
Heated volume is the space actually kept at temperature by a heating system. It is delimited by the dwelling's thermal boundary. Don't confuse it with living volume (linked to living spaces) or with useful volume, which is more often used in thermal calculations. Separations from the outside, a garage or a crawl space all count.
Why volume matters: sizing equipment, estimating heat loss, consistency of subsidies
A poorly estimated volume skews the correct sizing of a heat pump or emitters. It also biases the heat-loss assessment, particularly losses linked to air renewal. On the funding side, an inconsistent volume between the site visit, the assessment and the quote creates discrepancies in expected performance and complicates the file.
Common mistakes on site: lofts, basements, garages and unheated rooms
The classic pitfalls come from unconverted lofts, partially heated basements, garages "almost" integrated into the dwelling, or a room cut off from heating but open to the rest. On site, clearly decide where the insulation stops and where the unheated volume begins. This avoids surprises once work starts.
Collecting the right information on site for a reliable calculation
What dimensions to measure: ceiling height, sloped ceilings, stairwells, offsets
On site, record the key measurements room by room: length, width, then actual ceiling height. Under sloped ceilings, note two heights (at the eave and at the ridge) to estimate the heated volume. Also identify stairwells, alcoves, beams and offsets. A photo with the tape measure visible avoids callbacks. Those readings are extracted from the measurements taken on site, with areas and heights feeding the 2D plan and the sizing, without a laser measure.
Special cases to treat separately: mezzanine, conservatory, extension, intermediate floors
Treat separately anything that doesn't behave like the rest of the dwelling. An open mezzanine "counts" in the air volume. A conservatory is often barely or not heated at all. An extension may have different insulation and windows. For intermediate floors, identify what's below (garage, cellar, crawl space) to avoid mixing heated and unheated zones.
Tips to save time during the site visit (photos, sketches, checkpoints)
Prepare a simple sketch, number the rooms, then take "useful" photos: one overview shot, one detail per wall, one equipment nameplate. Add a mini checklist on site: loft access, ventilation, visible insulation thicknesses, emitter type. You save time on pricing, without gut-feel calculations. To go further, also structure your wall inventory from the site visit onward.
Methods for calculating heated volume: from simplest to most precise
Quick zone-by-zone calculation: rectangle, L-shape, stacked volumes and adding sub-volumes
For a quick estimate, break the dwelling down into simple shapes: a rectangle, an L-shape, then level by level. For each zone, calculate the total volume as floor area x average height. Then add the sub-volumes together. In renovation, this method is often enough to compare scenarios and avoid "over-heating" the space.
Sloped-ceiling and attic surfaces: choosing the right reference height and avoiding underestimation
Under sloped ceilings, height varies. Take a realistic average height, measured between the eave and the ridge. Also keep a simple benchmark: what's called habitable floor area generally requires a height of at least 1.80 m. For heating purposes, don't be too quick to exclude low zones if they are insulated and open, because heated air still circulates there.
Consistency checks: m²/m³ ratios, comparison with plans, acceptable margins in renovation
Check consistency by recalculating the average height. Volume divided by heated m² should give a plausible height for the type of building. Compare with plans, sections, or a "tape measure" check on 2 rooms. A small margin is normal. The goal is a solid order of magnitude, not millimetre precision. To go further on the difference between floor-area concepts used in thermal calculations, also see habitable floor area vs. heated floor area.
Calculating heated volume in Argile: practical steps and points of attention
Creating the dwelling and structuring the rooms: how Argile helps you avoid oversights
Start by creating the dwelling, then break it down into levels and rooms. The goal is simple: describe the actual volume that will be heated, without mixing it with annexes. Argile pushes you to structure each space. You quickly spot a missing room or an inconsistent height.
Using 3D reconstruction to make volumes more reliable and reduce re-entry
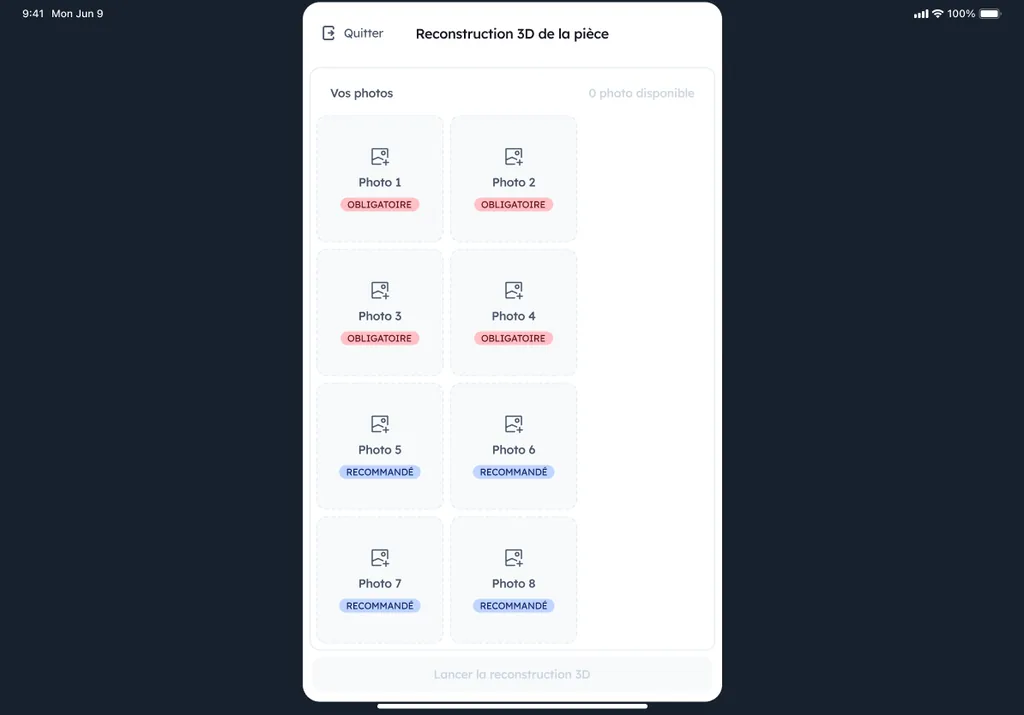
3D reconstruction acts as a safety net. It consolidates the dimensions, limits entry errors, and saves you from measuring twice. Pay particular attention to sloped ceilings, mezzanines and high ceilings. These are often the elements that inflate the volume without anyone noticing. A quick visual check is often enough to validate the right order of magnitude. In Argile, the building is reconstructed in 3D during the visit, from a simple phone, with no specialised hardware.
Checking and adjusting before the quote: managing unheated zones and their impact on your scenarios
Before quoting, review the unheated zones: garage, cellar, unconverted loft, unconnected conservatory. If they remain in the calculation, your scenarios can drift, especially for heat pump sizing and gain estimates. To properly frame this point, also see the differences between habitable floor area vs. heated floor area.
- Exclude spaces without an emitter or a temperature setpoint.
- Keep circulation areas only if they are genuinely heated.
- Record your assumptions to secure the discussion with the client.
Turning the calculation into quotes and scenarios: selling more accurately in 2026
From volume to pricing: how Argile secures the pre-quote and the detailed quote
Everything starts from a reliable volume. Argile converts your measurements into quantities per work item (m² of insulation, ml of pipework, heat pump capacity) and locks in the assumptions. You go from a quick pre-price to a detailed quote without re-entering the same data three times.
Simulating several scenarios (insulation, heat pump, ventilation) based on a consistent volume
With the same reference volume, you compare options: insulation alone, insulation plus heat pump, or adding high-performance ventilation. Performance and cost differences become clear. You sell clear choices, not vague promises.
Integrating the funding without getting lost: working out the figures and preparing documents
In 2026, the right approach stays simple. Work out what the measures attract as early as the quote stage, then prepare the key documents: quotes and invoices, proof of registration, product specifications, the scheme's certificates, evidence of the household's eligibility, bank details, and, depending on the route, the retrofit assessment and design. To go further, also see how to simplify the funding calculation in your quoting process.