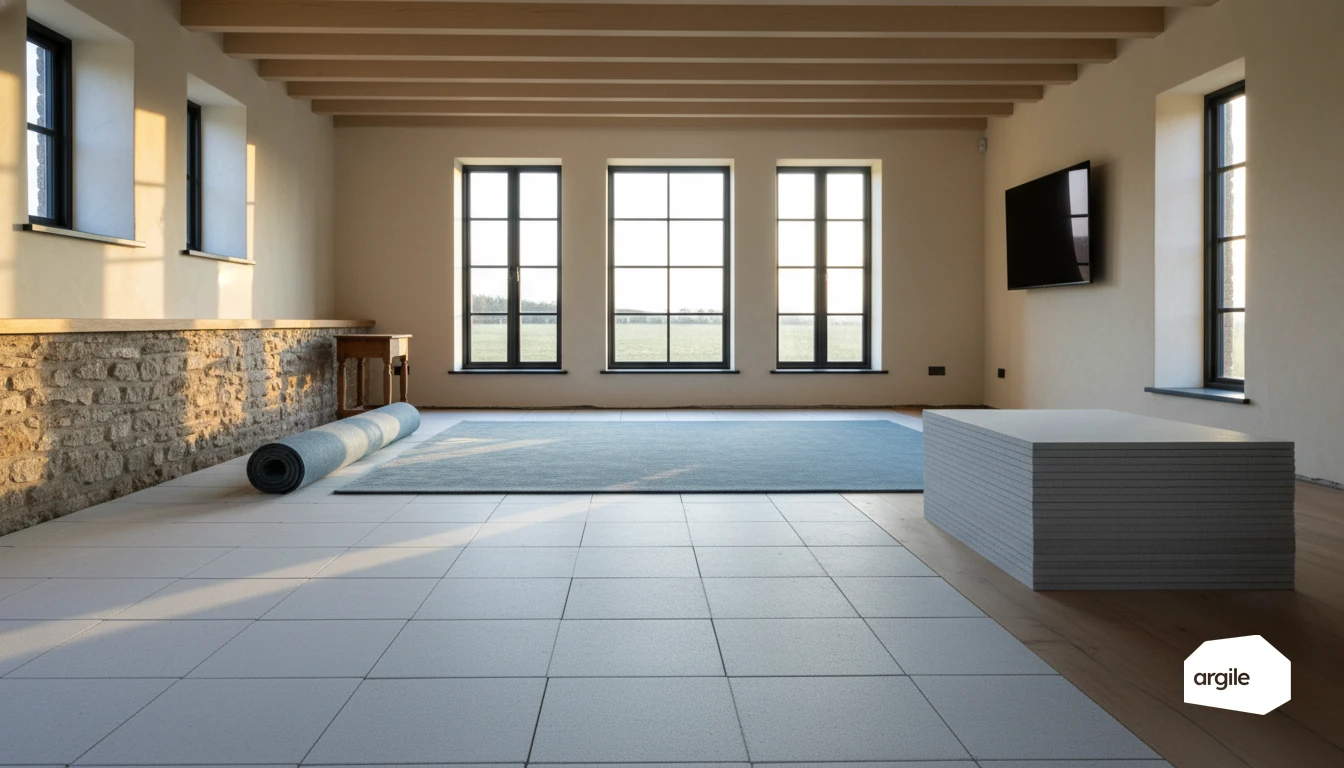
A screed over underfloor heating comes in three families: traditional cement screed, flowing screed (anhydrite or cement) and dry screed with heat-spreader plates. The first two embed the pipes and fall under traditional texts. The third does not. No traditional installation code covers dry screed over underfloor heating. The French screed code covers only screeds and slabs based on hydraulic binders, which rules out a gypsum-fibre or plasterboard panel by definition, and the French approvals committee maintains system families explicitly defined as falling outside the underfloor heating code. The applicable route is therefore the system's own technical approval, which places the works outside the traditional field. That is not an obstacle, it is a constraint on your documentation, your insurance and the wording of your quotation, and it is the first thing to settle before anyone starts comparing thicknesses.
Underfloor heating screed: the three families in one table
| Criterion | Cement screed | Anhydrite flowing screed | Dry board screed |
|---|---|---|---|
| Cover above the pipe | At least 3.5 cm on SC1 insulation (AQC) | 30 mm minimum, 8 cm maximum | None, board thickness set by the system |
| Drying before the covering | About 1 week per centimetre, then measure | Down to 0.5% or 1% residual moisture | None |
| Framework | NF DTU 26.2 and NF DTU 65.14 | Professional rules of July 2022 | The system's technical approval |
A wet screed embedding underfloor heating must be at least class C20-F4. Flowing screed wins on large areas: self-levelling, it surrounds the pipe with no voids. Cement screed keeps the small rooms, at the cost of a tight joint layout. Dry screed is the renovation choice: timber floor, occupied home, short deadline.
Anhydrite screed over underfloor heating: what it demands
Calcium sulphate tolerates 300 m² without a joint, but it brings three milestones: the first heat-up, from the 7th day after pouring and in 5°C steps; the carbide bomb residual moisture measurement; the surface preparation set by the product data sheet before bonding. It remains more sensitive to moisture than a cement binder.
The applicable framework: what exists and what does not
Why the screed code cannot apply
The French screed code NF DTU 26.2, April 2008 edition amended in May 2015, is titled "Screeds and slabs based on hydraulic binders". Its scope is in its title. A gypsum-fibre board or a timber panel is not a hydraulic binder, so the text does not cover it. Its residual role on an underfloor heating job is real but narrow: its annex A defines the method for measuring substrate cohesion before the covering goes down, a method the CSTB refers to explicitly.
The technical approval route, and what it implies
Even flowing screeds, hydraulic binders though they are, spent twenty years under technical approval for want of a traditional text, until the French approvals committee moved part of the family into the traditional field in 2019 and the UNECP-FFB and CAPEB professional rules of July 2022 took over. Dry screed has had no such transition. In practice you need a system holding a valid technical approval, installation strictly within its stated scope of use, and notice to your latent defects insurer before the job starts.
The framework, system by system
| Solution | Reference text | Scope |
|---|---|---|
| Traditional screed or slab on a hydraulic binder | NF DTU 26.2 | Traditional field |
| Cement or calcium sulphate flowing screed | UNECP-FFB and CAPEB professional rules, July 2022 | Traditional field since the approvals committee transition |
| Water-based heated or reversible floor | NF DTU 65.14, July 2023 edition | Traditional field, with exclusions per part |
| Low-temperature reversible water floor | CSTB technical guide 3164 | Technical prescriptions guide |
| Dry screed over underfloor heating | The system's own technical approval | Outside the traditional field |
The practical consequence fits in one line: your reference figures are not general, they are those of the system installed, and that document belongs in the site file.
Screed thickness over underfloor heating: the written values
Thickness is counted above the pipe, not from the insulation. The floor falls under NF DTU 65.14; the figures for cover are published by the CSTB and adopted by the 2022 professional rules.
| Configuration | Cover above the pipe | Source |
|---|---|---|
| Type A floor and reversible floor | 30 mm minimum at every point | CSTB, guide 3578_V4, table 5 |
| Castellated insulation panel | 25 mm minimum above the boss | CSTB, guide 3578_V4, table 5 |
| Type C floor | 20 mm minimum at every point | CSTB, guide 3578_V4, table 5 |
| All flowing screed configurations | 8 cm maximum at every point | CSTB, guide 3578_V4, table 5 |
| Typical cross-section of a hot-water floor | At least 3.5 cm on SC1 insulation, 4 cm on SC2a | AQC, pathology sheet E.04 |
| Dry screed | Board thickness of the system | The system's technical approval |
Below the minimum, the screed cracks along the pipes: the AQC documents a defect on cover reduced to 15 mm. For the height to reserve, add insulation, cover, adhesive and covering: in the worked example of the same sheet, a mortar-bed installation on 5 cm of insulation needs 20.5 cm. That total decides the thresholds in renovation.
What a dry screed genuinely saves, with figures
Drying and the residual moisture measurement
That is the main gain and it is measurable. On a calcium sulphate flowing screed, laying the covering requires residual moisture down to 0.5% for PVC, rubber, linoleum, wood flooring, resin or a waterproofing system under tile, and 1% for tile or natural stone in E1 and E2 rooms. The measurement is taken with the carbide bomb method, with at least two samples per room under 100 m² then one per additional 100 m², under the responsibility of the contractor laying the covering (CSTB, guide 3578_V4).
Movement joints and the first heat-up
A wet screed requires a joint layout, and the gap between binders is enormous. Calcium sulphate, 300 m² without a joint with a maximum length of 25 m. Cement, 40 m² and 8 m as the general case. Add the first heat-up, possible from the 7th day on a calcium sulphate screed and carried out in 5°C steps, then heating switched off for at least 2 days before and 2 days after the covering is laid, grouting included. Those milestones are set out in our article on the site sequence for a heat pump on underfloor heating.
Drying time and gradual heat-up: the honest comparison
| Milestone | Cement screed | Anhydrite flowing screed | Dry screed |
|---|---|---|---|
| Drying time before the covering | About 1 week per centimetre, then measure | Weeks to months depending on thickness and conditions | None |
| Carbide bomb residual moisture measurement | Depending on covering and data sheet | Mandatory, thresholds of 0.5% or 1% by covering | Not applicable |
| Movement joint layout | 40 m² and 8 m as the general case | 300 m² and 25 m | Per the system's technical approval |
| First heat-up | Delay set by NF DTU 65.14 and the system data sheet | From the 7th day after pouring, 5°C steps | The system's own protocol |
| Heating off around laying | 2 days before and 2 days after, grouting included | 2 days before and 2 days after, grouting included | The system's own protocol |
| Applicable framework | Traditional text | Traditional text | Technical approval, outside the traditional field |
The first heat-up tests the screed and the circuit, it does not force drying: record every step in the report. What a dry screed does not remove: the pipe layout drawing, the pressure test, the record keeping, and your liability for the thermal resistance of the build-up.
Thermal resistance, the real point to watch
What is capped and what is not
| Configuration | Quantity | Published limit |
|---|---|---|
| Reversible floor | Covering thermal resistance, including acoustic layers above the heating elements | 0.09 m².K/W, CSTB technical guide 3164 |
| Reversible floor | Total thermal resistance above the pipe | 0.13 m².K/W, CSTB technical guide 3164 |
| Reversible floor | Surface mass of the covering works above the insulation | 160 kg/m², CSTB technical guide 3164 |
| Heating-only floor | Thermal resistance of the build-up | No institutional figure published, see the system's technical approval |
The 0.10 to 0.15 m².K/W figure found everywhere is not traceable to any verifiable institutional document. It may well be right, it is not enforceable, and it therefore has no business appearing on a quotation as a requirement.
The calculation is done layer by layer
Add up the resistance of every layer above the heating element: dry screed boards, any acoustic underlay, adhesive, covering. That total is what you compare against the limit in the system's approval. An acoustic underlay added late in the job to fix a noise complaint can on its own push the build-up outside the scope of use, and nobody notices before winter. On the concept itself, see what thermal resistance R actually covers.
What you write on the quotation
The exact reference of the system and its approval, the build-up layer by layer with its total resistance, the covering fixed, and a note that any change of covering or added underlay has to go back through that calculation. Three extra lines on a quotation that carries the equipment and works from the works plan, and a potential complaint becomes a variation order.
Lightweight screed on a timber floor: load first
On a timber floor, the question is what the joists can carry. Indicative loads (orders of magnitude from manufacturer data sheets), covering extra:
| Layer above the timber floor | Indicative load |
|---|---|
| Traditional cement screed, 5 cm | About 100 kg/m² |
| Lightweight cement screed, 5 cm | 45 to 60 kg/m² |
| Dry board system | 15 to 25 kg/m² |
They add to the imposed load of a dwelling, 1.5 kN/m² (about 150 kg/m²). Record span, section, spacing and condition of the joists before pricing, and have a structural engineer settle any doubt. Dry screed is the lightest and brings no water into the timber, but it needs rigid decking: a floor that deflects cracks a tiled finish as surely as a screed that is too heavy. The calculation and substrate preparation are detailed in our article on lightweight screed over a timber floor, and complete dry systems in our article on dry underfloor heating in renovation.
Typical underfloor heating cross-section, layer by layer
From bottom to top, the order to describe on the quotation and to photograph on site:
| Layer | Wet screed, cement or flowing | Dry screed |
|---|---|---|
| 1. Substrate | Slab or floor, flatness checked with a 2 m straightedge | Same, rigid decking on a timber floor |
| 2. Edge | Compressible perimeter strip, 5 or 8 mm minimum | Continuous resilient perimeter strip |
| 3. Insulation | SC1 or SC2a class panel, thermal resistance compliant with NF DTU 65.14 | The system's grooved insulation panel |
| 4. Emitter | Pipes fixed to the insulation at the design spacing | Pipes set in aluminium heat-spreader plates |
| 5. Cover or boards | C20-F4 screed minimum, 30 mm above the pipe in flowing screed | One or two layers of staggered boards, bonded or screwed per the system |
| 6. Covering | Adhesive and tile, wood flooring or PVC, after moisture measurement | Covering allowed by the technical approval |
The thermal resistance to check is that of layers 5 and 6 and any underlay. Layer 3 holds the heat back from going down: do not confuse it with an insulating screed, which serves as a levelling layer, as our article on insulating screed thickness explains.
Installation: the points that produce claims
Substrate, flatness and load-bearing capacity
A dry screed does not correct an uneven substrate. Check with a 2 m straightedge, treat dips, remove hard high points, verify load-bearing capacity on a timber floor and the absence of deflection under load. On moisture, the substrate has to stay dry, otherwise the boards swell and go out of level. In renovation, those three checks are done before pricing, not after signing. Sizing the emitter itself, spacing included, is covered in our article on low-temperature underfloor heating.
Laying the pipework under the boards
Lay to the spacing set at the sizing stage, fix without crushing the insulation, leave unheated zones under fixed furniture and around planned penetrations. Carry out the pressure test before closing up and keep the network under pressure while the boards go down: it is the only moment when a crushed pipe can be repaired without dismantling. Photograph, number, date.
Edges, decoupling and joints
A continuous resilient perimeter strip with no contact against any hard point, systematic decoupling on timber or cracked substrates, movement joints at thresholds and continuity with the substrate's existing joints. In double-layer systems, stagger the boards and respect the fixing method the system specifies, bonding or screwing, never a mix decided on site. On the acoustic side, see acoustic insulation of intermediate floors, bearing in mind what any underlay does to thermal resistance.
Handover, insurance and the sales argument
The heat-up protocol
It comes from the system, not from a general rule, since no traditional code applies. Raise the temperature in steps, record flow and return temperatures and the pressure, come back down, and keep a report. Where the generator is a heat pump, connection and commissioning follow the same record-keeping logic as on a wet screed, and if the system also has to cool, the limits tighten considerably, as our article on underfloor cooling sets out.
What the insurer expects
A system holding a valid technical approval, installation within its stated scope of use, and prior notice to your latent defects insurer that a non-traditional technique is being used. The system's document goes in the file and its reference is quoted on the tender. Simple traceability kept as the job runs beats a reconstruction after a claim.
Justifying the price against a cheaper bid
Dry screed stands on measurable facts: less added load, no mixing water on site, no drying and no residual moisture measurement before the covering, hence a programme that holds in an occupied dwelling. It costs more in substrate preparation and in controlling thermal resistance. A competitor pricing the kit without pricing the levelling, the threshold rework and the verification of the build-up is not selling the same works, and that is exactly what can be demonstrated line by line. On what the final covering does to thermal behaviour, see the impact of the floor covering on thermal mass.