On a heat pump plus underfloor heating job, what gets disputed is never the machine, it is three written records that few contractors actually produce. The pressure test, set by the AQC CH-PC sheet at twice the working pressure with a minimum of 6 bar, held before and during the pour. The record of the first heat-up, which is done in 5°C steps. And heating switched off for at least 2 days before and 2 days after the floor covering goes down, grouting included, required by the professional rules for flowing screeds of July 2022. Sizing the pairing is handled separately, in our article on sizing the air-to-water heat pump on underfloor heating.
Before the first pipe goes down
What to record on an existing floor
Replacing a generator on a floor already in place means inheriting works you did not install and will nonetheless answer for. Record the number of loops and their identification, the condition of the manifolds, the presence and operation of the flow meters, the network's static pressure and the water quality. Where no pipe layout drawing is available, note it on the quotation as a written reservation, otherwise the client's first drilled hole becomes your problem. Loop-by-loop balancing has to be redone after connection in any case.
Substrate, insulation and screed cover
Minimum cover above the top of the pipe is 30 mm at any point for a type A floor and for a reversible floor, 25 mm above the stud on studded insulation, and 20 mm for a type C floor, capped at 8 cm at any point (CSTB, guide 3578_V4, table 5). In its E.04 sheet, the AQC documents cracking observed on cover reduced to 15 mm. A screed intended to encase underfloor heating must be at least class C20-F4. The perimeter joint is a compressible strip of 5 or 8 mm minimum, with no contact against a hard point anywhere.
Movement joints are decided before, not during
| Type of screed | Maximum area without a joint | Maximum length |
|---|---|---|
| Calcium sulphate flowing screed | 300 m² | 25 m |
| Cement flowing screed, general case | 40 m² | 8 m |
| Cement flowing screed, shrinkage at or below 600 µm/m, QB46 certified | 80 m² | Per the QB46 certificate |
| Cement flowing screed, shrinkage at or below 400 µm/m, QB46 certified | 100 m² | Per the QB46 certificate |
Sources: CSTB, guide 3578_V4, and the UNECP-FFB and CAPEB professional rules for flowing screeds, July 2022. A further joint separates heated from unheated areas, for instance between a private dwelling and a common part. The factor of ten between calcium sulphate and cement explains on its own a good share of the threshold cracking seen in renovation.
The pressure test and the pour
The figure, the window, and what you will not find
The AQC CH-PC commissioning test sheet sets the test pressure at twice the working pressure, with a minimum of 6 bar, before and during the pour. The hold time and the acceptable pressure drop are not given by any publicly accessible source, they come from the system's own instructions. Take the value from the instructions onto your report and quote the reference: it stands up better than a rule of thumb, and it covers you if the instructions are challenged.
What gets photographed before the screed arrives
The full pipe layout with spacings, loop lengths recorded and numbered, penetration points, the no-pipe zones under fixed furniture, the movement joints in place and the pressure gauge under load. These photographs are not there to reassure the client, they are there for the day someone wants to install an internal glazed screen or a partition base. They are dated and filed with the rest, attached to the job rather than to the phone of whoever took them.
During the pour
The network stays under pressure throughout, which is precisely what reveals a crushed pipe while the repair is still trivial. Manifolds are capped and protected, this being the point in the job where most damage happens. After any pipe repair, a fresh pressure test is mandatory.
First heat-up and residual moisture
Waiting times and steps
On a calcium sulphate flowing screed, first heat-up can start from the 7th day after pouring (CSTB, guide 3578_V4). The rise is done in 5°C steps according to the AQC CH-PC sheet. Type C floors and decoupled bedded installation can be exempt from first heat-up. For a traditional cement screed, the waiting time comes from NF DTU 65.14 and the system's instructions, which belong in the file rather than a rule of thumb picked up on another site.
Moisture level before the covering
| Covering laid | Maximum residual moisture, calcium sulphate screed |
|---|---|
| PVC, rubber, linoleum | 0.5% |
| Wood flooring | 0.5% |
| Resins | 0.5% |
| Waterproofing system under tile | 0.5% |
| Impermeable textiles | 0.5% |
| Permeable textiles without underlay | 1% |
| Tile and natural stone, E1 and E2 rooms | 1% |
Source: CSTB, guide 3578_V4. The measurement is taken with the carbide bomb method, with at least two samples per room under 100 m², then one per additional 100 m², under the responsibility of the contractor laying the covering. Where that is not your trade, put the responsibility in writing, otherwise it comes back to you by default.
The window around laying
Heating must be off for at least 2 days before and 2 days after the covering goes down, grouting included (UNECP-FFB and CAPEB professional rules for flowing screeds, July 2022). That four-day window is planned with the flooring trade at programme stage, failing which it gets negotiated under pressure a week before handover, and it is always the heat-up that gets dropped. If the build-up chosen is a dry screed, the framework changes entirely, see what a dry screed implies over underfloor heating.
Connection, commissioning and the file
Hydraulics and water volume
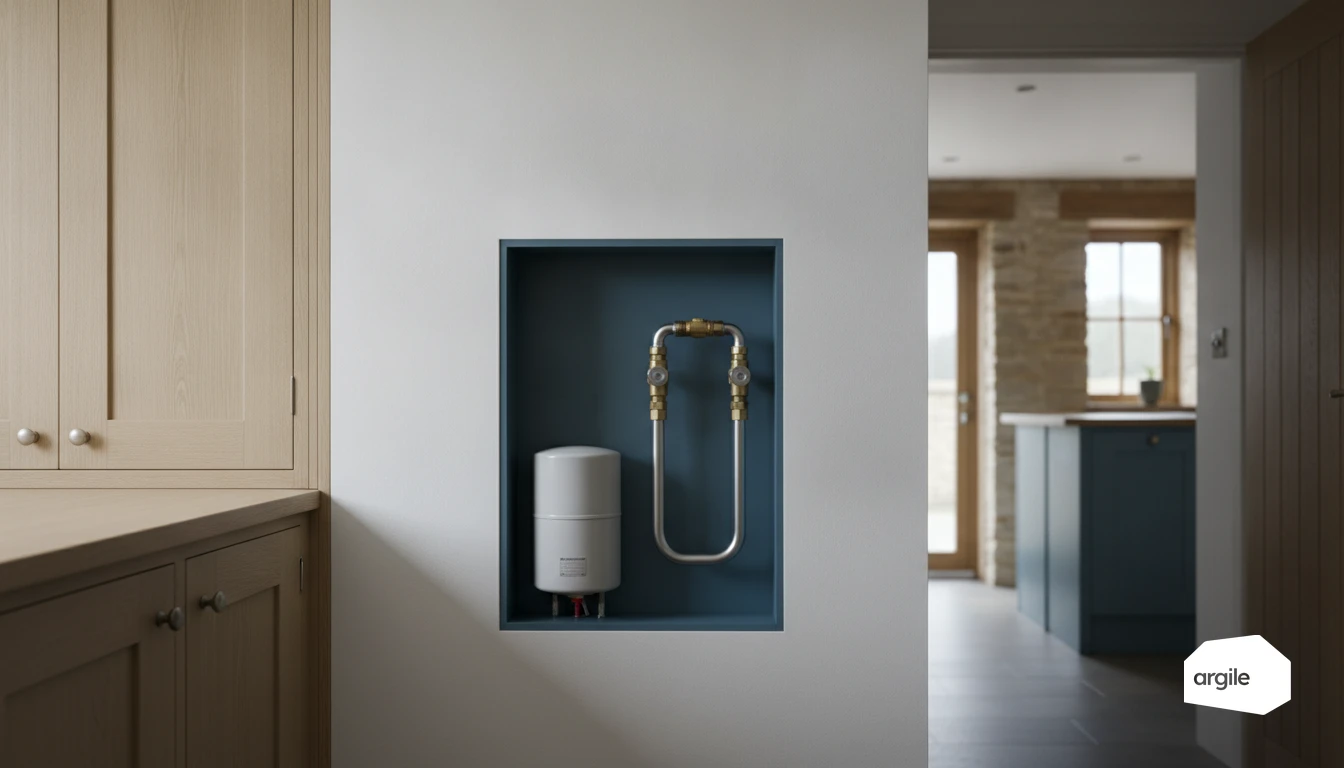
Direct connection where the machine works within the flow range adopted at the sizing stage, mixing valve and buffer tank where water volume or zoning require it. The minimum volume and nominal flow rate required are in the machine's instructions, they are checked there rather than derived from a ratio. Fit a sludge trap, magnetic filter, expansion vessel and safety valve, and deal with water quality before starting the machine rather than after the first fouling.
Commissioning, in order
Fill, pressurise, purge the manifolds and each loop, run circulation tests, balance the flow rates at the manifold, and only then set the heating curve established at the sizing stage. Check flow and return temperatures, the difference obtained per loop and room-by-room stability over at least 48 hours. Record all of it: this is the sheet that saves you a return visit, and the one that makes statutory servicing usable by whoever comes next.
The handover file, item by item
| Item | When it is produced | Who produces it |
|---|---|---|
| Pressure test report | Before and during the pour | Underfloor heating trade |
| Recorded pipe layout and dated photographs | Before the pour | Underfloor heating trade |
| Record of the heat-up steps | After drying, before the covering | Heating trade |
| Carbide bomb residual moisture readings | Before laying the covering | Flooring trade |
| Settings sheet, manifold and heating curve | At commissioning | Heating trade |
| Refrigerant handling certificates | At commissioning | Certified operative |
An installation that produces these six items defends itself at inspection, and also lets a grant application go through without rework. Inconsistencies in area, product reference or dates are the leading cause of blocked payments, a subject developed in our article on MaPrimeRénov' application rejections. If the upstream calculation is what you are missing, it is set out in sizing the heat pump and underfloor heating pairing.