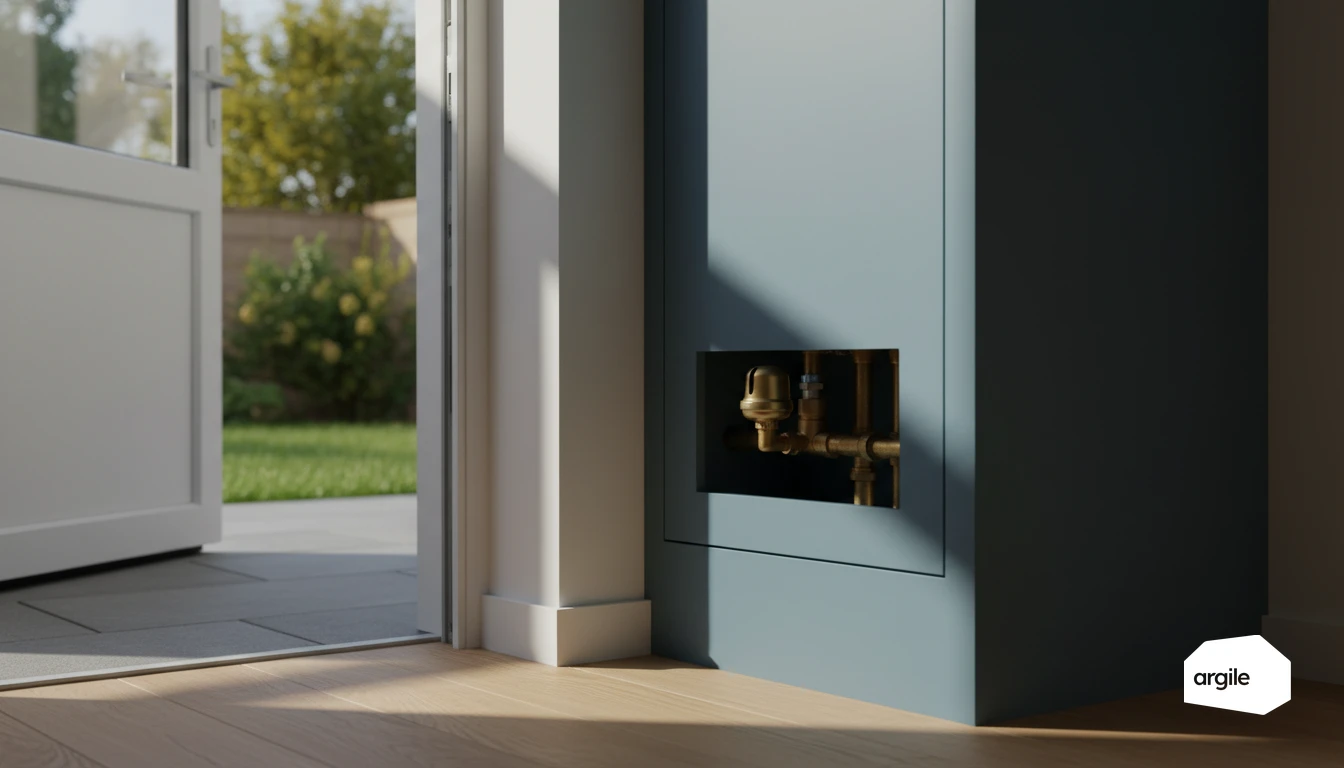
An automatic air vent on a heating system continuously releases the air that comes out of the circuit, without anyone opening a bleed screw: a float drops as air fills its chamber, opens a needle valve, then rises and closes as soon as water returns. It is not checked by looking at it: it is checked by unscrewing its cap and confirming it expels air, then closes without weeping. A cap left screwed down blocks the discharge, which is the most common fault and cancels the device entirely. As for position, air does not rise just anywhere: it gathers at high points and wherever water velocity drops, and a vent fitted elsewhere will never see the pocket it was meant to clear.
Automatic air vent for heating: what it does and how it works
The automatic air vent is a small brass body screwed vertically onto a high point of the system, most often in 3/8" or 1/2". It does the job of a radiator bleed screw, but permanently and without anyone having to visit.
- The chamber: air rising through the circuit collects there and pushes the water down.
- The float: it follows the water level, drops when air arrives and opens the needle valve through a small lever.
- The needle and the cap: air escapes through the top orifice, provided the cap is loosened, then the float rises and closes it.
On the other hand, it does not catch the microbubbles travelling with the water (that is an air separator's job), does not replace power flushing, and lowers the pressure with every release. A system that needs frequent top-ups has a leak or an undersized or flat expansion vessel, not a vent problem.
Understanding air pockets and their impact on the network
Where does air in a heating or water network come from?
Air often enters at initial fill and stays trapped at high points. It can also get in through micro air inlets on a fitting, a valve, or during frequent top-ups. Finally, water releases dissolved gases as it heats up, which creates microbubbles that eventually group together. A vent, manual or automatic, is precisely there to remove this air before it settles in.
The unmistakable signs: noise, efficiency losses, corrosion
When air circulates or gets stuck, you hear gurgling noises, whistling, sometimes a pump that "scrapes". On the comfort side, some radiators stay cold at the top, and the boiler or heat pump runs at a higher temperature to compensate. Over time, oxygen accelerates corrosion, promotes sludge build-up, and can cause failures in circulators and heat exchangers.
Why poor venting throws off the whole network
Venting in the wrong place, too fast, or without checking the pressure, can locally drain the system, draw in air, then push the pockets further along. As a result, flow shifts towards the "easy" loops and some zones are no longer correctly supplied. Proper venting is done circuit by circuit, with pressure and the expansion vessel under control, to get back to a stable network.
Where air collects, and what it causes
Air enters at filling, comes out of solution as the water heats, and migrates to high points and slow zones. Each location produces a different symptom, which lets you find the pocket without stripping the system.
| Where the air sits | Symptom on site | What to do |
|---|---|---|
| High point of the system | radiator cold at the top, gurgling | automatic vent at the summit, cap loosened |
| Circulator body | metallic noise, flow collapsing, stoppages | vent the circulator, check static pressure |
| Top of the heat pump exchanger | abnormal flow-return difference, more frequent defrosts | vent at the machine's high point, per the manual |
| Underfloor heating loops | one loop lukewarm while the others heat | vent at the manifold, loop by loop |
| Low points and dead legs | corrosion, sludge, vent ineffective | not a venting problem but a power-flushing one |
How to tell if an automatic air vent is working
Loosen the cap one turn with the system filled and the circulator running: a working vent lets out a brief hiss, then goes quiet, without a drop. Anything else is a fault, and each fault shows in what comes out of the orifice.
The thirty-second check at handover
Three actions, done in front of the client and recorded.
- Unscrew the cap one turn: if it was tight, the device was not venting, whatever its age.
- Confirm the float reseats after the air passes, with no continuous weeping, failing which it needs replacing.
- Read the static pressure after venting, then top it back up, because every vent drops the pressure and an under-pressurised system draws air back in at its high points.
On servicing, the AQC sheet on air-to-water heat pumps lists cleaning the outdoor exchanger, cleaning the water filter and periodically checking the antifreeze among the essential operations. The air vent belongs to the same family: a component worth a few euros whose failure degrades the whole machine, and which nobody looks at until the client complains.
Those three checks are recorded on the job file, photos, progress and snags attached in the same place.
Reading what the vent does, cap loosened
| What you see | What it means | What to do |
|---|---|---|
| A brief hiss, then nothing | it vents and closes | nothing, leave the cap loosened |
| Nothing comes out while the system gurgles | float stuck with sludge or needle seized | press the test button if the model has one, otherwise replace |
| Water comes out freely on test | no air at this point, the vent is sound | look for the pocket elsewhere, often a radiator at a high point |
| A drop forming now and then | needle seat fouled | open and close a few times to flush it, then monitor |
| A steady trickle of water | needle or float out of service | screw the cap back down as a stopgap, replace |
Choosing the right automatic vent for your installation
Manual or automatic air vent: which one to choose?
A manual vent remains ideal on radiators, when you want to vent at restart or after a drain-down. The automatic vent is better suited to hard-to-reach high points and networks that frequently pick up air. It removes air as it arrives and limits noise, for a more stable installation.
| Manual vent | Automatic vent | |
|---|---|---|
| Usual location | each radiator, towel rail | high points, boiler, tank, manifolds |
| Air released during heating | stays put until the next bleed | removed as soon as it reaches the vent |
| Typical fault | forgotten, radiator taking air back in | leaks when fouled, cap left screwed down |
The model is chosen from a catalogue where the reference, its specifications and its price are checked before the quote.
Network compatibility: pressure, temperature, laden water and sludge
Check the vent's operating pressure and maximum temperature, especially near the boiler or on a very hot flow line. Where water is laden, sludgy or corroded, favour a model with an isolation check valve and, if possible, air separation upstream. This is the most effective anti-fouling pairing.
Automatic air vent price: orders of magnitude
Market orders of magnitude, including VAT, which vary with the brand and diameter.
| Item | Order of magnitude |
|---|---|
| Brass automatic air vent 3/8" or 1/2" | €8 to €30 |
| Isolation check valve or valve for the vent | €5 to €15 |
| Vent with built-in check valve, pro range | €20 to €45 |
| Microbubble separator, by diameter | €60 to €250 |
| Replacement by a plumber, call-out included | €80 to €180 |
The part costs little next to the call-out: fit the isolation check valve from the first installation, it saves a drain-down at the next replacement.
Positioning the vent correctly to remove air effectively
Key locations on the network: high points and stagnation zones
To remove air, place the vent where bubbles naturally rise. Target the circuit's high points, for example at the generator outlet, at the top of risers, at the top of a buffer tank or a manifold. Also identify zones where water slows down, such as certain elbows and tees, since air builds up there and eventually creates noise and flow losses.
Where to fit an automatic air vent: boiler, tank, heat pump, separator
| Equipment | Where to fit the vent | Watch point |
|---|---|---|
| Wall-hung boiler | already built into the circulator or hydraulic block | check the cap at every service |
| Buffer tank or coil cylinder | top tapping of the tank or high point of the flow | the top of the tank collects the released air |
| Air-to-water heat pump | high point of the hydraulic module and pipework, per the manual | on a glycol circuit, check the vent is compatible |
| Microbubble separator | hot flow, after the generator, before the circulator | the hottest water releases the most gas there |
| Solar thermal collectors | high point of the array, with a valve | isolate the vent after filling, steam would escape during stagnation |
On a heat pump buffer tank, the vent goes on the highest tapping, never on a side tapping that air does not pass.
Vent + air separator: when the pairing makes the difference
A vent removes free air. An air separator also captures the microbubbles circulating in the network. The pairing is particularly useful on installations with variable flow, underfloor heating, heat pumps and multi-loop networks, to stabilise flow rates, limit corrosion and prevent radiators from "gurgling". Choosing and fitting the device is covered in our article on the air and dirt separator.
Common mistakes to avoid: wrong orientation, no isolation valve, impossible access
Installation and adjustment: ensuring reliable venting over time
Clean installation steps: sealing, connections, mess-free venting
Install the vent at a high point, properly vertical, with easy access. Take care with the assembly, using clean sealing on the thread according to the manual. Tighten without forcing, then protect the area with a cloth. On the first vent, have a small container ready, open the cap gradually and close it as soon as the air is expelled to avoid micro-leaks.
Adjustments and commissioning: filling the network, temperature rise, checks
Fill the network slowly, venting the high points as you go. Stabilise the cold pressure, start circulation, then bring the temperature up gently. Then check pressure, air noises, and seeping at each fitting. A recheck after 24 to 48 hours captures the last of the outgassing.
Securing the intervention: isolation valves and maintenance without draining
Install an isolation valve below the vent, ideally with a built-in check valve, so it can be replaced without draining the system. Leave room for removal and check once a year that the float isn't fouled. Simple maintenance means fewer shutdowns and a quieter network.
Leaking automatic air vent: causes and replacement
A leaking automatic air vent almost always has a fouled needle seat (sludge, magnetite, scale), more rarely a punctured float. A drip can sometimes be cured by flushing the seat; a steady trickle, by replacement.
Replacing an automatic air vent without draining
- Switch off the generator and let the circuit cool.
- Close the isolation valve below the vent; a self-sealing check valve closes by itself as you unscrew.
- Unscrew the old vent, with a cloth and a small container underneath.
- Screw in the new one perfectly vertical, with the sealing the manual calls for (flat or O-ring seal, or hemp and paste).
- Reopen, let it vent, then loosen the cap one turn.
- Repressurise cold and record the value on the job file.
Without an isolation valve, you have to drain until the level falls below the vent, which lets air back in: fit the check valve then, and the next replacement will take five minutes.
Boiler automatic air vent: the built-in case
Most wall-hung boilers have an automatic air vent built into the circulator body or at the top of the hydraulic block. It is checked the same way, cap loosened, and replaced with the original part, because its shape and seal are specific to the model. A drip under the boiler does not always come from it: a discharging safety valve and the condensate drain leave marks in the same place. Read the pressure on the boiler pressure gauge before changing the part.
Maintenance and troubleshooting in 2026: limiting callbacks
Periodic checks: leaks, check valve, fouling and residual air
In 2026, the best failure is the one you avoid. At every visit, target the sensitive points around the vent and the circuit.
- Look for seeping at fittings, the body and seals.
- Test the check valve. Sticking or imperfect closing creates imbalances.
- Identify fouling. Deposits, filings, sludge and scale slow down venting.
- Track residual air. Noises, flow variations, radiators lukewarm at the top.
When to replace a vent: symptoms and decision criteria
Replace it if the device leaks, if venting becomes ineffective, or if the stem seizes after cleaning. Decide with your customer based on access, age, thread compatibility and corrosion risk. Preventive replacement often costs less than a return visit: plan it as a separate line in your plumbing software.
2026 good practice: water quality, sludge removal, network monitoring
Stability comes from controlled water. Measure hardness and pH, install a filter or sludge trap if needed, and schedule a sludge removal when pressure losses rise. Keep simple monitoring of pressures, temperatures and water top-ups to spot drift quickly.