Understanding orientation: what really changes for comfort and heating needs
South, north, east, west: solar gains, cold zones and overheating risks
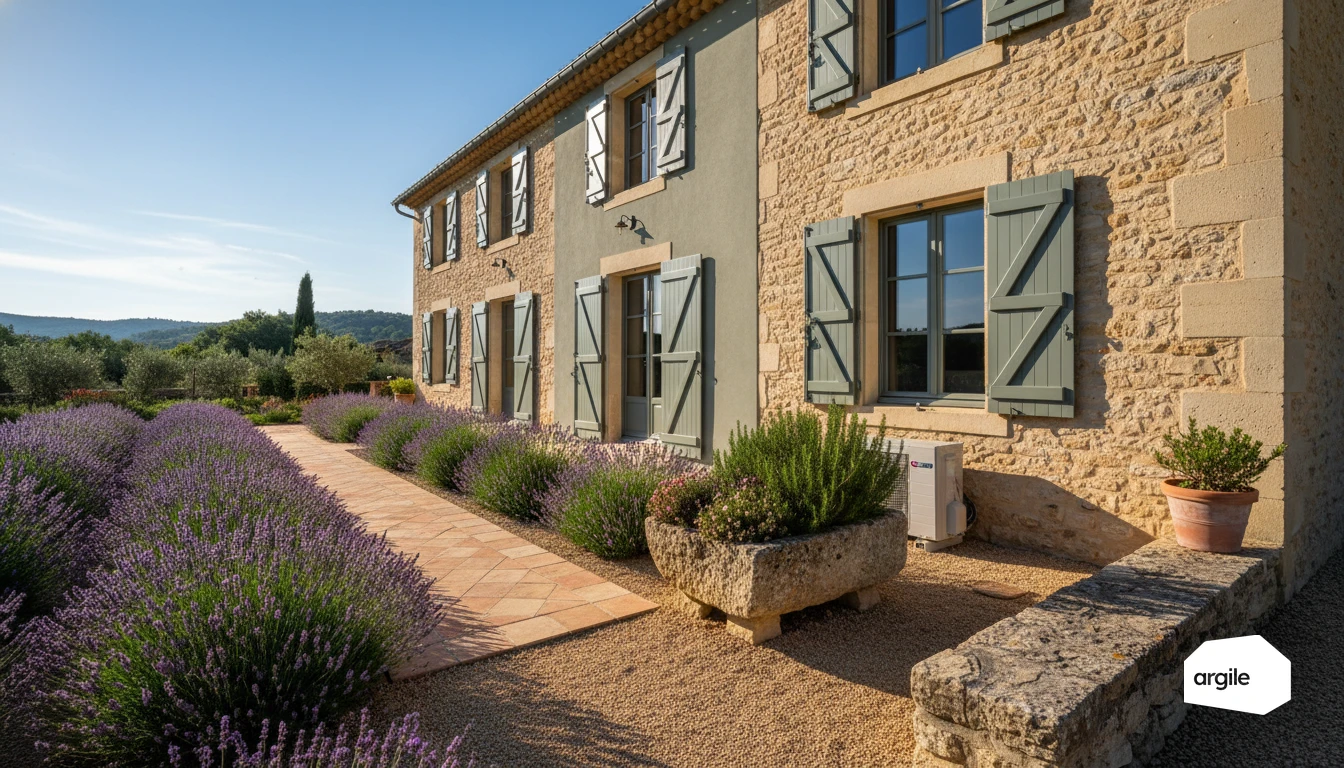
Orientation acts like a light dimmer. To the south, solar gains can reduce heating in winter, but you need to anticipate the risk of overheating in summer, especially with large glazed bays. To the north, little direct sun, so cooler walls and a "cold zone" feeling. To the east, the morning sun warms the space quickly. To the west, late summer afternoons are the most critical. Solar protections, shutters and vegetation often make the difference.
Orientation and thermal mass: how the building smooths out (or amplifies) temperature swings
A house with high thermal mass (stone, concrete, rammed earth) stores heat and releases it more slowly. As a result, orientation is felt less during heat or cold peaks. Conversely, a lightweight building reacts quickly. Good insulation, especially continuous insulation, smooths out these swings. And in summer, thermal mass only works if you keep the sun out and if nighttime ventilation is possible.
Orientation and prevailing winds: limiting heat loss without choking ventilation
When the facade exposed to prevailing winds is poorly sealed, infiltration drives up heating needs. The right move is careful airtightness (windows, penetrations, hatches) combined with controlled air inlets. This cuts heat loss while keeping controlled ventilation to remove moisture. It's a simple balance: cut the leaks, not the fresh air.
Optimized south: capturing sun without creating summer overheating
Sizing south-facing openings: glazing, sill heights and limits to respect
With good orientation, the south side provides free gains in winter. Size the glazed bays according to the home's floor area and thermal mass, not according to a desire to "glaze everything." High-performance glazing and an adequate sill height limit discomfort and make furnishing easier. Without solar protection, a large bay can turn into a radiator in summer.
Suitable solar protections: roof overhangs, brise-soleil, shutters and simple settings
Aim first for exterior protection. A well-calculated roof overhang, adjustable brise-soleil, exterior awnings or shutters. In practice, simple rules work very well: close when the sun hits, open early in the morning and at night to ventilate. This is also the spirit behind the RE2020's DH indicator, still tracked in 2026.
Room layout on the south side: living areas and buffer zones
Place the living rooms that benefit from light on the south side. Put lower-heat-demand spaces like the utility room, stairs, and circulation areas to the north or west. These buffer zones act as a thermal jacket. The result is fewer heat peaks in summer and a more pleasant house year-round.
Reduced north: cutting losses and protecting comfort in exposed rooms
Reducing north-facing openings: when it's worthwhile and how to compensate for light
On a cold facade, limiting glazed areas can reduce heat loss. This makes sense when the north-facing rooms don't carry the home's main light source, or when renovating the windows is difficult. To compensate, think about the overall orientation with more glazing to the east, south or west, glazed transoms, openwork partitions, or a skylight if the roof allows it. Keep proper ventilation and high-performance glazing.
Prioritizing thermal bridges: floor/wall junctions, window reveals, lintels
Heat leaks often hide at floor/wall junctions and around windows. Aim for continuous insulation, insulating returns in window reveals, lintel treatment, and good airtightness. With external wall insulation, the slab edge and window sills are easier to handle. Treating these singular points at project completion prevents cold zones.
Placing utility rooms to the north: utility room, garage, stairs as a "buffer"
Putting the utility room, garage or stairwell on the north side creates a buffer zone. You protect the living rooms from the most exposed walls, and you simplify running utility networks. Consider insulating doors, and a well-sealed threshold to keep stable comfort.
Bioclimatic approach: combining orientation, insulation and systems for a measurable result
Order of work: envelope first, settings second (and why)
To get a real gain, you follow the order of the four bioclimatic principles and treat the envelope first. Otherwise, an oversized heating system compensates for leaks and the bill stays high. A well-managed envelope stabilizes temperatures, reduces needs, and then makes settings (heating curve, flow rates, programming) genuinely effective and measurable in consumption.
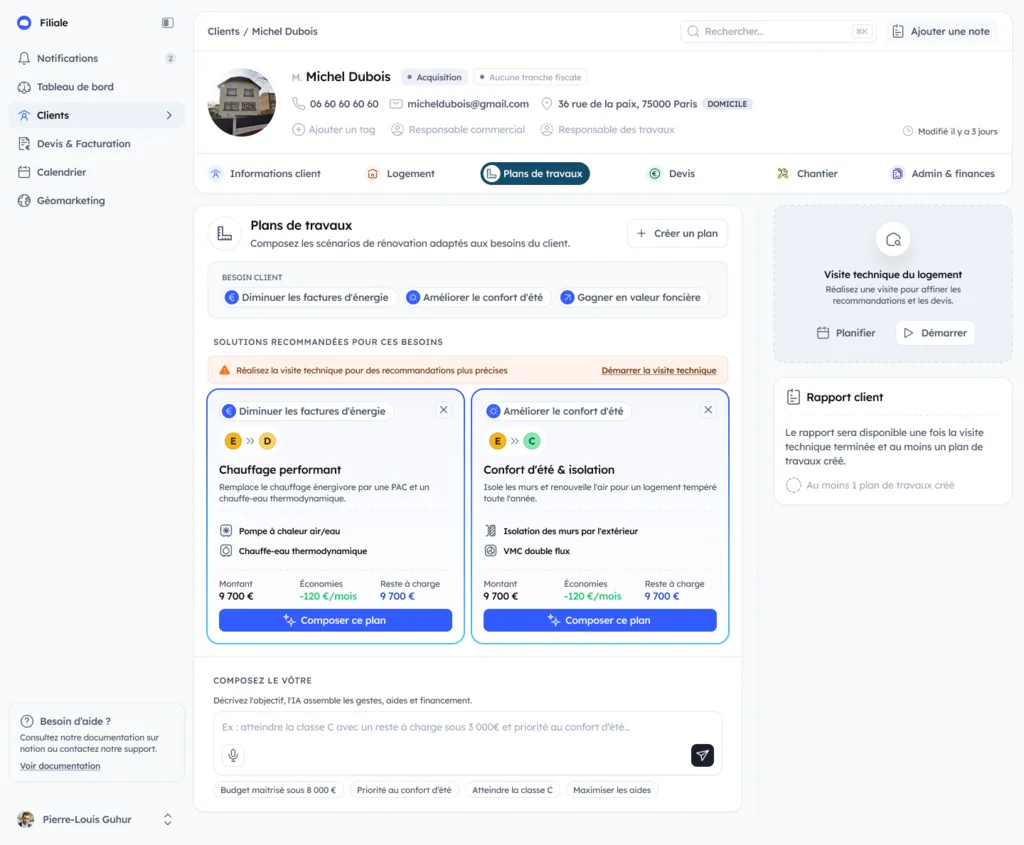
That order holds more easily when the works plan is built by objective, from the home to the measures retained.
Choosing insulation by orientation: walls, roof, floor and points of attention
Orientation guides the priorities. To the north, aim for continuous insulation and high-performance windows to limit the felt cold. To the south and west, also reinforce summer comfort with solar protections and gain management. The roof remains often the biggest lever. On the ground floor, watch for moisture and thermal bridges at the perimeter.
Adapting the systems: heat pump, ventilation and controls based on exposure
Once the envelope is improved, review the correct sizing of the heat pump and the balancing of the emitters. Ventilation is set as precisely as possible (flow rates, air inlets, airtightness) to keep healthy air without over-ventilating. On the controls side, zoning and setpoints prevent overheating in sun-exposed rooms.
2026 field method: diagnosing orientation and turning it into sales arguments
Simple on-site surveys: compass, solar masks, shading and useful photos
On site, record the orientation of each facade with a smartphone compass, then cross-check it on a plan. Identify shading by time of day and season. A solar mask sketch is often enough to decide.
- Azimuth of the main bays and living rooms.
- Nearby obstacles, trees, roof overhangs, terrain.
- A series of dated photos of facades, windows, and existing protections.
Those orientation and shading surveys also feed solar work, where Argile lays out the panel arrangement roof plane by roof plane and estimates output from the orientation and shading recorded.
Quantifying orientation-related gains: summer comfort, savings and lot priorities
Translate orientation into simple priorities. West and southwest-facing glazing is often the pain point for summer comfort. Propose solar protections and ventilation first, then insulation. On the savings side, rank the lots by exposed area, insulation condition and air leaks. You size the heating or heat pump without oversizing it.
Grants and supporting documents in 2026: consistency with the energy audit, DPE and RGE requirements
In 2026, grants require a consistent file between the quote, the DPE and the energy audit when one is required. Keep orientation surveys, before-and-after photos, product data sheets, and invoices with performance figures and areas. Also check that the RGE qualification matches each lot. This secures MaPrimeRénov' and CEE funding without back-and-forth.