Checking feasibility before installing a pellet insert in a fireplace
Firebox condition, usable dimensions, and building constraints (lintel, hearth, air supply)
Before selecting an insert, inspect the hearth. Record the usable dimensions (width, height under the lintel, depth) and check that the support is sound. Also check access for maintenance, space for the connection, and, if needed, the possibility of adding a dedicated air supply and electrical power. In a dwelling with low air permeability that air supply stops being optional, as explained in our article on room-sealed appliances in a high-performance home.
Flue: draft, relining, airtightness, and pellet compatibility
Pellets require a clean, airtight flue. Have it swept, check the draft, any offsets, and the actual diameter. In many cases, a continuous stainless-steel liner needs to be planned, with an inspection hatch and condensate management if the flue is cold. Confirm compatibility with the appliance's flue outlet. During the visit, the flue outlet rules are checked at the same time as the appliance’s location.
Safety rules and clearances to combustibles: what to check on site in 2026
In 2026, base your work on the instructions and on Approved Document J. On site, check the clearances to combustible materials, floor protection, the airtightness of penetrations (floor, loft), and access for sweeping. Also check the room's ventilation to avoid depressurisation.
Choosing the right insert: performance, use, and fit with the fireplace
Sizing the power output: a simple calculation based on heated volume and insulation
To size an insert, start from the heated volume. Power (kW) = volume (m³) x coefficient. Count 0.03 for a highly insulated home, 0.04 for decent insulation, 0.06 if insulation is poor. Example: 120 m³ x 0.04 = 4.8 kW. Avoid oversizing. An appliance that's too powerful runs at low output, fouls more, and heats less effectively.
Efficiency, autonomy, and programming: what really changes day to day
Aim for high efficiency, that's where your comfort is decided. A good insert burns less fuel for the same heat. Autonomy depends on the firebox, the draft, and the air setting. For simple use, look for clean combustion and an air setting that's clearly readable. With a pellet version, programming (schedules, thermostat) is a game-changer, especially in shoulder seasons. For the French energy rating, an insert and a closed fireplace are not entered the same way: see our comparison of inserts and closed fireplaces.
Surround and integration: keeping the fireplace's character without losing performance
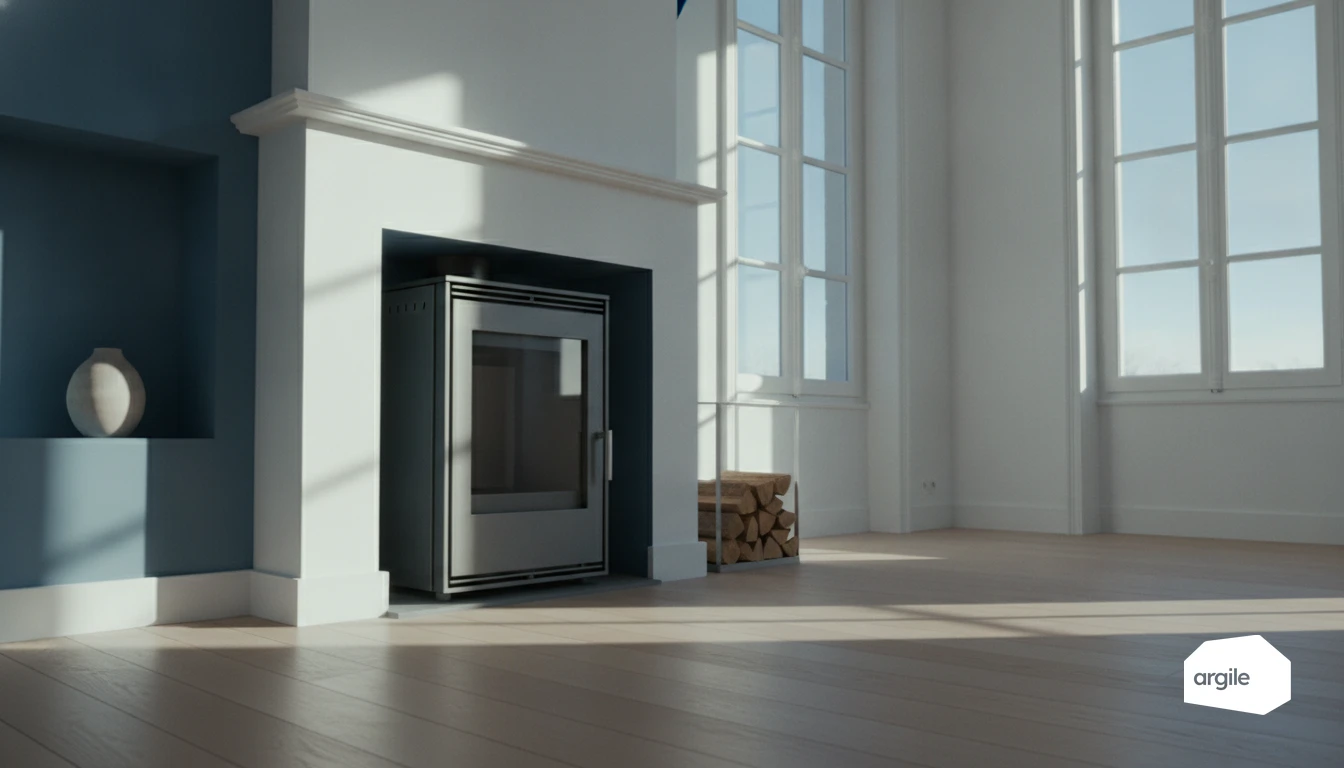
The surround needs to let the appliance breathe. Don't block the convection grilles, keep access for sweeping, and respect the clearances to combustibles. An insulated hood made with suitable materials limits losses. The safest approach remains to confirm dimensions, air supply, and relining with your HETAS-registered installer.
Installation work: key steps for a clean, compliant insert installation
Site preparation: protection, removal, masonry repairs, and support
Before installation, protect floors and walls, then remove the old firebox and any unstable elements. Check the condition of the flue, the air supply, and the clearances to combustible materials. Repair the masonry if needed and prepare a flat, resistant, non-combustible support. The goal: an insert set on a sound, stable base.
Relining and connection: points of attention to avoid backflow and fouling
The liner needs to be continuous, sized to the outlet diameter, and properly sealed. Limit bends and horizontal sections, plan for an inspection hatch and condensate drainage if needed. At the connection, take care with the fitting direction and the insulation of cold zones. That's the key to a regular, clean draft.
Commissioning, adjustments, and tests: securing the first fire
Before the first fire, check the sweeping, the airtightness, and proper ventilation of the surround. Run a smoke test or a draft test, then start with a gradual fire to stabilize the appliance. Adjust air supply and power output, and check for the absence of any abnormal smell or backflow. A surprise-free startup takes preparation.
Maintenance and after-sales service: ensuring the insert's longevity and client satisfaction
Routine maintenance: cleaning, ash drawer, glass, and pellet feed circuit
A pellet insert stays reliable when routine maintenance becomes a good habit. Let it cool, then empty the ash drawer, vacuum the burn pot and the air inlets. Clean the glass regularly to keep a nice flame. On the pellet side, remove dust from the hopper and watch for feed blockages, bearing in mind that the volume of fines depends first on the pellet class you specified.
Sweeping and annual inspection: frequency, traceability, and documents to hand over
Flue sweeping follows the local order and the insurer's requirements, often 1 to 2 times a year. Add an annual inspection of the appliance (seals, sensors, fans). Hand over a sweeping certificate, the maintenance invoice, and a simple service log for the warranty and follow-up.
Common faults: quick diagnosis (ignition, sensor, extraction, fouling)
For after-sales service, look for the simple cause first. An ignition fault often comes from a fouled burn pot, a worn igniter, or damp pellets. A sensor or an extraction fan can trigger a safety lockout. Ask for the error code, a photo, then apply a checklist before scheduling a visit.
Subsidies and sales arguments in 2026 for a pellet insert
Funding: checking eligibility and the documents required depending on the job
In 2026, sell the pellet insert with a simple reflex. First check the eligibility of the household and the home, then the equipment's performance. For the file, plan for a detailed quote and invoice, a technical data sheet (efficiency, emissions), before/after photos, bank details, and proof of income or benefits if requested. Add the client declaration, the measure references, and proof of the product's characteristics. On that side, the sworn statement and supporting documents stay attached to the CEE file.
Certification: how to secure the client's file and avoid payment refusals
The point that saves you time. Your HETAS registration must be valid on the date the quote is signed, with the right company registration number and the right scope. On site, follow the manufacturer's instructions, the flue, the liner, the air supply, then archive a checklist and dated photos. This is often where funding audits get decided.
Comparing with a wood insert and a boiler: comfort, running costs, and job-site benefits
Compared to a wood insert, pellets bring automatic ignition and controls. The result: more comfort and often a more predictable running cost. Compared to a boiler, the insert installs faster, without a hydraulic network, handy for light renovations or supplementary heating. A selling point on site: less technical space needed, and heat that's controlled like a light you dial to the right level.