Lining is decided on two references. The flue-work installation standard, NF DTU 24.1 in its French form, governs workmanship, safety distances and connection conditions. EN 1443, published in June 2019, governs the designation of the product: six terms read in order that state the admissible temperature, the gas-tightness, the tolerance of condensate, the corrosion class for the fuel, the resistance to a chimney fire and the safety distance to combustible materials. It is that designation, not the diameter, that decides whether a liner is the right one.
When lining is required
Replacing an appliance on a masonry flue
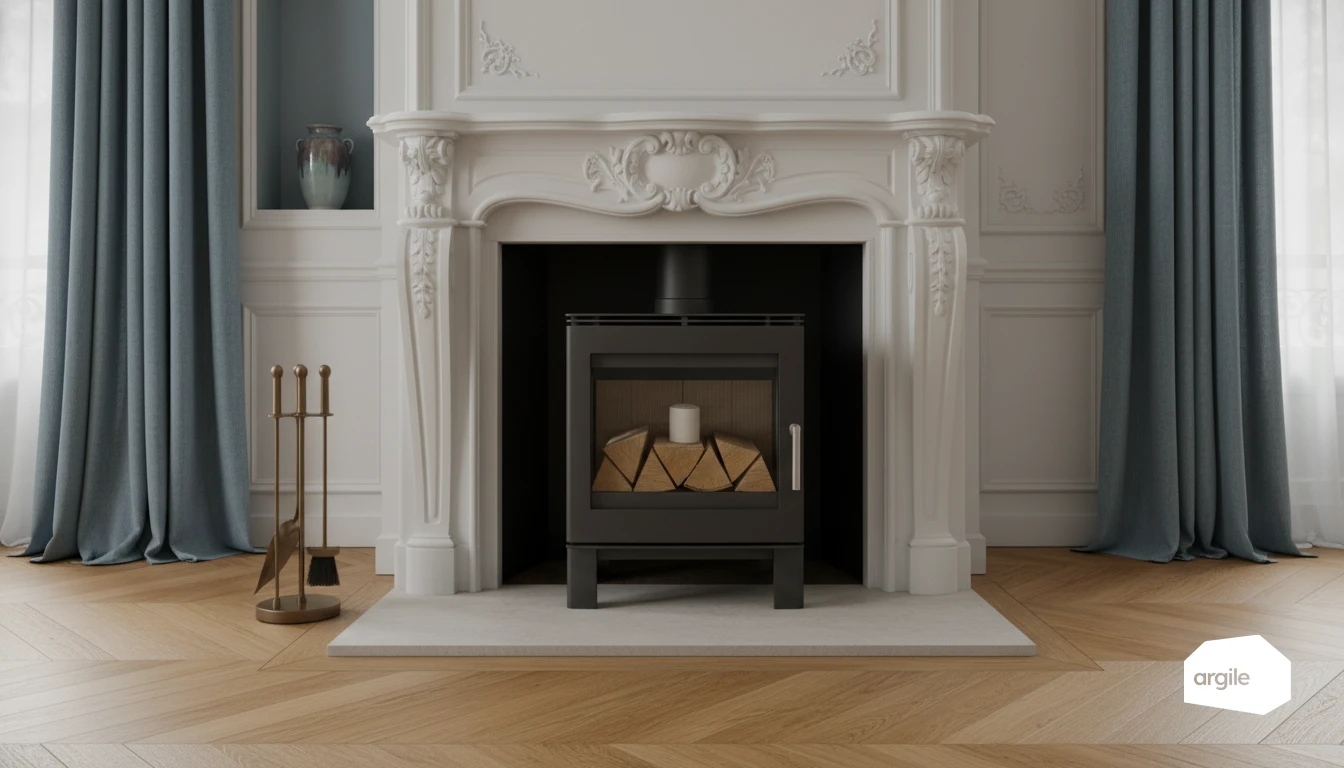
The most common trigger is still the move from an open fire to an inset or a stove. The new appliance changes everything: flue gas temperature, flow, draught and condensing behaviour. A masonry flue sized for an open fire becomes oversized, the gases cool, condensation and tar deposits set in, and the risk of a flue fire climbs.
Lining becomes necessary as soon as the existing flue fails any of the following: gas-tightness, a cross-section suited to the appliance, enough insulation to keep the gases warm, and safety distances to combustible materials as required by the installation standard. A cracked liner block, an offset flue of irregular section or a shared flue all lead to the same conclusion.
Condensation, the criterion that changes the nature of the flue
On appliances that condense, pellet units modulating low and gas condensing boilers, the flue no longer sees hot dry gases but a wet, acidic effluent. The chimney must then be designated W, meaning fit for condensing operation, and its corrosion class must match the fuel. A flue designated D, dry operation, run in condensing mode degrades from the inside with nothing visible until the stack starts weeping.
What to check before pricing
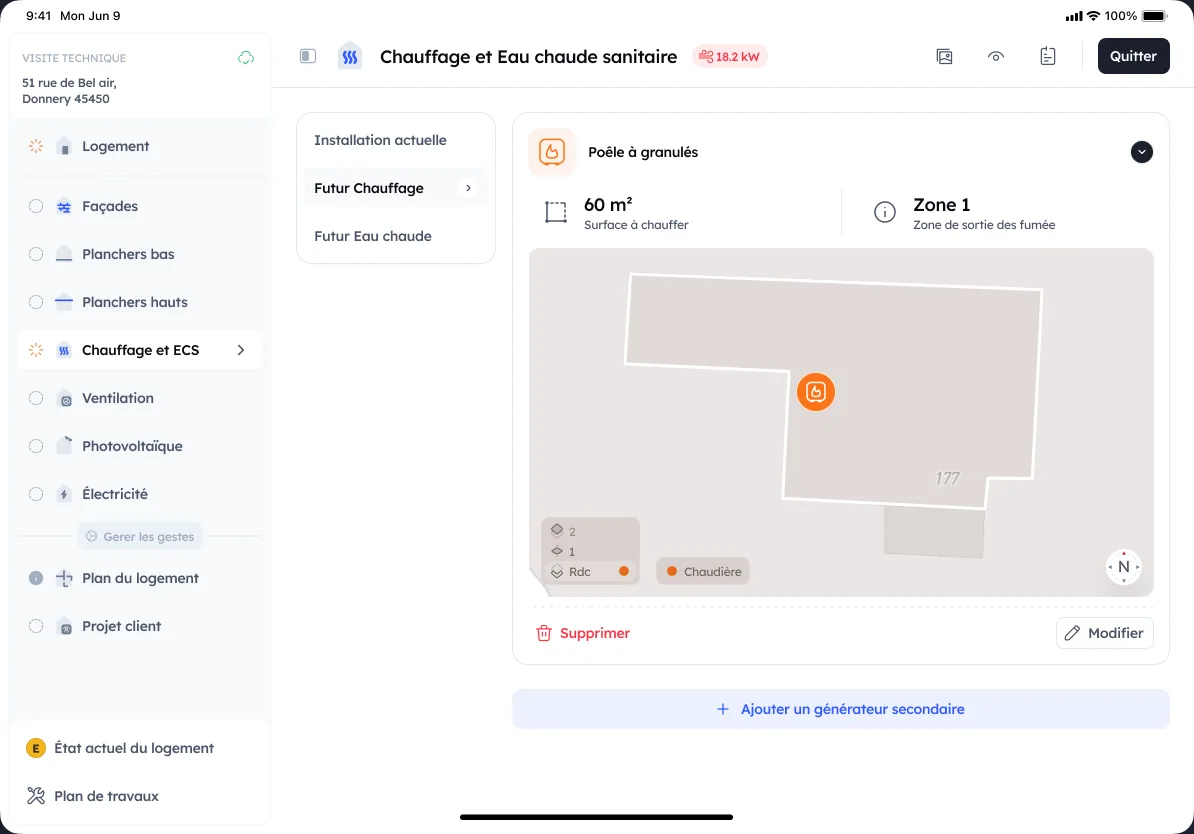
A lining quotation follows the flue survey, never the other way round, and on a pellet stove installation that survey belongs to the technical visit, where Argile takes use, siting and flue outlet in turn before any pricing. Four points swing the price.
- Clear bore and real section over the full height, checked visually or by camera.
- Offsets, section changes and tar deposits, which decide rigid versus flexible and whether de-tarring is needed.
- Condition of the stack, the inspection door and the floor penetrations.
- Distances to combustible materials in the loft and in timber floors.
Decoding the EN 1443 designation before you order
The six terms, in order
This is the table to keep to hand when a supplier sends you a product reference.
| Term | What it states | Example values |
|---|---|---|
| T followed by a number | Temperature class, value in degrees Celsius | T120, T160, T200, T450 |
| N, P or H with an index | Gas-tightness class: natural draught under negative pressure, positive pressure, high pressure | N1, P1, H1 |
| W or D | Fitness for condensing operation, W for wet, D for dry | W, D |
| 1, 2 or 3 | Corrosion class according to fuel | 1 for gas, 2 for condensing gas and oil, 3 for high-sulphur oil and solid fuels |
| G or O | Chimney-fire resistance, G if resistant, O if not | G, O |
| A number in millimetres | Safety distance to combustible materials | 00, 20, 30, 50 |
A designation such as T160 P1 W 1 O30 therefore describes a chimney rated to 160 degrees, gas-tight under positive pressure, fit for condensate, intended for gas, not resistant to a chimney fire, to be installed at least 30 millimetres from any combustible material. Fitted to a pellet stove, that same product is wrong on two counts: the corrosion class and the chimney fire.
Two terms of the designation are not negotiable and follow from the fuel alone. The others, temperature and gas-tightness, come from the appliance manual.
| Appliance connected | Corrosion class | Chimney-fire resistance |
|---|---|---|
| Log stove, insert or closed fire | 3 | G required |
| Pellet stove or boiler | 3 | G required |
| Gas boiler, including condensing | 1 | O accepted |
| Condensing oil boiler | 2 | O accepted |
| High-sulphur oil | 3 | O accepted |
The diameter, by contrast, is never a choice: it is prescribed by the appliance manual and stays constant from the connection to the terminal. Reducing the section to thread a liner through an offset flue changes the appliance's operating point, and it is the leading cause of backdraught reported after a lining job.
The designation mistakes that cost the most
Three confusions come up repeatedly in loss investigations. The first is using a class 1 liner, designed for gas, on a wood or pellet appliance because that reference happened to be in stock. The second is accepting an O liner on a solid fuel, where a flue fire is an operating assumption rather than an improbable accident. The third is ignoring the designation's safety distance at a timber floor penetration or in an insulated loft, where the insulation ends up against the flue after the event.
The designation appears on the system's data plate and in its documentation. Copy it verbatim onto your installation certificate. It is the only document that will prove, years later, that the product installed matched the appliance connected. When a customer's flue is already lined, that same plate is what you read before connecting anything to it: see how to check the designation of a lined chimney and connect an appliance.
Rigid, flexible, single or twin wall
Rigid earns its place on a straight flue: stable joints, easier sweeping, fewer places for deposits to catch. Flexible earns its place on an offset flue or one of irregular section, where it avoids opening up the masonry, provided it is installed the right way up and without tight bends. Single wall suits an existing masonry flue that acts as the enclosure. Twin-wall insulated becomes necessary as soon as the run is exposed, passes through an unheated space or approaches combustible materials, because it keeps the gases warm and limits condensation.
Installing to the flue-work standard
Preparing the flue
Full sweep, then de-tarring if the deposit warrants it, then a clear-bore check over the full height. The aim is a clean flue with no restriction, whose real route you know. Camera inspection is not a luxury on an old flue: it is what stops you discovering an offset once the liner is already engaged.
Installing without creating a weak point
Keep the section given in the appliance instructions, constant to the terminal. At the top, a sealing plate, a retaining clamp and a suitable cowl. At the base, an appliance adaptor and an inspection component for sweeping, which must remain accessible after finishes. Limit bends, avoid tight angles, and hold the designation's safety distance at floor penetrations and in the loft, with non-combustible enclosure.
Handover checks
Before the first fire, check the actual draught, run a smoke test to confirm gas-tightness, look for hot spots at penetrations and at the inspection door, and check for weeping at the base of the flue. A liner weeping at the base on an appliance that should not be condensing points to an unsuitable designation or insufficient insulation, not to poor workmanship.
After installation: servicing and liability
Sweeping is not optional
Lining does not exempt anyone from anything. Sweeping frequency follows the rules in force where the property sits, and on a solid fuel the real driver is fuel consumption: a household burning through a serious tonnage each winter needs more than one sweep, whatever the calendar minimum says. Set the frequency in writing at handover and record it, rather than leaving it to the occupant's judgement. For comparison, the French sweeping regime was overhauled in October 2023 and now sets a twelve-month national floor with local authorities able to require more.
The file that defends you
After a flue fire or a carbon monoxide incident, an investigation reconstructs three things: the product installed, the compliance of the installation, and the information given. So keep the full EN 1443 designation, the system instructions, the installation certificate with the route and distances recorded, dated photographs, and the written record of any caveats. A written caveat about a degraded stack the customer declined to rebuild is worth more than a perfect file with no caveat at all.
The renovation cases that go wrong
In a block of flats, a chimney touches common parts quickly: managing agent's consent, roof access and protection of circulation routes are planned beforehand, not during. In an older house, timber floor penetrations and blown loft insulation are the two places where the safety distance quietly disappears. On a fuel change, the mistake is to keep the open-fire sizing when the new appliance needs a far smaller section. The full reasoning on how an open fireplace affects an energy rating gives you the background to argue for the replacement.