Understanding what a lined chimney is and what lining changes on site
Single-wall, double-wall, flexible lining: how to identify the installation in place
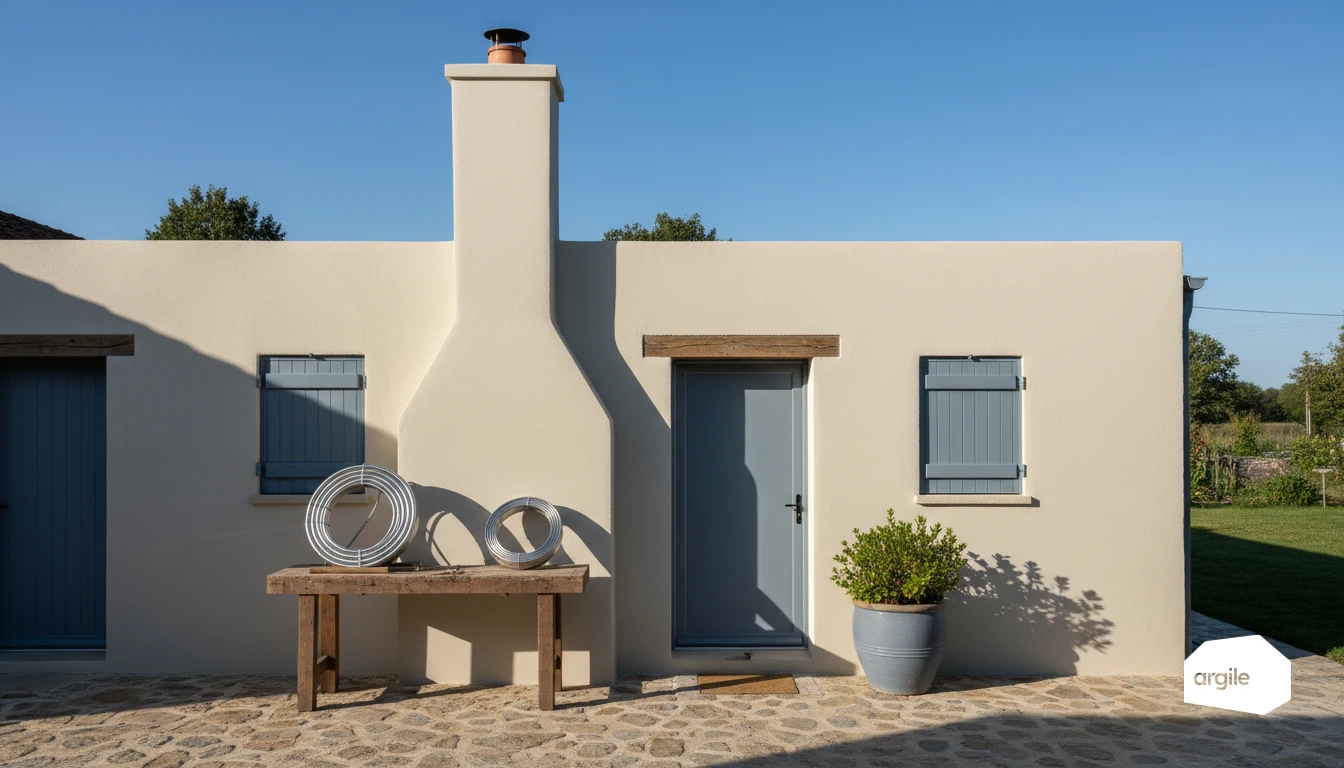
On a lined chimney, the liner is a metal flue inserted into the flue shaft. During a visit, look at the connection for a smooth wall (rigid stainless steel single-wall), a corrugated wall (flexible), or an insulated double-wall assembly, often identified by its locking joints and thickness. Also note the presence of a condensate tee and a sweeping hatch where the installation calls for them.
Why an already lined flue is not necessarily compatible with your new appliance
The key point is the standardized designation marked on the liner (EN 1856 type). It states the temperature class (T), condensate resistance (W or D), corrosion resistance (V), soot fire resistance (G or O), and sometimes pressure. Without these codes, you cannot justify compatibility in the quotation or in the event of an inspection.
Typical renovation cases: replacing an insert, switching to a stove, changing a boiler
When replacing an insert or switching to a wood stove, T400 to T600 and class G are often targeted. For a pellet stove or an airtight appliance, pressure and airtightness become decisive. For a gas condensing boiler, the flue must be designed for condensate and, depending on the layout, a specific solution rather than a “wood” liner reused as-is. For more on the requirements and good practice, see the chimney flue standards for wood-burning stoves.
Reading the standardized designation on the liner: the information that really matters
Where to find the designation: liner, data plate, installation documents, and hatch access
On a lined chimney, the designation is first on the liner itself (lengthwise marking, near a joint). If not, look for the system’s data plate (often at the flue base or in the attic) and the installation file. Without hatch access, you cannot verify liner continuity, the presence of the condensate tee, or the condition of the seals.
Temperature class (T…): determine which appliances can be connected (wood, pellets, gas)
| Marking | Continuous temperature (°C) | Typical appliances |
|---|---|---|
| T200 | 200 | Gas, condensation depending on other classes |
| T400 | 400 | Log wood, inserts |
| T600 | 600 | High-temperature wood, older fireplaces |
The T… rating is not optional. Cross-check it with the appliance’s operating mode, the usable cross-section, and the manufacturer’s instructions before connecting.
Condensation and soot fire: understand N/W, D, G/O and safety clearances
| Marking | Meaning | Site watch-out |
|---|---|---|
| N1 | Negative pressure | Compatible with non-pressurized appliances |
| W | Resistant to condensate | Essential for condensing operation |
| D | Dry flue | Avoid in wet operation |
| G | Soot-fire resistant | Respect the stated safety distance |
| O | Not soot-fire resistant | Wood connection not recommended |
The final number (e.g. G50) sets the clearance to combustible materials. Without that number, no conclusion can be drawn. That is where connection mistakes become costly. For more on the requirements and implementation, see the requirement and implementation of flue lining.
Getting the liner ↔ appliance match right: avoid connection mistakes
| Appliance family | T class (°C) | Pressure (NF EN 1443) | Wet (D/W) | Soot fire (G/O) |
|---|---|---|---|---|
| Wood stove, insert | 400 | N1 | D | G |
| Pellet stove | 200 | P1 | W | G |
| Airtight gas condensing boiler | 120 | P1 | W | O |
Wood stove and insert: common requirements and soot-fire watch-outs
On a lined chimney, start from the liner marking. For log wood, a high temperature class is common, and soot-fire resistance in G helps prevent nasty surprises. A liner marked O or with a T class that is too low should be treated as incompatible. Also make sure sweeping access and joint continuity are in place.
Pellet stove: pressure, airtightness, and sensitivity to condensation
The fan often puts the flue under pressure. Aim for a P1 class and real airtightness at the joints. Flue gases are cooler. Condensation builds up quickly if the flue is oversized or poorly insulated. A W liner and condensate management (tee, hatch) help limit issues.
Gas condensing boiler and airtight appliances: the trap of an unfit liner (and how to decide)
The classic trap is connecting a condensing appliance to a D-rated liner or to a flue intended for negative pressure. Decide by cross-checking the marking (T, N/P, D/W, corrosion) with the instructions and the exhaust type. If the appliance is airtight, a concentric system or a certified W reline in P1 remains the proper route.
Inspecting an existing lined flue before quoting: your site checklist in 2026
Condition and corrosion: stainless steel, pitting, clamps, cap, water ingress points
On a lined chimney, start with a full visual inspection. Identify the stainless grade, the beginnings of pitting, deformations, and any sign of damp creosote. Check the penetration, clamps, the sealing plate at the top, and the cap. Any water ingress shows up quickly as seepage, black streaks, or soaked insulation. Keep in mind that water and condensate accelerate corrosion.
Continuity, clear passage, and tightness: what to check before connecting
Check continuity over the full height. Camera, mirror, brush—your choice, but you must confirm there is no crushing or obstruction. Test the tightness of assemblies, locking joints, flanges, and seals. Record the data plate and standardized designation (temperature class, condensation, pressure, soot fire) and match it against the appliance requirements. That is your proof in case of inspection.
Essential items: condensate tee, sweeping hatch, ventilation of the annular space
At the base, look for a tee with a drain and inspection cap. Without sweeping access, there is no proper handover. Check the hatch, accessibility, and condensate drainage. In a lined masonry flue, also check ventilation of the annular space according to the system installed, to avoid moisture build-up and local overheating. Note the deviations, then price the job on a traceable and defensible basis.
Pricing a connection on a lined chimney: a simple method to estimate and secure the cost
What drives the cost: roof access, reworking the liner, flue fittings, finishes
| Factor | Site time (h) | What changes the picture |
|---|---|---|
| Roof access | 1 to 3 | Pitch, height, lifeline, scaffolding |
| Liner rework | 2 to 5 | Cutting, locking joints, clamps, cap, penetration |
| Connection fluework | 1 to 4 | Single or double wall, offsets, safety clearances |
| Finishes | 0.5 to 3 | Ceiling, trim plate, boxing, hatch |
Base your price on materials + labor. Then apply an uplift if the roof requires heavy access equipment or if the lined chimney has no readable marking.
Items to include in the quote: survey, remediation, testing, and documents to provide
- Site survey. Record the designation, check clear passage, condition, continuity, and the presence of a condensate tee and a hatch.
- Compliance work. Replace components, add a data plate, manage condensate if needed, respect fire clearances.
- Testing and traceability. Draft and operation check, before-and-after photos, handover report, sweeping certificate if included in the scope.
Writing clear reservations: when to refuse the connection until the designation is validated
Issue a written reservation if the standardized designation (temperature, W or D, G or O, pressure class) is missing, inconsistent, or incompatible with the appliance (condensing, airtight, biomass). In that case, do not connect it. Price an additional verification service and make the connection conditional on documentary validation and an on-site check. To frame this type of pricing, rely on a line-item quoting method.