Recognising moisture in an earth-retaining wall: make the right diagnosis before any treatment
Distinguishing lateral ingress, rising damp and condensation (signs to record on site)
On an earth-retaining wall, start with a differential diagnosis. Lateral ingress often shows up as localised staining, linked to rainfall and a defect in drainage or internal basement wall waterproofing. Rising damp starts at the base of the wall and moves upward in a horizontal tide mark, with a fairly sharp and stable limit. Condensation is more likely to follow cold areas (corners, thermal bridges) and will vary with occupancy and ventilation. Also record humidity and surface temperature.
Spotting the clues that point the diagnosis: salt efflorescence, blistering, mould, seepage, odours
- Salt efflorescence and powdery joints. A frequent sign of salt migration, compatible with rising damp.
- Blistering, debonding plaster, flaking paint. Often linked to trapped moisture.
- Mould and persistent odours. Often associated with condensation and overly humid air.
- Local seepage, vertical marks. Points towards lateral water ingress.
Checking the key points around the earth-retaining wall: external ground level, drains, cracks, slab-to-wall junctions
Check the ground level and falls, the condition of rainwater downpipes, inspection chambers, drains, and any discharge at the wall line. Identify active cracks, service penetrations, and the slab-to-wall junction, which is often a weak point. Photograph, mark up on the plan, and confirm the cause before any insulated lining or waterproof finish. For more on external solutions, see peripheral drainage.
Basement wall waterproofing: understand where the water is coming from to choose the right solution
Earth-retaining wall and hydrostatic pressure: what changes when water is present in the soil
On an earth-retaining wall, water in the soil creates continuous water pressure. This is no longer just diffuse damp. You need to identify the source during the site inspection: groundwater level, water ingress after rain, active cracks, special points, slab-to-wall junctions. Without this diagnosis, you risk treating the symptoms, not the cause.
When external waterproofing is the benchmark, and why it is not always possible
The benchmark remains external waterproofing, with excavation, repair of defects, membrane, protection and drainage where the context allows. For a durable solution in renovation, that is not always feasible. Party walls, access constraints, services, risk to foundations or surrounding areas may rule it out. In that case, the internal approach becomes a water-management strategy, not a gimmick.
Common renovation special cases: stone, blockwork, shuttered concrete, degraded joints
Adapt internal basement wall waterproofing to the substrate. For stone, favour compatible mortars and continuous joints. For blockwork, look for porosity and masonry repairs. For shuttered concrete, inspect honeycombing and construction joints. For degraded joints, repair them before any tanking or lining. Do not insulate before water ingress has been stabilised. For more on identifying causes and choosing the right solution, see diagnose and treat.
Treating an earth-retaining wall from the inside: solutions that work (and the conditions for success)
Internal tanking: principle, compatible substrates, preparation and special points to address
Tanking consists of creating a waterproof skin on the inside face. It works if you are dealing with a sound substrate: stable masonry, repaired joints, laitance and salts brushed off, and moisture that is not actively seeping under pressure. Deal with active water ingress first. Pay close attention to the wall-to-floor junction (fillet, band, reinforcement), penetrations (sleeves, collars) and corners. Without continuity, the tanking will fail.
Waterproof renders and mortars: limits, thicknesses, continuity, crack management
Waterproof renders and mortars are suitable for minor remediation or as a supplement, not as a way of hiding a problem when internal basement wall waterproofing is under hydrostatic load. Follow the primer, curing times and manufacturer’s thickness requirements. Ensure continuity across returns and junctions. Cracks must be treated before the coating is applied (stitching, injection, reinforced bridging). A moving substrate will crack.
Internal drainage, sump and pump: when managing the water is more realistic than “blocking” it
When water is pushing in, managing the flow is often more realistic than trying to block it. Internal perimeter drainage to a sump, then pumping, secures the room if external access is impossible. Size the pump properly, and provide a non-return valve, alarm and maintenance access. The aim is traceable water management, with functional tests and maintenance instructions.
What does not work (or does not work for long) on a damp basement wall
“Anti-damp” paints, surface resins, plasterboard: why they mask instead of treating
Film-forming coatings block exchanges. On an earth-retaining wall, water pressure and salts build up behind the layer. The result is blistering, efflorescence and debonding. The same applies to bonded plasterboard. You get a finish, not durable basement wall waterproofing.
Non-ventilated stud walls and water-sensitive insulation: risks of mould and degradation
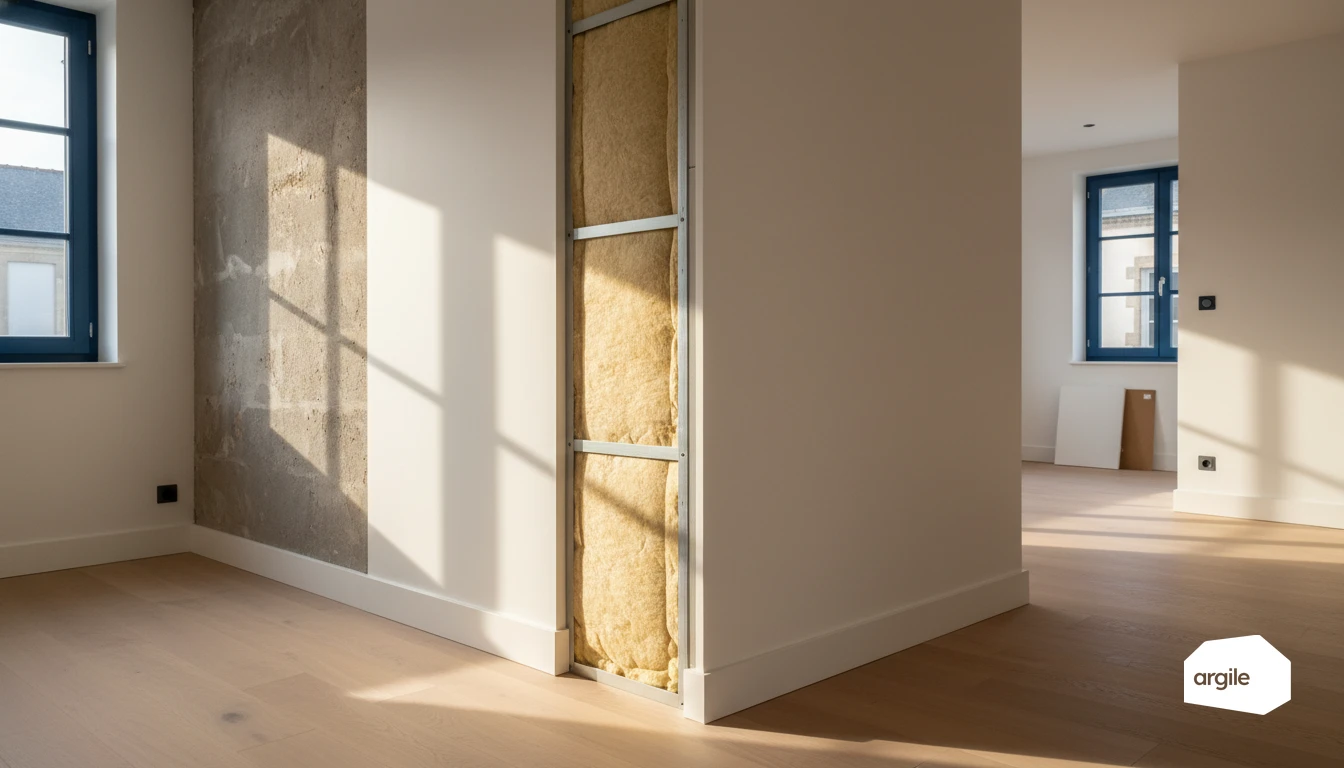
A stud wall without a ventilated air gap creates a cold, damp zone. Condensation forms on the wall side, then migrates into the insulation. Mineral wool, plasterboard, timber and assemblies with poorly managed vapour barriers settle, rot or mould. In the end, you get odours, corrosion of fixings and a loss of actual performance. To make this risk measurable, you can rely on the dew point calculation and confirm condensation conditions on site.
Injection systems, “barriers” and miracle treatments: when they are off target for an earth-retaining wall
Injection is mainly intended for rising damp. On an earth-retaining wall subject to lateral ingress, it does not address the entry points or hydrostatic pressure. Without drainage, levels and continuity of returns, you are only treating the symptom. Be wary of “stop damp” promises without diagnosis and without site checks.
Sequence of works: secure waterproofing before internal insulation (the trap to avoid)
Recommended sequence: diagnosis → water treatment → drying/checks → insulation → finishes
The classic trap is to fit internal insulation to “hide” the issue. On an earth-retaining wall, start by identifying the water ingress mechanism (runoff, rising damp, condensation) and by setting out the internal basement wall waterproofing on the work plan. Only then should you deal with the cause. Then let the substrate return to a stable, monitored condition before closing up.
After treatment: choosing insulation suited to the basement (and to residual moisture) without trapping the wall
Once the water is under control, avoid trapping the wall with an unjustified waterproof build-up. Prefer a system that tolerates residual moisture. Decoupled framing, a service cavity that can be ventilated if needed, and vapour control managed on a case-by-case basis. The lining should remain inspectable at the base and at special points.
Site checks and follow-up in 2026: measurements, timeframes, simple tests and points to watch before handover
- Weekly humidity and temperature readings. Aim for stability over several days.
- Visual checks for salts and seepage after rain. Dated photos and site log.
- 24 to 48 hour PE-sheet test on a cold area to identify persistent moisture before closing up.
- Before handover, check the base of the lining, continuity of connections, and access to inspection hatches.