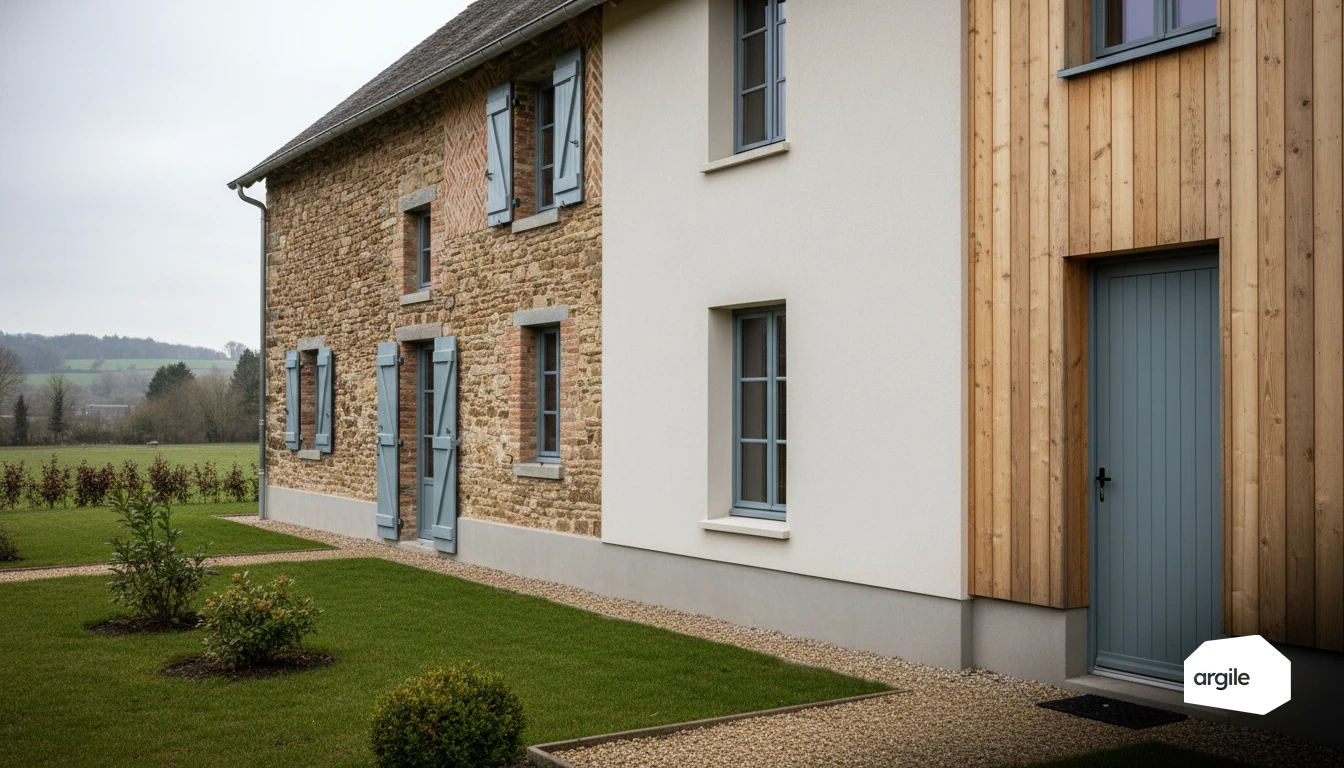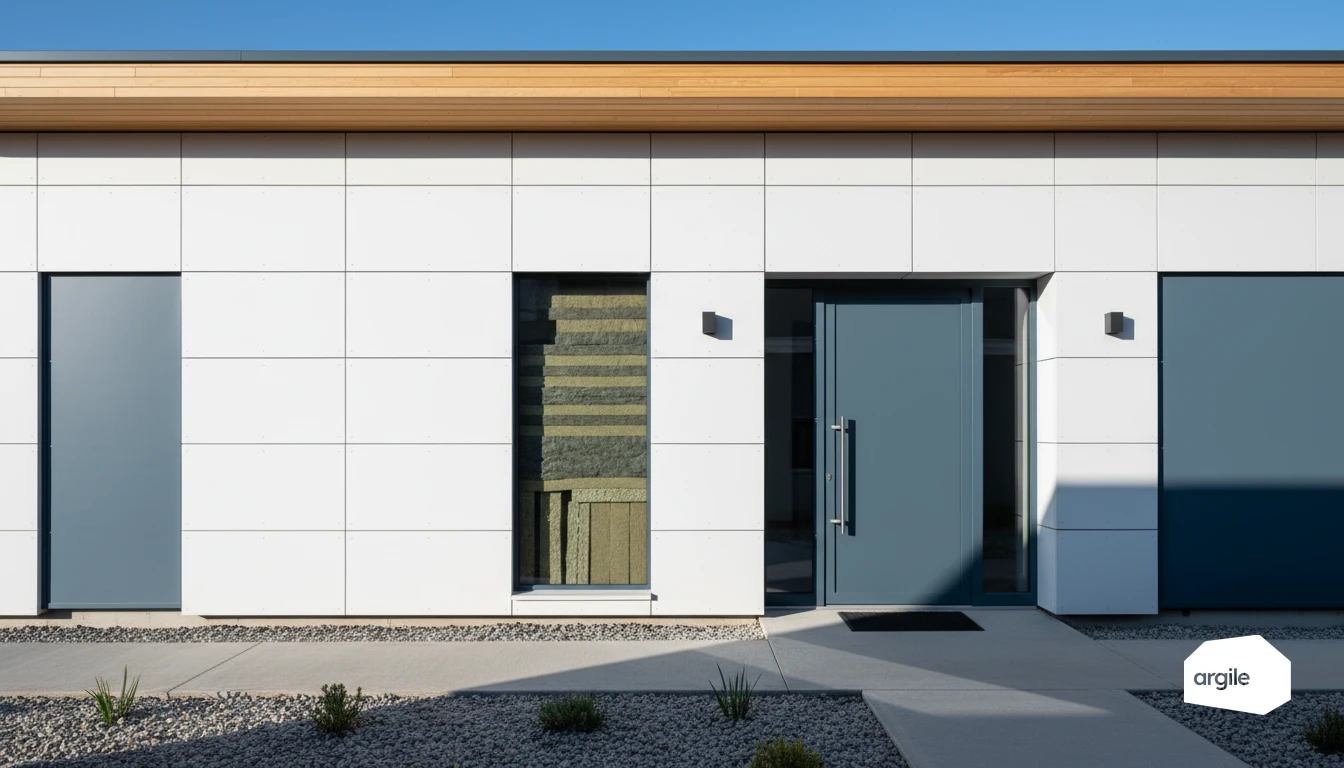
The lambda of insulation materials, that is their thermal conductivity λ expressed in W/(m.K), runs from roughly 0.022 for a PIR board to 0.046 for wood fibre, while dense concrete exceeds 1.6. It is what dictates the thickness to install, through R = e/λ. The part the data sheet leaves out: an energy assessment only credits the product's lambda when the insulant's thermal resistance is known and evidenced. Where only the thickness is recorded, the calculation falls back on a default lambda of 0.04 W/(m.K), whatever was actually installed.
Lambda (λ) in practice: what conductivity really measures
A simple definition of λ: heat passing through the insulation (W/m·K)
Lambda (λ) is a material's thermal conductivity. It expresses the heat power, in watts, that passes through a 1 m cube when the temperature difference between its two faces is 1 K (that is 1°C). The lower λ is, the less heat "gets through." It is also called the lambda coefficient: the same quantity, specific to the material and independent of its thickness.
The unit of lambda is W/(m.K), sometimes written W/m·K or W·m⁻¹·K⁻¹. Some data sheets show it in milliwatts: 32 mW/(m.K) equals 0.032 W/(m.K). Not to be confused with thermal resistance R (m².K/W), which depends on thickness, nor with the U-value (W/(m².K)) of a whole element.
What a low λ means on a job site: performance and comfort
On the ground, a low λ means that at equal thickness you get better insulation. The result: a lower U-value for the element, warmer walls, less of a "cold wall" effect, and more stable winter comfort. In summer, the incoming heat flow is also slowed down. Still, keep thermal bridges and airtightness in mind.
Don't confuse λ, thermal resistance R, and thickness
Lambda alone isn't enough to compare two solutions. For sizing, you mainly look at thermal resistance. The rule is simple. R = e/λ (with e in meters). So an insulator that's slightly less efficient in λ can reach the same R if you increase the thickness, provided the installation is careful and continuous.
Reading a technical data sheet without mistakes: λD, declared λ, and measurement conditions
Declared λ or design λ: the value a certificate vouches for
The λD (declared lambda) is the thermal conductivity shown on the Declaration of Performance, issued under the manufacturer's responsibility according to the product standard. It's the value to use to calculate the thermal resistance R = e/λ and to compare two products at equal thickness. The lower the lambda, the more the insulation slows heat loss.
The design λ is the value that goes into a regulatory thermal calculation. The French Th-Bat rules make it depend on the evidence available:
| What you have in hand | Value used in the calculation | What it changes |
|---|---|---|
| Third-party certificate (ACERMI in France, BBA in the UK) | certified λ, checked by a third party on production | the product's value is used as is |
| DoP alone, no certification | manufacturer's λD, no third-party check of production | acceptable value, easier to challenge at inspection |
| No product data | tabulated default value from the Materials volume | the least favourable in the family |
| Energy assessment with no evidenced resistance | method default, 0.04 W/(m.K) | the installed product's performance disappears |
The certification body checks through regular testing that production holds the declared value and sets an R per thickness: that certified R is what you should copy onto the quote.
The conditions that make λ vary: moisture, temperature, aging
A λ value measured in a lab doesn't exist in isolation. Moisture increases conductivity, especially for water-sensitive insulation materials. Temperature also changes the result. Some products see their performance evolve with aging, foams for example. On a data sheet, identify the "dry" state and the reference temperature, often 10°C.
CE marking, standards, and useful documents to secure your choices in 2026
In 2026, secure your choices with UKCA or CE marking and the DoP, which gives the λD and the performance classes. Check the product standard (BS EN 13162 to BS EN 13171 series depending on the family) and a BBA Agrément certificate to make the declared values more reliable. For calculations, the BS EN ISO 10456 standard helps translate product data into sizing assumptions.
From lambda to thermal resistance: calculating insulation thickness for your target
A field formula: R = thickness / λ (with quick examples)
On site, you go from lambda (λ) to thickness in one line. R (m².K/W) = thickness (m) / λ (W/m.K). Example: mineral wool with λ = 0.035 and a target R = 7 gives 0.245 m, or about 24 cm. For a wall targeting R = 3.7 with the same lambda, count on 13 cm. The calculation gives the order of magnitude, the installation makes the performance.
Calculating lambda: recovering λ from an R and a thickness
The same formula reads three ways; the third is for when a manufacturer only shows the resistance of its board:
| What you are looking for | Formula | Example |
|---|---|---|
| Resistance R | R = e / λ | 100 mm at λ 0.032: R = 0.10 / 0.032 = 3.1 m².K/W |
| Thickness to install | e = R × λ | R = 3 under a slab at λ 0.022: e = 0.066 m, i.e. 7 cm |
| A product's lambda | λ = e / R | 120 mm board stated at R = 5.45: λ = 0.12 / 5.45 = 0.022 |
The third calculation exposes a flattering data sheet: if λ = e / R falls below what the family can achieve, the stated resistance often includes an air gap or a reflective film. For the full calculation of a multi-layer element, with surface resistances and the step to the U-value, see the article on thermal resistance R; for a ground-bearing floor, choosing between PIR, XPS and EPS at constrained thickness is covered in insulating a concrete ground slab.
Choosing the thickness by wall type: attics, roof slopes, walls, floors
Keep practical benchmarks based on the targeted grant and the space available. In unheated attics, you often aim for an R around 7 to 10, or 24 to 35 cm depending on the lambda. In roof slopes, 6 to 8 is common, with special attention to the rafters. In walls, 3.7 to 5 depending on internal or external insulation. In ground floors, 3 to 4 to cut the cold-floor effect.
Avoiding common mistakes: thermal bridges, settling, installation
Three classic pitfalls keep coming up. Thermal bridges at junctions, hatches, and bearing points. Settling, especially with loose-fill, if the density or usable height falls short. Installation: open joints, poorly managed vapour barrier, compressed insulation. Clean continuity is sometimes worth more than 2 extra cm. To go further, also see the linear thermal bridge and its impacts.
Lambda of insulation materials: the comparison table, and when λ isn't enough
Lambda table: mineral, bio-based, synthetic and high-performance insulants
Lambda (λ) gives the rate of heat loss, but not everything. The thickness column below matches an R of 7 m².K/W, the usual loft target, worked out from e = R × λ.
| Insulation family | Typical λ, W/(m.K) | Thickness for R = 7 |
|---|---|---|
| Vacuum insulation panel (VIP) | 0.005 to 0.008 | 4 to 6 cm |
| Aerogel blanket | 0.015 to 0.021 | 11 to 15 cm |
| PIR / PUR | 0.022 to 0.028 | 15 to 20 cm |
| Extruded polystyrene (XPS) | 0.029 to 0.035 | 20 to 25 cm |
| Graphite EPS | 0.030 to 0.032 | 21 to 23 cm |
| Glass wool | 0.030 to 0.040 | 21 to 28 cm |
| Rock wool | 0.034 to 0.041 | 24 to 29 cm |
| White EPS | 0.035 to 0.038 | 25 to 27 cm |
| Expanded cork | 0.037 to 0.040 | 26 to 28 cm |
| Cellulose | 0.038 to 0.042 | 27 to 30 cm |
| Hemp wool | 0.039 to 0.045 | 27 to 32 cm |
| Wood fibre | 0.036 to 0.046 | 25 to 32 cm |
| Default value, resistance not evidenced | 0.040 | 28 cm |
These ranges are orders of magnitude of declared values: only the DoP of the product installed counts. The first two rows give the scale without targeting the loft: a vacuum insulation panel is kept for window reveals and slab edges where every millimetre counts. That last row is not a product, it is what the calculation assumes in your place. Installing 20 cm of 0.032 wool without recording it means the assessment counts R = 5.0 instead of R = 6.25.
Other decisive criteria: fire reaction, water vapour, acoustics, durability
Look at fire reaction (Euroclasses), especially in attics and technical rooms. On the water vapour side, permeance and the vapour-barrier/vapour-control pairing make the difference between a healthy wall and one that condenses. Also think about acoustics (mineral wool often performs well) and durability, mechanical strength, moisture sensitivity, settling, rodents, and technical approvals.
Summer comfort and thermal lag: how to round out your choice beyond λ
For summer comfort, add density, heat capacity, and thermal lag. On a roof, a denser, thicker insulator delays the heat peak, like a lamp being dimmed rather than switched off. Check the allowable weight, the installation (continuity, airtightness), and hygrothermal compatibility. This way you choose a coherent whole, not just the best λ.
Thermal conductivity of building materials: concrete, brick, stone, timber table
Structural materials conduct heat ten to a hundred times better than insulants. Default values from the Materials volume of the French Th-Bat rules, to be replaced by the product's own value when you have it:
| Material | Design λ, W/(m.K) | R of 20 cm, m².K/W |
|---|---|---|
| Granite | 2.8 | 0.07 |
| Reinforced dense concrete | 2.3 | 0.09 |
| Dense aggregate concrete | 1.65 to 2.0 | 0.10 to 0.12 |
| Limestone, hard to soft | 1.1 to 2.3 | 0.09 to 0.18 |
| Solid fired-clay brick | 0.50 to 0.92 | 0.22 to 0.40 |
| Hollow concrete block | no λ, tabulated block R | 0.23 |
| Solid timber, softwood or hardwood | 0.12 to 0.18 | 1.1 to 1.7 |
| Aircrete, depending on density | 0.11 to 0.25 | 0.80 to 1.8 |
| For comparison: wool at 0.035 | 0.035 | 5.7 |
A 50 cm stone wall only reaches an R of 0.2 to 0.5, hence the cold wall, but its moisture behaviour calls for specific precautions, covered in insulating stone walls.
Thermal resistance of a concrete block: 0.23 m².K/W for a 20 cm hollow block
A hollow concrete block has no usable lambda: heat crosses its cells by convection and radiation as much as by conduction, and the Th-Bat rules give it a resistance for the whole block, about 0.23 m².K/W for a 20 cm hollow concrete block. That is what 7 to 8 mm of a wool at λ 0.032 is worth. With render, plaster and surface resistances included, the bare wall reaches R ≈ 0.46 m².K/W, i.e. U ≈ 2.2 W/(m².K): the block carries loads, it does not insulate, and a 120 mm lining at λ 0.032 cuts its losses ninefold. The detailed comparison of blocks, including cellular fired clay, is in our article concrete, brick, block: thermal conductivity compared.
Choosing the right insulation on site: a simple method compliant with 2026 grants
Adapting the choice to the building and the client: moisture, ventilation, space constraints
On the technical survey, record the moisture state of the substrate, whether ventilation is present and what it actually extracts, and the clear height genuinely available. Those three readings settle the insulant and vapour-control pairing well before lambda does. Where height is tight, that is where a low lambda earns its keep: it buys centimetres, and it is the only thing that justifies the price gap against a cheaper standard wool.
Consistency with the certification and funding rules: proof and points of attention
To remain eligible, the product and installation must justify the targeted U-value. In France, the CEE grant and the 5.5% VAT rate remain available measure by measure, but there is no longer a per-measure MaPrimeRénov' grant for insulation since 1 September 2026 (decree no. 2026-822): the national grant only goes through the accompanied route. Keep clear product proof (BBA Agrément certificate or declaration of performance): on an external wall insulation job, Argile carries the thickness and thermal resistance of the chosen insulant from the catalogue through to the quote. On site, watch out for weak points, continuity, and ventilation. A good insulator on paper doesn't forgive a "gappy" installation.
Selection checklist: comparing, pricing, justifying on the quote and handover report
- Calculate the thickness. e = R x lambda.
- Compare in €/m² installed and in real R gain (compression, settling).
- Quote: insulator, thickness, evidenced R, surface area, brand, and reference.
- Handover report: photos, treated zones, discrepancies, and rework.