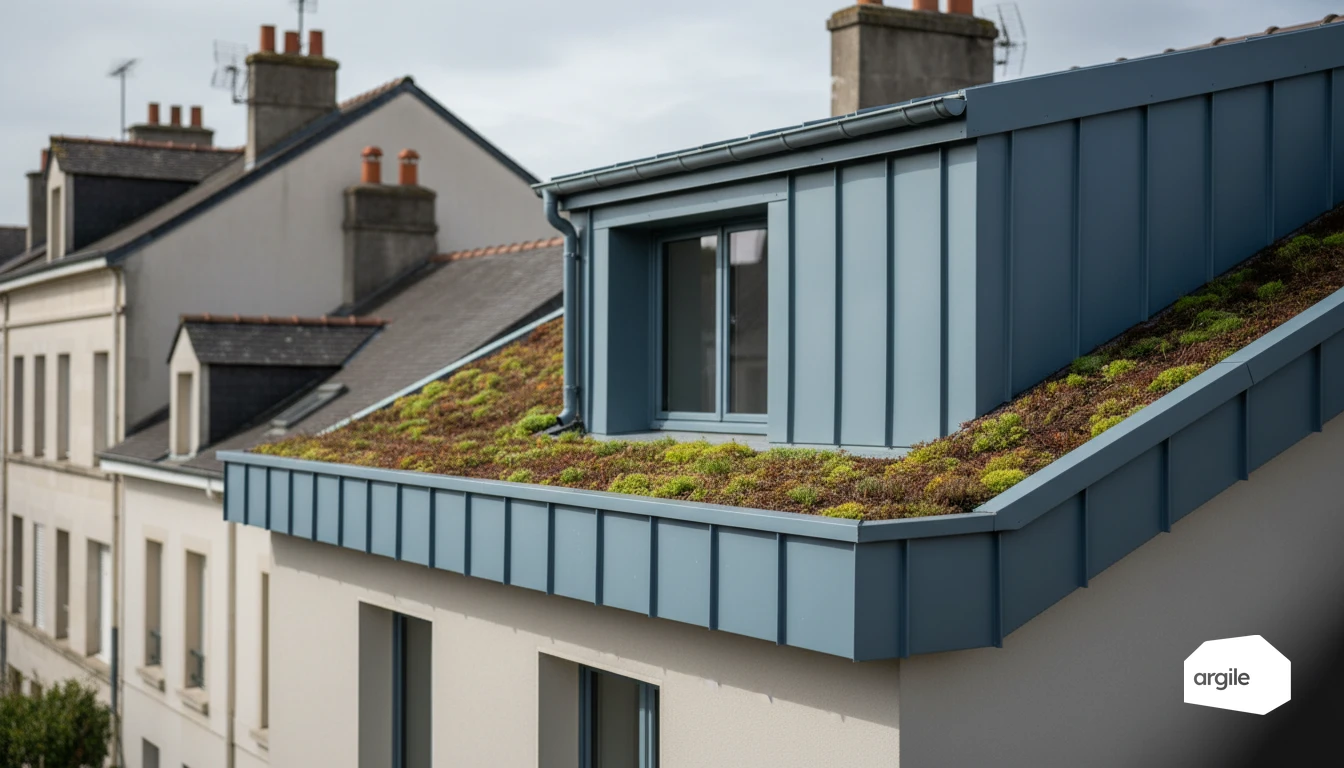
An extensive green roof weighs 60 to 180 daN/m² at maximum water capacity, for a growing layer of 4 to 15 cm, and the professional rules for the design and construction of green roofs and terraces limit its scope to roofs pitched at 20% or less. Those three figures, not the planting effect, decide whether the existing structure can take the build-up. The load quoted by the system supplier has to rest on testing by an independent laboratory, and it is a saturated figure: the weight of the roof the morning after a week of rain, not the weight on the day it was laid.
What defines an extensive system
The definition in the professional rules
An extensive green roof uses an engineered growing medium of shallow depth, producing a plant cover of horticultural or wild species. Maintenance is kept to a minimum and rainfall is generally sufficient, topped up by supplementary irrigation where the climate demands it. That definition is not decorative: it is what separates an extensive system from a semi-intensive one, where irrigation is essential and the load doubles.
The three systems side by side
The three families do not carry the same loads, nor answer to the same reference documents.
| System | Depth of growing medium | Total load at maximum water capacity | Maximum pitch | Irrigation |
|---|---|---|---|---|
| Extensive | 4 to 15 cm | 60 to 180 daN/m² | 20% | No, except in southern regions and low-rainfall microclimates |
| Semi-intensive | 12 to 30 cm | 150 to 350 daN/m² | 20% | Yes |
| Roof garden, intensive planting | over 30 cm | over 600 daN/m² | 5% | Yes |
The roof garden falls outside the professional rules and answers to the flat-roof waterproofing standard. Moving from an extensive to a semi-intensive system mid-project, at the request of a landscape designer or a client, doubles the permanent load: that is a structural change, not a choice of plant palette.
Permissible pitch and deck type
The rules apply to roofs pitched at 20% or less, that limit included. They accept decks in masonry, in reinforced autoclaved aerated concrete, in profiled steel sheet and in timber or timber-based boards, each with its own minimum pitch. A strictly level roof is therefore not a universal option: on profiled steel or timber decks a minimum slope is required by the applicable standard, and that slope is what governs real drainage.
Load, the only criterion that decides feasibility
Breaking down the design load
The structural engineer expects a breakdown, not a single figure. This is the one the professional rules require.
| Item | Content |
|---|---|
| Permanent load, insulation and waterproofing | Vapour control layer, insulation, waterproofing membrane |
| Permanent load, planted build-up | Drainage layer, filter layer, substrate and plants, taken at maximum water capacity |
| Flat safety allowance | 15 daN/m² |
| Addition on timber-based decks, pitch below 7% on plan | A further 85 daN/m², making 100 daN/m² in total, to account for creep |
| Imposed load | The greater of the 100 daN/m² maintenance load and the climatic load |
The unfactored design load is the sum of the permanent load and the imposed load. On a shallow-pitch timber roof structure, the creep allowance alone often exceeds the weight of the substrate: it is the first thing timber roof extension projects run into.
What the system supplier owes you
The technical document for the system has to state, for each roof, the weight of the build-up at maximum water capacity and its dry weight, established from independent laboratory testing. Maximum water capacity is measured through a defined protocol: saturation for twenty-four hours, then two hours of draining. Ask for that document before ordering and file it with the job: a sales sheet quoting a weight without stating the moisture condition is worth nothing to a building control inspector.
The dry weight trap
Dry weight is not simply the favourable case, it is sometimes the governing constraint. A build-up that is too light when dry can fall outside the system's permitted scope depending on the wind zone, because uplift beats the weight holding it in place. The technical document states that dry weight for precisely that reason. On a coastal site or a tall roof, check it before settling on the lightest system in the catalogue.
Installation: layers, sterile zones, handover
The order of layers and the hold points
On a warm roof the order is fixed: deck, vapour control layer, insulation, root-resistant waterproofing membrane, drainage layer, filter layer, substrate, plants. Two hold points govern everything else: the water test before the planted layers go down, and the check on upstands and outlets before the substrate. Once the substrate is in place, nothing is verifiable without stripping it back. The logic of the insulation and waterproofing build-up underneath is set out in our article on external insulation of a flat roof.
Sterile zones and separation devices
The sterile zone is a mineral strip whose job is to keep access to the upstands and outlets, and to allow an upstand height compliant with the applicable standard. It is required over a minimum width of 40 cm at the perimeter and around penetrations as soon as an extensive system includes perennial grasses or woody plants, and around rainwater outlets in every case. A separation device between sterile zone and planted zone is essential, failing which the substrate migrates and fills the mineral strip within two seasons.
Pre-grown mats, modular trays or seeding
A pre-grown mat gives immediate cover, which secures wind resistance from the day it is laid, at the cost of pallet logistics and lead times. Modular trays simplify local replacement and setting out around penetrations, but demand a precise laying plan. Seeding remains the cheapest and leaves the surface bare for several months, the period during which erosion and weed ingress are decided. The deciding criterion is time to full cover, not price per square metre.
Maintenance, pricing and liability
The maintenance plan is part of the works
An extensive roof is not maintenance-free, it is low maintenance. Allow an establishment visit in the first months, then one or two visits a year depending on exposure: selective weeding, cleaning the rainwater outlets, checking the drainage and the separation devices, topping up plants on bare patches. Put those visits in a contract and keep a dated logbook with photographs. That record is what separates an operating failure from an installation defect on the day water gets in.
Splitting the quote between packages
The quote separates structure, insulation, waterproofing, planting, access and safety explicitly, with the interface between waterproofer and planting contractor named. The water test before substrate appears as a line item, not as an intention. The weight adopted, dry and at maximum water capacity, appears in plain figures with the reference of the system's technical document. A quote offering a planted build-up without those two values leaves the burden of proof with the contractor. That split fits into a single quote when Argile prices the ancillary trades package by package in the same works plan as the main job.
Reservations and traceability
Record in writing every reservation on unverified bearing capacity, on an insufficient upstand height or on an inaccessible outlet, even where the client refuses to act on it. Keep the water test report, the photographs of upstands and sterile zones before the substrate, and the system's technical document. Those are the three items an expert will ask for, and the only ones that answer the question of whether the build-up laid matched the structure carrying it. The thermal performance and water retention expected from the build-up are covered in our dedicated article on green roof insulation and water management. Those items come together as the job progresses when Argile tracks progress, photographs and reservations through to sign-off from the customer's file.