Understanding the octopus PEX network for efficient floor-level distribution
The octopus principle: manifolds, star-shaped supply and return runs
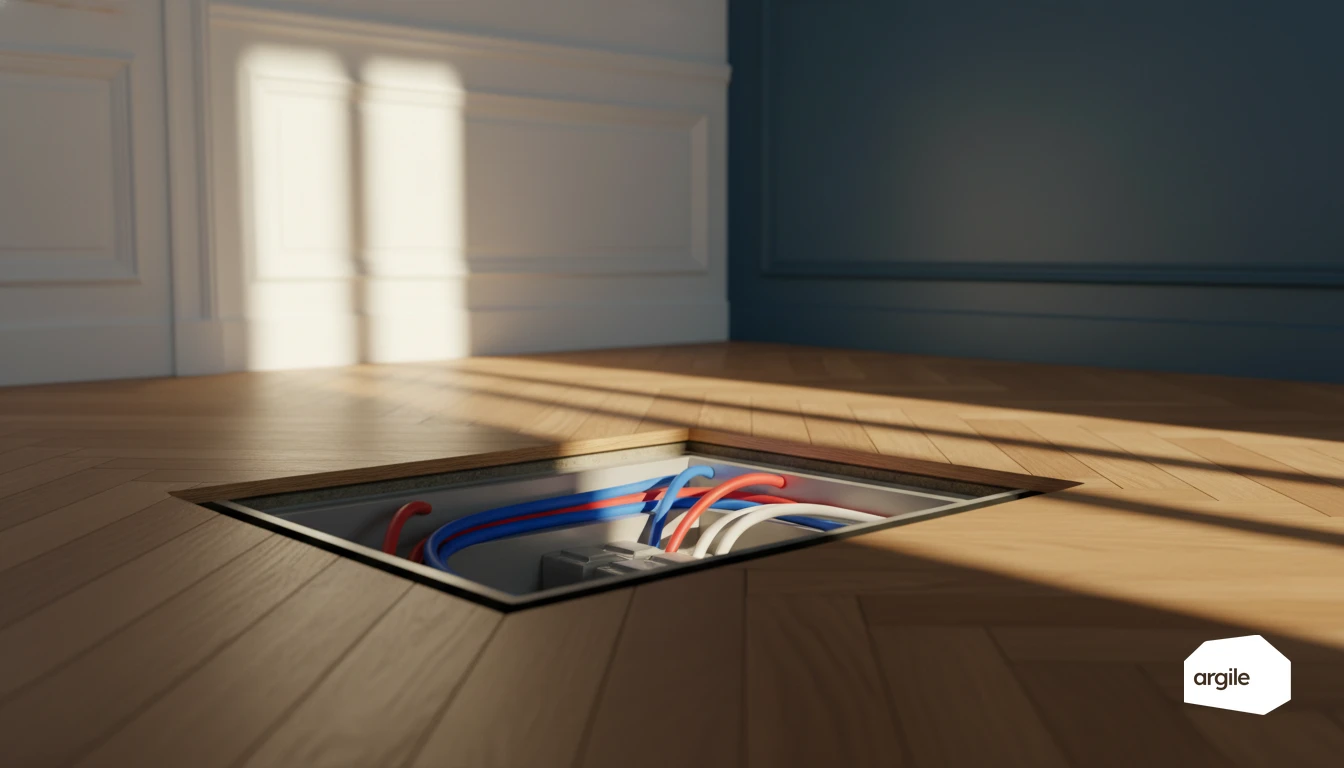
The octopus network starts from one or more manifolds. From this central point, each fixture is fed by its own line, in a "star" pattern, with a separate supply and return if needed. The result: you limit connections buried in the slab. You can identify each circuit more easily, and isolate one zone without cutting off the whole house.
Why PEX suits modern distribution: flexibility, durability, limited losses
PEX bends easily and is installed in continuous lengths. With a continuous tube, you reduce connections, and therefore the risk of leaks. The material resists corrosion and scale build-up well. In floor-level distribution, short, well-sized runs also help limit pressure losses, and, for hot water, heat losses, provided conduits and insulation are planned for.
Which jobs it suits: new-build, heavy renovation, technical floors
This layout is ideal in a new house on a slab, or in a heavy renovation when you're redoing the floors. It also works with a technical floor or a dry floor system, handy for routing conduits and keeping accessibility. Plan an accessible manifold location, and a clean layout plan to avoid crossings. Those packages get priced with the rest when plumbing and the other secondary works are added to the works plan from a library of items.
Designing your octopus system: sizing, routing and error-free labelling
Choosing PEX diameters by use: DHW, cold water, heating and line lengths
With an octopus system, the right habit is to size the "backbone" first. From the manifold, run 20/25 for the main supply, then reduce as you get closer to the fixtures. For cold water and DHW, 12/16 is enough for a washbasin or a WC. Move up to 16/20 for a shower, sink or washing machine. If a line exceeds 10 to 15 m, or if you're feeding a bathtub, anticipate flow losses by going up one diameter.
Positioning manifolds in the right spot: accessibility, balancing, wet zones and heated volumes
Place the manifolds in a technical cupboard or a service panel, with an inspection hatch and space to operate the valves. Stay within a heated volume to limit heat loss and avoid the risk of freezing. Ideally, one manifold per zone (daytime, night-time) shortens the lines and makes balancing easier. Avoid locations directly in wet zones and protect slab penetrations with conduits.
Labelling and distribution plans: colour codes, tagging, floor reservations
A simple plan avoids 90% of callbacks. Use a consistent colour code (blue for cold water, red for DHW, another colour for heating), and label the runs at the manifold and at the wall outlets. Before pouring, mark the reservations on the floor, number the conduits and take a dated photo. On connection day, you save time, and you sleep better.
Floor-level installation: best practices for a clean, durable distribution
Fixing, bend radii and protection: avoiding pinching, friction and crushing
Unroll the octopus network on a clean, flat surface, then fix it at regular intervals so it doesn't move during the pour. Respect the bend radius specified by the conduit or tube manufacturer. At crossing points, add mechanical protection (plate, reinforced conduit) and avoid any contact with sharp edges.
Slab and partition penetrations: conduits, joints, airtightness and special points
For each penetration, plan a continuous conduit and a small length allowance. Then seal around the conduit with a compatible product (sealant, sleeve) to limit air leaks and cracking. If the wall has a fire-resistance requirement, use a suitable, documented system.
Screed and insulation compatibility: perimeter strip, overlaps, points of attention
On insulation, the screed moves. Install a perimeter strip and check the overlaps before embedding the networks. Avoid bundled crossings that create thickness build-up. Take photos and keep an as-built plan. You'll save time at the slightest drilling.
Connections and commissioning: getting the octopus system right the first time
Fittings and tools: crimping, push-fit, multilayer and choosing fittings
On an octopus system, reliability comes down to the fittings. Choose a single system per network (push-fit or crimp PEX, crimp multilayer) and keep the same range of tools. Calibrate and deburr before fitting. Check the insertion depth and use certified fittings compatible with the tube. Clean crimping beats a sealant "fix" every time.
Pressure test and leak check: method, duration, readings
Test before closing up wall linings and floors. Fill, fully purge, then bring up to pressure gradually with a calibrated pressure gauge. Let it stabilise, monitor for variations, and record a starting pressure and an ending pressure over a duration set by the standard and the manufacturer's instructions. Redo any suspect connection, rather than relying on luck.
Adjustments and balancing: limiting hot water wait times and optimising distribution
At commissioning, adjust pressure and temperatures, then balance the flow rates at the manifold to avoid runs that are too "greedy". To limit the wait for hot water, shorten the useful lengths, insulate the DHW sections and, if needed, plan a properly sized recirculation loop. The goal: a stable, quiet distribution.
Requirements, documents and financial aid: what's changing and what matters in 2026
DTU, standard practice and insurance: points to document for PEX distribution
In 2026, you'll more often be asked to prove that the PEX installation complies with the standards and reference documents. For ten-year insurance coverage, keep a record of product references, pressure and temperature classes, bend radii, fixings, and protection at penetrations. On heating, insulated networks and controlled lengths limit losses, and it shows in the measurements.
End-of-job file: plans, photos, labelling and maintenance guides
A simple but solid file. A routing plan for the networks (octopus distribution or manifolds), valve labelling, photos before closing up, and technical data sheets. Add a maintenance and usage guide. The client knows where to shut off, what to watch, and you have clean proof in case of an inspection or a callback. That file builds itself as you go when progress, photos and snags are documented from the client record.
2026 aid schemes and energy renovation: when distribution affects performance (insulation, DHW, heating)
The 2026 aid schemes (MaPrimeRénov' and CEE) remain tied to items such as insulation, DHW and heating, with more precise supporting documents. A well-thought-out distribution system helps maintain a heat pump's flow temperatures, reduces the wait for hot water, and avoids heating unnecessary metres of pipe. This is often where performance is gained, without changing the equipment. To quantify these gains on the calculation side, you can rely on the distribution efficiency table (insulated vs uninsulated network).