On a flat roof, two thermal resistance thresholds coexist and they do not say the same thing. Article 3 of the French order of 3 May 2007 requires R ≥ 3.3 m².K/W as soon as insulation is installed or replaced, in every climate zone. The BAR-EN-105 energy certificate sheet requires R ≥ 4.5 m².K/W for the operation to earn certificates. So it is the sheet that drives the thickness on the quote, not the regulation. The third threshold is the one that triggers the duty: article R. 173-5 of the construction and housing code treats works that replace or overlay at least 50% of the whole covering, excluding openings, as a roof renewal, and that classification forces you to deal with insulation at the same time.
Correctly diagnosing your flat roof before insulating
Identifying the type of flat roof and its constraints (accessible, technical, green roof)
Before any insulation work, start by defining the intended use. An accessible roof doesn't have the same loads or finishes as a technical zone (plant, ducts) or an extensive green roof, whose load at maximum water capacity is the first thing to establish. Also note the substrate (concrete, wood, steel deck) and the specific points (parapets, roof lanterns, penetrations). This "battle plan" determines the right waterproofing assembly and the order of work.
Spotting common defects: moisture, blistering, cracks, thermal bridges
Insulation laid on a degraded substrate traps the problems. Look for signs of moisture, membrane blistering, cracks, detachment at the upstands, and water ingress around roof penetrations. Thermal bridges often hide at the perimeter, along the parapets and fixings. If needed, open up locally to check the condition of the layers.
Checking slopes, drainage and upstands: key points before closing up
Before closing up, check the flow toward the drains, the absence of reverse slopes, and the continuity of the waterproofing upstands. Three simple checks avoid callbacks.
- Regular slopes and no zones of standing water.
- Outlets, overflows, strainers clean and accessible.
- Upstands, corners, joints and flashings properly connected.
The three thresholds that govern a flat roof job
A flat roof quote turns on thresholds that come from different texts and do not apply at the same moment. Confusing them costs you either a refused grant or an ignored obligation.
| Threshold | Value | Text | What it triggers |
|---|---|---|---|
| Minimum thermal resistance when insulation is installed or replaced | R ≥ 3.3 m².K/W | order of 3 May 2007, art. 3 | regulatory compliance of the work |
| Minimum thermal resistance for energy savings certificates | R ≥ 4.5 m².K/W | BAR-EN-105 sheet | eligibility of the operation for the grant |
| Share of covering replaced or overlaid | at least 50% of the whole, excluding openings | article R. 173-5 of the code | duty to deal with insulation in the same job |
The duty falls away if one of the cases in article R. 173-6 applies: a building pathology linked to insulation attested by a qualified professional, an infringement of property rights or planning rules, a heritage constraint, or manifest disproportion, notably where the payback period exceeds ten years. Those cases are documented in the file, they are not assumed.
What you survey before pricing, detail point by detail point
The build-up is sized on the plain area, but it is lost at the edges. The survey below is what lets you price without discovering the problem once the scaffold is up.
| Detail point | What you survey on site | What stops the job if you skip it |
|---|---|---|
| Parapet | height available above finished level, condition of the coping, continuity of insulation at the head | an insulation thickness that no longer leaves the upstand height the system requires |
| Door or access threshold | clear height between the threshold and the protection | a crushed upstand, so water ingress at the foot of the joinery |
| Outlets, rainwater heads, overflows | number, diameter, condition of the leaf guards, absence of back-falls | ponding water and extra load, outside the system warranty |
| Penetrations, rooflights, services | spacing between them, room to carry the membrane up | junctions that cannot be treated cleanly once the insulation is down |
| Substrate and existing layers | nature, trapped moisture, blisters, adhesion | stripping forced mid-job, so a variation order |
Each of these points is photographed and written into the quote with the assumption taken. That is what separates a priced contingency from free rework. Readings and photos are recorded during the site visit and feed the pricing without any re-entry.
Choosing the right external insulation based on use and substrate
Comparing insulation materials compatible with flat roofs: PIR, PU, rock wool, EPS (depending on requirements)
On a flat roof, the right insulation first depends on the planned waterproofing, the substrate's load-bearing capacity and the intended use (accessible, technical, green roof). PIR and PU offer good R with little thickness. EPS is often economical, but you need to check the fire reaction and site constraints. Rock wool is worthwhile when fire safety and acoustics matter, at the cost of greater thickness.
Determining the insulation thickness: thermal performance, available height, thresholds and parapets
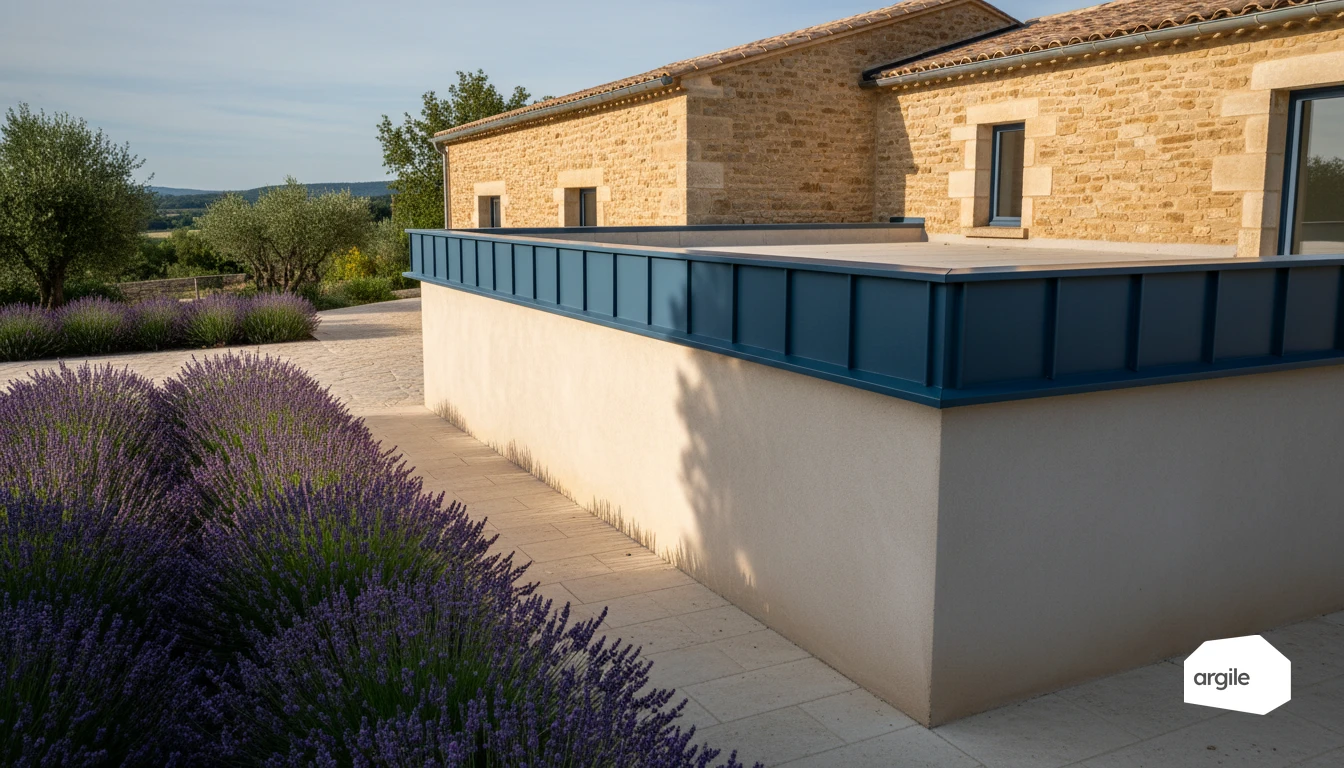
Thickness is chosen based on a thermal resistance calculation, then checked against available height. Look at door thresholds, drains, copings and parapet height. Too much insulation can prevent a correct waterproofing upstand or create an awkward step on a terrace.
Treating sensitive points: parapets, roof penetrations, roof lanterns, verges and condensation zones
Leaks and defects often come from the details. Ensure insulation continuity at the parapets, around penetrations (ducts, mechanical ventilation outlets), roof lanterns and verges. To limit condensation, plan for a continuous vapour barrier on the warm side and avoid thermal bridges at the fixings. Clean layout planning is often worth more than an extra centimetre.
Combining insulation and waterproofing: systems and error-free installation
Understanding the waterproofing families: bitumen, synthetic membranes, resin (use cases)
On a flat roof, waterproofing generally falls into three families. Bitumen remains a classic, robust, suited to refurbishment and standard jobs. Synthetic membranes (PVC, TPO, EPDM) are gaining ground for large areas and refined details. Liquid-applied resins (SEL) are useful in renovation, when the shapes are complex and there are many upstands.
Building an effective assembly: vapour barrier, fixing, upstands, protection (logical sequence)
The right order avoids defects. Start from the substrate, then a continuous vapour barrier, then the insulation (often in panels), then the waterproofing system. Take care with the upstands, drains and specific points. Finish with suitable protection: gravel, pedestal-mounted slabs, or planting, depending on the use.
Managing fixings and ballast: avoiding leaks, pull-outs and thermal bridges
With mechanical fixing, every penetration is treated as a sensitive point. Follow the fixing densities, the verge and corner zones, and use compatible accessories to limit thermal bridges. With ballast, check the weight, the protection and the drainage, to avoid punching and wind uplift.
Following best practice and securing job quality
DTUs and technical documents to know for flat roofs: what to apply on site
On a flat roof, base your work on the DTU series 43 and the systems' Technical Approvals. On site, check the slope, a dry and clean substrate, the continuity of the vapour barrier, the compatibility of the insulation with the waterproofing, and the treatment of specific points (parapets, drains, roof lanterns).
Essential checks: waterproofing test, upstand inspection, handover and technical file (DOE)
Before closing up, run a suitable waterproofing test (flooding, smoke or tracer gas depending on the configuration). Inspect the upstands, fixings, joints and drains. At handover, formalise a report, hand over the technical file (plans, product datasheets, manuals, photos) and the maintenance instructions.
Safety and organisation: working at height, fire protection, managing penetrations
Working at height needs to be prepared. Choose collective protection, mark off access, and plan for PPE. On the fire side, secure hot works, store bituminous products and solvents away from other materials, and keep a means of extinguishing fires on hand. For penetrations, locate existing services, seal the crossings and keep a prevention plan.
Grants and requirements in 2026: showcasing your flat roof insulation jobs
MaPrimeRénov' and CEE in 2026: principles, conditions and documents to provide (depending on the case)
Since 1 September 2026, MaPrimeRénov' no longer funds flat roof insulation as a single measure, only through a large-scale renovation, depending on the household's profile and performance targets. Outside that route, the CEE grant remains. On the CEE side, the grant depends on the standardised operation, the treated area and the stated performance. Depending on the case, plan for a detailed quote and invoice, a signed sworn statement, a tax notice, proof of ownership, and the home's full address.
RGE and traceability: product choices, proof of performance, photos and technical datasheets
The job must be carried out by an up-to-date RGE-certified company. Secure traceability with the product reference, the thermal resistance, an ACERMI certificate or equivalent, the technical datasheet, and the installation manual. Add 3 to 5 dated photos: substrate before, installation, protection, and final condition. Also keep labels and delivery notes.
Client pitch: energy savings, summer comfort, waterproofing durability
Your throughline: less heat loss, more summer comfort on the upper floors, and a more stable temperature. Well-installed insulation can also preserve the waterproofing by limiting thermal shocks and condensation. Highlight the service life and follow-up, without promising a fixed savings amount.