Understanding custom secondary glazing before taking measurements
When secondary glazing makes sense: old joinery and protected areas
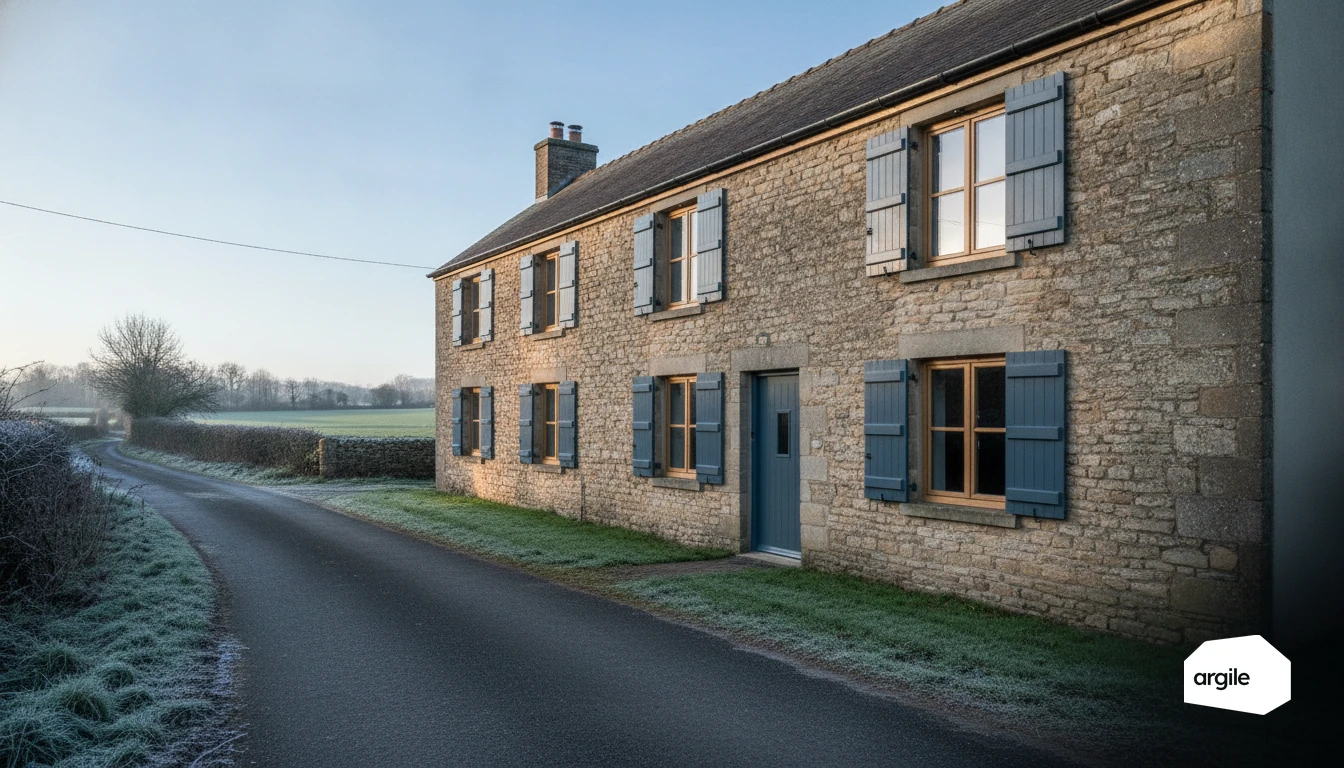
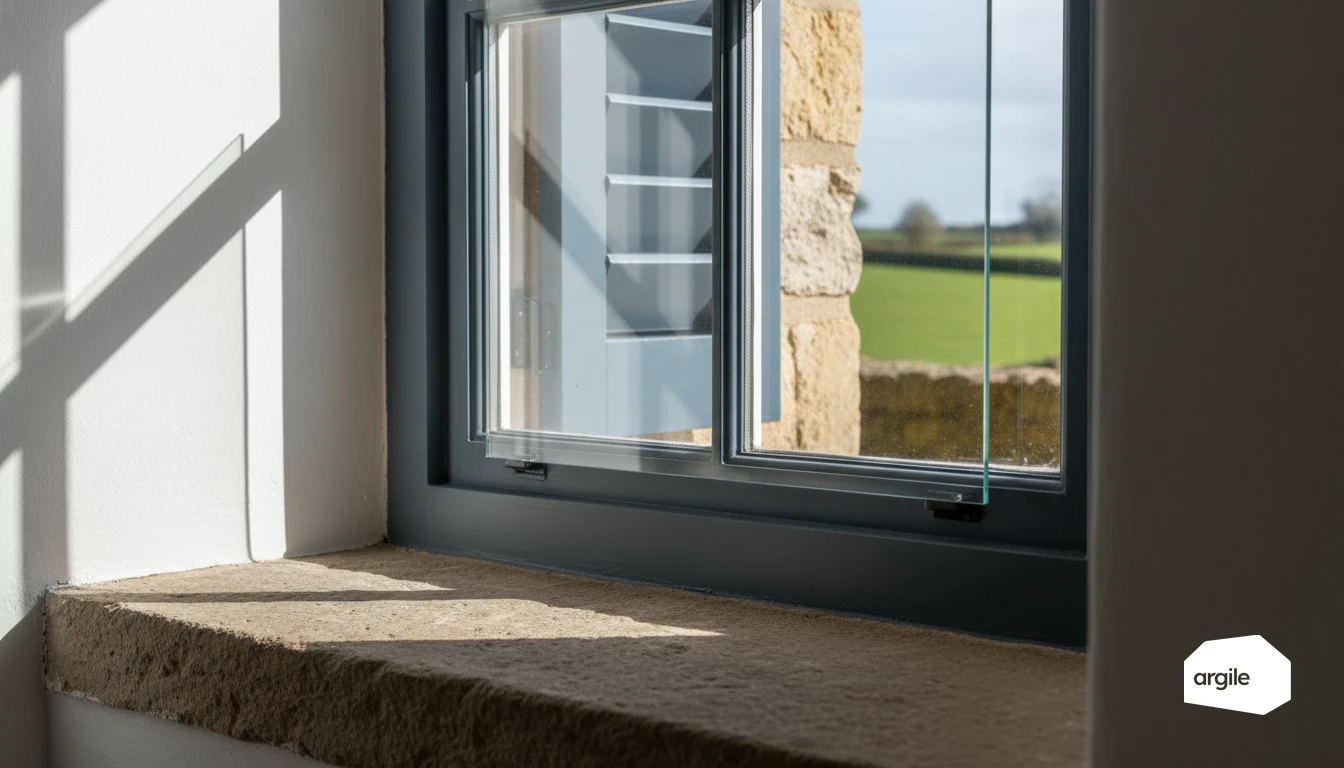
Custom secondary glazing is mainly a conservation choice. You are working on older frames of heritage value, or in protected areas with ABF requirements. The aim is to improve comfort without changing the appearance of the profiles.
What secondary glazing will not do: performance limits and funding in 2026
Do not sell it as a window replacement. The thermal and acoustic improvement is real, but the performance achievable is often below the thresholds required by current grant schemes. In practice, in 2026, secondary glazing is generally not eligible for funding (MaPrimeRénov’, CEE), because it does not meet the performance criteria for a complete window assembly: see the details on the conditions, benefits and limits of secondary glazing in renovation.
Choosing the right option: fixed, opening, or fitted over an existing sash
| Option | Measurements to take | Key point to watch |
|---|---|---|
| Fixed | Installation gap, squareness, available depth | Insufficient clearance on a distorted frame |
| Opening | Opening direction, handle clearance, visible opening size | Added weight, hardware may need reinforcement |
| Fitted over an existing sash | Permissible thickness, hardware interference | May not close after fabrication |
Classic mistake. Taking a single measurement on a twisted frame. Measure in 3 points per side, and note your tolerances on the quote.
Measuring on old joinery that is rarely square
Measure in the right place: rebate, visible opening, overlaps and supports
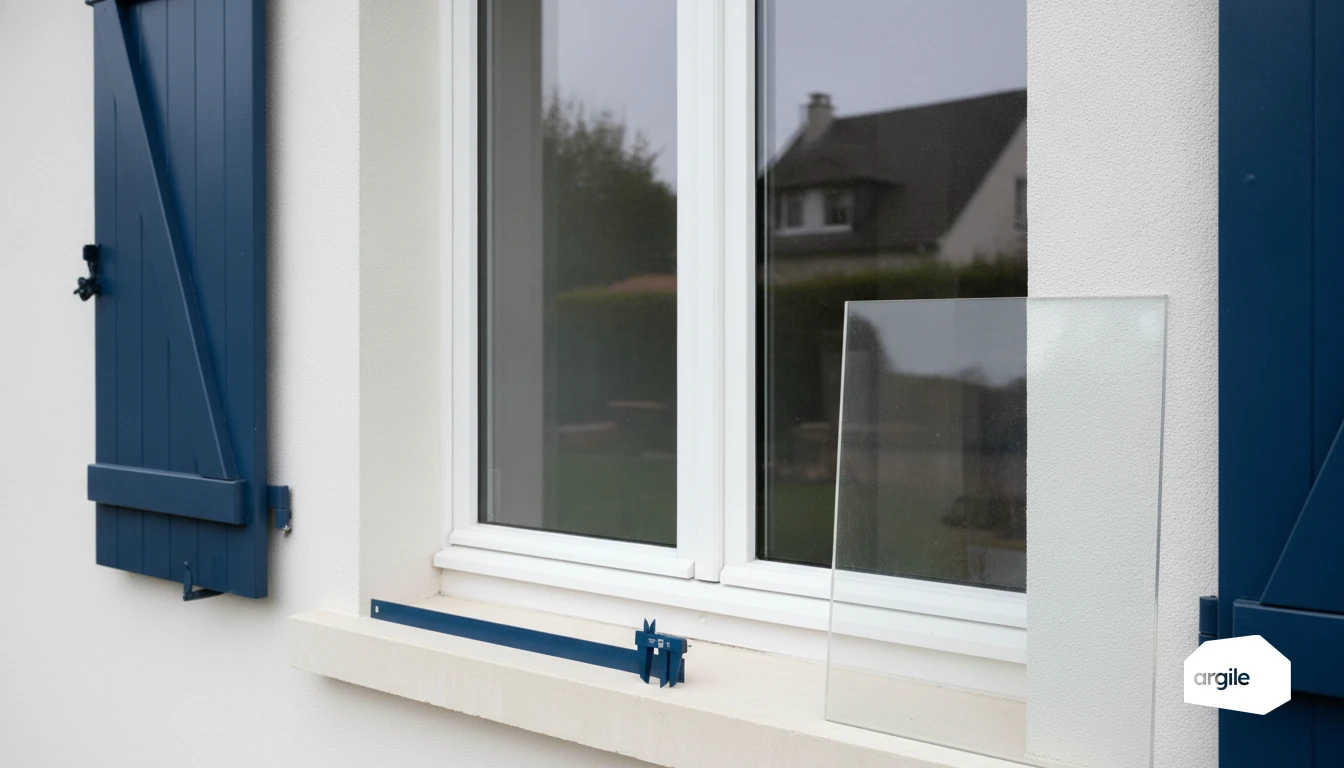
For custom secondary glazing, start by defining your reference plane. Measure the usable width and height in the frame rebate, then the actual visible opening. Also measure the available overlaps, the permissible rebate depth and the condition of the support. A dated dimensioned sketch, with opening direction and hardware, avoids ambiguity in manufacture.
Multiply the measurement points: diagonals, out-of-plumb, bowing and twisting
On old joinery, a single dimension is useless. Measure top, middle and bottom, hinge side and latch side. Record the diagonals to confirm the lack of squareness. Check plumb and flatness with a spirit level or laser. Note any local distortion, bowing or twisting, and base the order on the most restrictive value, with the planned installation clearance.
Identify risk areas: sill, glazing beads, irregular gaps
Identify the hard points. Protruding sill, non-removable glazing beads, compressed seals, irregular rebate. Map the gaps with a rigid rule, especially in the corners. Take photos and indicate the areas where packing or a specific profile is needed to stay within tolerance without forcing.
Installation clearance and tolerances: securing custom manufacture
Define functional clearances: expansion, packing, friction and sealing
On old joinery, the clearance must be locked in before manufacture. You size the overall dimensions to absorb expansion, keep packing stable, avoid any friction during operation and leave the seal within its compression range. Useful reference: NF DTU 36.5 to frame the logic of installation and sealing.
| Item to fix | Target (mm) | Purpose |
|---|---|---|
| Perimeter gap frame/ existing frame | 2 to 5 | Installation and compensation for out-of-plumb conditions |
| Gap at opening and hinges | 3 to 6 | Limit hard points, preserve hardware |
| Useful seal compression | 1 to 3 | Airtightness without permanent crushing |
Avoid the single-dimension trap: minimum/maximum sizing and safety margin method
For custom secondary glazing, measure width and height in 3 points, plus the two diagonals. Manufacture to the minimum dimension, then keep a safety margin linked to the defined clearance and the actual squareness. One dimension alone on a distorted opening produces an item that cannot be fitted.
Tolerances to require in the quote: manufacture, glass, profiles and hardware
In the quotation, require dimensional tolerances for the frame, acceptable glazing thickness, profile straightness and the load supported by the hardware. Add a validated dimensioned drawing and a signed survey sheet to document agreement on the measurements.
Choosing the profile, opening direction and admissible glazing thickness
Compatibility with the existing frame: support, sill, profile engagement and overlap
With custom secondary glazing, feasibility is decided at survey stage. Check the support, the condition of the sill, and above all the available profile engagement. Measure the useful overlap all the way around. On old joinery, squareness is rarely guaranteed. Take at least three widths and three heights, then select the fabrication dimension.
| Item to measure | Control value (mm) |
|---|---|
| Target perimeter gap | 2 to 4 |
| Minimum useful overlap | 10 |
Glass thickness and type: what the frame really accepts
Open the rebate. Measure useful depth, bead height and clearance at the bottom of the rebate. Permissible thickness also depends on the seals and the risk of pinching when tightened. Check the added weight before approving laminated glass.
| Check | Note | Unit |
|---|---|---|
| Useful rebate depth | Measured | mm |
| Possible glazing thickness | Depending on rebate | mm |
Opening direction and accessories: handle, stay, stop, ventilation and accessibility
Validate the opening direction against the existing hinges, accessibility and stops. Anticipate handle and reveal interference. If you add a stay, stop or restrictor, plan for fixing into sound timber or reinforcement. For ventilation, include the position of air inlets without weakening the profile.
Added weight, reinforcement and site planning: getting the installation right first time
Calculating weight and anticipating loads: hinges, pivots, fixings and screws
With custom secondary glazing, the decision comes down to added weight. Calculate the glass mass (area, thickness, density), then compare it with the permissible load of the existing hardware. Check possible pull-out from the substrate and size the fixings according to the anchor points that are actually load-bearing.
| Glass thickness (mm) | Surface mass (kg/m²) |
|---|---|
| 4 | 10 |
| 6 | 15 |
| 8 | 20 |
| 10 | 25 |
Reinforcing the hardware and frame: when and how to intervene without damaging the existing work
If the margin is tight, reinforce before installation. Add a hinge or replace worn pivots. Use back plates, or longer screws into sound timber. Avoid drilling that splits old wood, and check the play after tightening; that is your safety margin.
Factoring in the 2026 manufacturing lead time: survey, workshop approval, delivery and fallback plan
In 2026, lock in the schedule as soon as the survey is taken. Send a complete record: opening, direction, rebates, permissible thickness, then have the workshop approve it before release. Scheduling installation after delivery, and allowing a fallback slot, avoids holding up the site if an adjustment is needed at the workshop; this should also be built into your site handover.