Secondary glazing for windows: when this solution makes sense on an existing window
Secondary glazing for older windows: typical cases (historic fabric, protected areas, replacement prohibited)
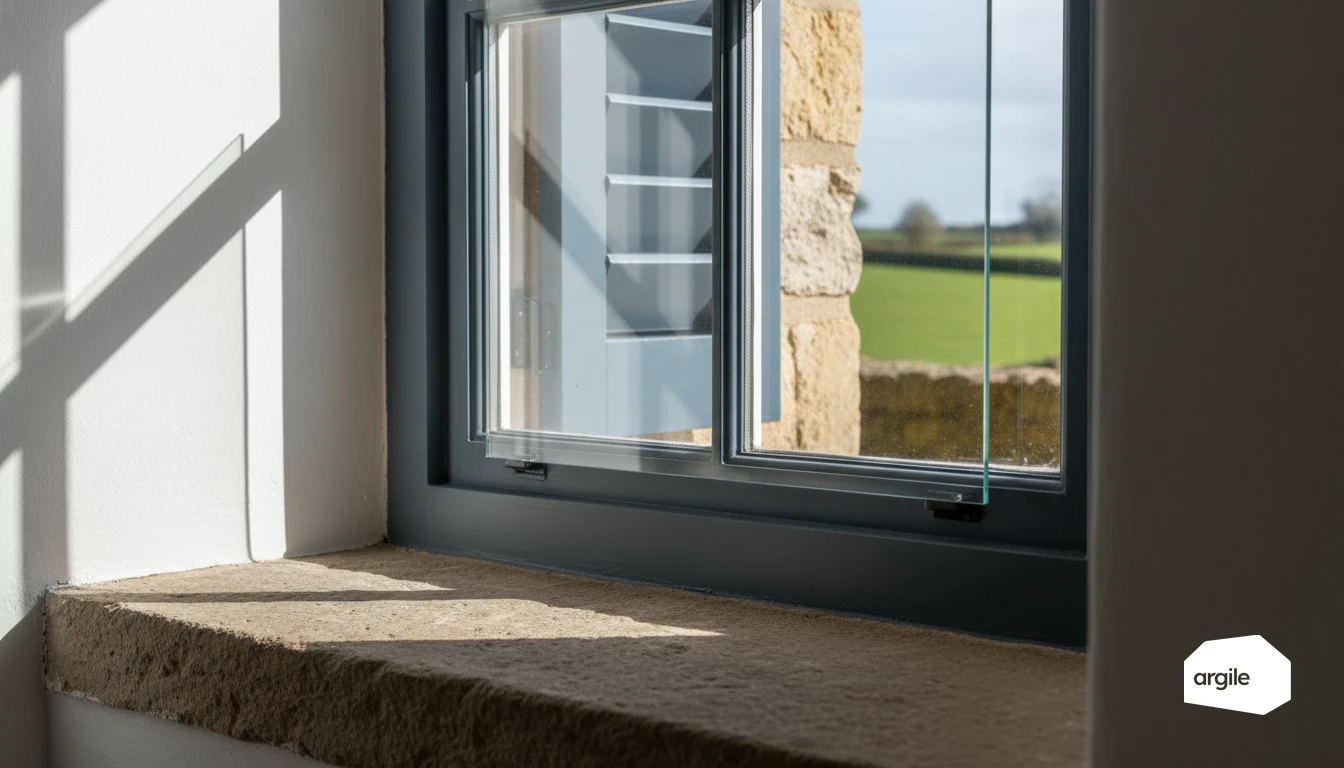
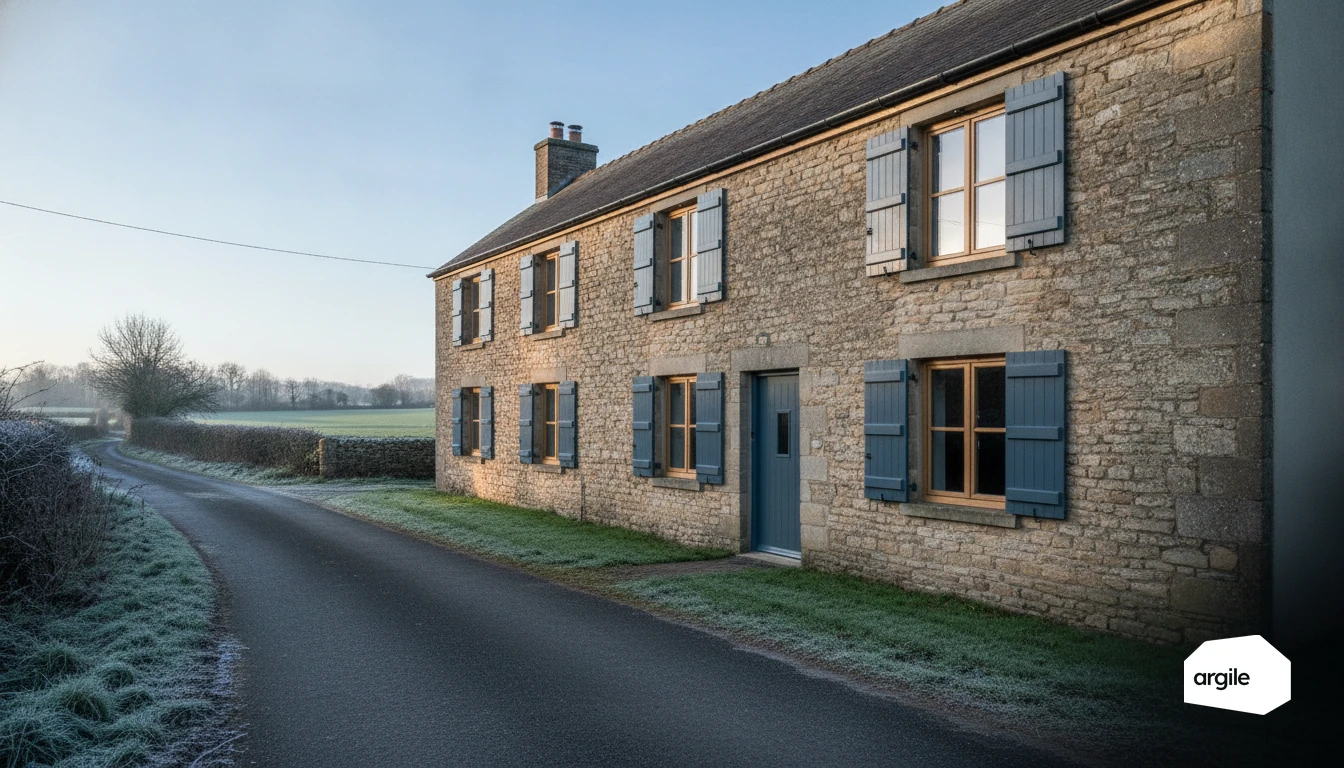
Secondary glazing is relevant when replacement is blocked or disproportionate. Typically, period timber joinery in sound structural condition, listed façades, or ABF requirements. You keep the frame and the opening sash. You add a second pane on a fixed add-on frame or in the rebate, while remaining compatible with the existing swing clearance and ironmongery.
Secondary glazing on timber windows: realistic objectives (comfort, condensation, noise) without promising “double glazing”
The aim is to reduce discomfort from single glazing and stabilise surface temperatures. The hard point is condensation in the air gap. Prevent it with controlled airtightness, a properly designed air gap (no moisture trap), and by checking clearances and drip edges. Acoustic improvement is real, but it varies depending on the assembly.
Choosing between secondary glazing, restoration of the joinery and replacement: how to position yourself with your clients
Position it as a heritage option. Explain that performance will not match that of new double glazing. In most cases, it will not meet the performance requirements for grants. Your value lies in a documented trade-off, clear limits in the quote, and traceability of risk points (hinges, airtightness, moisture). For a deeper dive into when secondary glazing is truly suitable, see a stopgap solution for improving single glazing.
Feasibility on timber joinery: essential checks before proposing secondary glazing
Condition of the frame and sash: clearances, squareness, rebate, paint, moisture and rotten areas
Before any secondary glazing for windows, record perimeter clearances, squareness (diagonals), the condition of the rebate and the condition of the glazing beads. Check paint adhesion. Measure the timber moisture content and its evolution. Look for soft or blackened areas, especially in the bottom rail, sill/rebate, and joint ends. If the substrate is not sound, the air gap becomes a moisture trap and condensation accelerates damage.
Added weight and hardware: reinforcement of hinges, pins, stays and sash adjustments
| Glass thickness (mm) | Added mass (kg/m²) |
|---|---|
| 4 | 10 |
| 6 | 15 |
| 8 | 20 |
Check hinge capacity and screw holding in sound timber. Plan hinge reinforcement or longer fixings, then re-establish plumb and tightening. Adding mass without reworking the anchor points leads to sash sagging and airtightness defects.
Overall thickness and swing clearance: checking closure, espagnolette, stops and overlaps
Validate the total thickness of the add-on frame plus glazing, and the swing clearance. Check closure across the full seal compression, the espagnolette travel, stops, and overlaps at the meeting stiles. Anticipate conflicts with shutters, extension pieces and drip caps. The goal is a clean closure, with no hard spots or rubbing. For more on air leakage and seal performance, see gasket compression.
Installation methods: secondary glazing for timber windows in the rebate or on an add-on frame
In-rebate installation: compatibility, packing, support points and reworking existing rebates
For secondary glazing for windows on timber joinery, start by measuring the usable depth, flatness and condition of the rebate bottom. Rework crushed or rotten areas before fixing. Packing is done on stable support points, with a constant perimeter gap to avoid any glass-to-timber contact and to maintain drainage.
Installation on an add-on frame: when to use it, impact on appearance and opening dimensions
The add-on frame is the right choice if the rebate is too shallow or if you need to preserve the original glazing beads. Anticipate the increase in thickness on the inside, conflicts with the espagnolette and hinges, and the reduction in daylight opening. Fixings must go only into sound timber, with a geometry that remains removable in protected areas.
Choosing the glass and spacer: thickness, safety, stiffness and deflection risks
| Item | Unit | Site use |
|---|---|---|
| Available depth | mm | Confirm compatibility with rebate and glazing beads |
| Perimeter gap | mm | Avoid stress and binding |
| Free span of glass | mm | Choose stiffness and limit deflection |
Use laminated glass if there is a risk of impact or large spans. The spacer must remain rigid and compatible with sealant. A common trap is making the air gap completely airtight. Without humidity management, condensation will attack the timber. For further reading, also see the performance differences between casement vs sliding windows, especially for airtightness.
Airtightness and condensation: avoiding an air gap that condenses and damages timber
Understanding the risk: unventilated air gap, dew point and mould growth
On timber joinery, an air gap that is made too airtight behaves like a moisture trap. As soon as the dew point is reached, water vapour condenses on the cold glazing or on the rebates. The result: water film, mould at the base of the glazing line, then timber rot and paint failure. During site surveys, record indoor temperature and humidity, and locate cold spots with an IR thermometer before approving the installation concept.
Ensuring air and water tightness: seals, mastic, glazing beads, drainage and finishes
Aim for a continuous seal on the inside to limit humid air ingress, without blocking water management on the outside. Check the condition of the glazing beads, seal compression, sealant/paint compatibility, and the continuity of timber finishes (joints, cuts, fixing holes). Keep existing drainage paths functional. Do not block them with silicone.
Good practice in 2026: ventilating the air gap, maintenance and post-installation checks
Where condensation risk is high, provide a slightly ventilated air gap with protected low-level inlets and high-level outlets, without creating a direct water entry point. After installing secondary glazing for windows, record your checks. Smoke test for leaks, façade spray test, check drainage, and inspect the corners at day 7 and again during annual maintenance. For the interaction between extract systems and airflow rates, also see good practice for compatibility between cooker hoods and MVHR.
Thermal gains and limits: real U-value, gap with new double glazing and impact on grants
U-value gain for a window: single glazing vs secondary glazing vs new double glazing
| Solution | Typical U-value (W/m².K) |
|---|---|
| Timber window, single glazing | 5.0 to 6.0 |
| secondary glazing (added glazing + air gap) | 2.8 to 3.6 |
| New high-performance double-glazed window | 1.2 to 1.6 |
On site, think in terms of the actual U-value of the whole window assembly. Secondary glazing reduces heat flow, but it remains far from a new unit. Watch out for added weight and parasitic air leaks that quickly erode the theoretical gain.
What secondary glazing for windows does not allow: required performance, grant sheets, frequent ineligibility (MaPrimeRénov’/CEE)
Grants (MaPrimeRénov’ and CEE measures) effectively target window replacement, with certified Uw and Sw on manufacturer documentation. Secondary glazing generally does not fit into the standardised measures, and often exceeds the Uw thresholds required. As a result, estimates and invoices rarely pass review. For a more precise outline of the criteria and limits, see MaPrimeRénov’ grants for windows.
Why secondary glazing remains strategic: reversible intervention, heritage conservation and measurable comfort improvement
In protected areas, it is a clean option. You preserve the profiles, improve the indoor surface temperature and reduce radiant discomfort. Record before and after. Temperature readings, smoke tests for airtightness, photos of the supports and clearances. That is enough to justify a measurable gain, without promising eligibility for grants.