Preparing a compatible substrate before applying lime-hemp render
Accepted substrates and required condition: masonry, stone, brick, concrete, cob (and cases to avoid)
Lime-hemp render is applied to a sound, mineral and breathable substrate. If they are stable and cohesive, the following are acceptable: lime-bonded masonry, stone, solid brick, open bare concrete, repaired cob and raw earth. Keep out until removed: film-forming paints, waterlogged plaster, closed cement renders, active salt efflorescence, powdery or friable substrates. Strip away any non-adherent areas and brush back to the load-bearing material.
Bonding and regulation: scratch coat, render body, substrate dampening according to the season
To secure adhesion, apply a projected lime-sand scratch coat, then a levelling render body before the lime-hemp layer. The rule is simple: dampen to avoid the substrate sucking the water out, without leaving free water on the surface.
| Step | Thickness (mm) | Substrate before coat |
|---|---|---|
| Lime scratch coat | 3 to 5 | Matt damp |
| Lime-sand render body | 8 to 15 | Matt damp |
In summer, re-dampen in several passes. In winter, avoid water if there is any risk of frost and work with stable temperatures.
Site watchpoints: salts, rising damp, cracks, joints, window sill details
- Salts and moisture: address the cause before sealing with a finish.
- Cracks and joints: repoint, staple or repair before rendering.
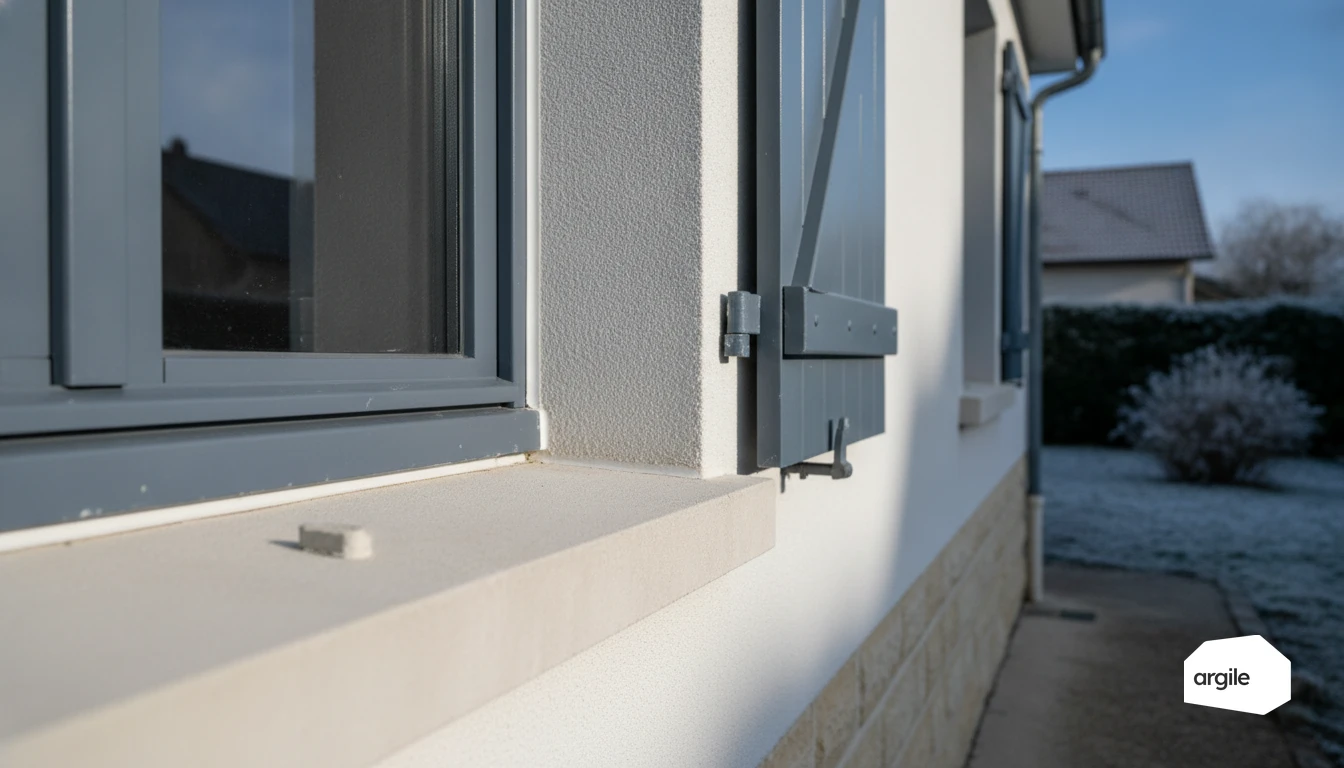
- Sills: pay attention to flashings, drip edges and reveals to prevent water ingress.
- Checks: record relative humidity, joint condition and hollow areas. Keep photo records for the file.
Achieving the right lime-hemp insulating render mix for the intended use (thermal correction or infill)
Choosing the recipe according to the objective: lime-hemp insulating render versus hemp thermal correction
On site, start from the thickness and the function. Thermal correction aims for a relatively thin, even layer. You load a little more binder to hold the set-out. Infill (an insulating render, thick in one or several coats) prioritises aggregate volume to limit shrinkage. In both cases, keep the same traceability logic. A lime-hemp render is gauged by the bucket, but validated by hand feel and cohesion.
Practical bucket dosage: lime, hemp shiv (aggregate), water and permitted additives
| Use | Lime (bucket) | Hemp (bucket) | Water (bucket) |
|---|---|---|---|
| Thermal correction | 1 | 2.5 | 0.7 to 0.9 |
| Insulating infill | 1 | 3 to 3.5 | 0.9 to 1.1 |
Do not add any cement. Additives are only allowed if they are specified by the binder or by the system’s technical documentation. Adjust water according to the moisture content of the hemp.
Mixing in a mixer: order of addition, mixing time, expected consistency and site checks
Add 2/3 of the water. Introduce the lime, then the hemp in 2 to 3 batches. Mix for 3 to 5 min. Aim for a cohesive ball by hand, with no free water at the bottom. If it is dusty, add a little water. If it bleeds, increase the hemp or reduce mixing time.
Controlling thickness per coat and application to avoid cracking and pull-off
Usual thicknesses per coat: scratch coat, body coat, finish coat (and waiting times between coats)
With lime-hemp render, the thickness per coat drives the programme. Do not load one coat too heavily: you may save time on paper, but you will lose it in rework.
| Coat | Thickness per coat (mm) | Waiting time before next coat (h) |
|---|---|---|
| Scratch coat | 3 to 5 | 24 to 48 |
| Body coat | 15 to 25 | 48 to 168 |
| Finish coat | 3 to 7 | 24 to 72 |
Application technique: spraying, levelling, pressing, floating, and managing joints
Apply with an even spray, then level with a straightedge. Press firmly to limit shrinkage, and float when the surface starts to pull. Where you need to stop and restart, finish on an arris or a joint, lightly scratch the edge and restart wet-on-wet.
Reinforcement and details: mesh, corners, reveals, timber/masonry junctions, singular points and moisture
Embed mesh in the outer third at corners, reveals and substrate junctions. At timber/masonry junctions, stabilise the substrate (lath or continuous mesh) before loading up. Moisture and powdery substrates mean guaranteed pull-off: on this point, also see the moisture risk and the ways to control it. Monitor the hygrometric condition and protect against wind, rain and frost during setting.
Understanding the real drying time of lime-hemp render and what makes it vary
What happens during drying: lime set, evaporation, carbonation and the risks if it dries too fast
With lime-hemp render, “drying” combines three phenomena. The lime sets, free water migrates to the surface and then leaves by evaporation. At the same time, the air lime hardens by carbonation as it absorbs CO2. If the surface pulls too quickly (full sun, draught, highly absorbent substrate), a skin forms. Moisture stays trapped and you end up with cracks, dusting or soft areas.
Seasons and conditions: temperatures, humidity, ventilation, sun/wind, and realistic summer/winter ranges
The main factor is still the thickness per coat. Work above 5 °C, with stable humidity and regular ventilation, without direct blow-drying. Protect from sun and wind, which can “seal” the skin.
| Season | Typical conditions (°C, RH %) | Before breathable finish (days) |
|---|---|---|
| Summer | 18 to 28, 45 to 65 | 10 to 21 |
| Winter | 5 to 12, 70 to 90 | 28 to 60 |
How to check it is dry: simple tests, moisture content, warning signs (mould, dusting, cracking)
Combine visual inspection and measurements. The 24-hour plastic-sheet test: no condensation. Track the same point with a material moisture meter to check the trend, not an absolute value. For a sensitive finish, validate with a carbide test on a core sample. Warning signs: musty smell, staining, dusting on rubbing, active cracks, or moisture that no longer decreases. To set the target indoor conditions and avoid surprises, you can also check the house humidity level before starting work.
Building your site schedule: sequence of trades and deadlines to give the client
Typical schedule: substrate preparation → lime-hemp render → drying → finishes (paint, limewash, fine coat)
On a clean site, give an order of magnitude and lock in the control points. The real deciding factor is residual moisture before finishing.
| Step | Thickness (cm) | Time to allow (days) | Control point |
|---|---|---|---|
| Substrate preparation | 0 | 0.5 to 2 | Sound substrate, adhesion, protection of joinery |
| Spraying or levelling | 3 to 5 | 1 to 3 | Coat thickness held, edges protected |
| Drying before finishing | 3 to 5 | 21 to 56 | Hygrometric stability, no cold spots |
Anticipating other trades: joinery, electrical work, linings, heating, and protection during drying
Get the trades that cut and fix in first. Joinery installed and final sealing completed. Electrical work and services validated with approved recesses. Linings and accessories wait until drying is complete. Keep protections, temporary skirting and sheeting in place on traffic areas.
Tips to keep to programme in 2026: ventilation management, dehumidification, auxiliary heating and limits not to exceed
To save time, ventilate continuously and dehumidify if needed, but do not overheat. Aim for a gradual ramp-up and avoid thermal shocks that cause cracking. To secure drying, you can also rely on the dew point calculation to prevent condensation on the walls.
| Parameter | Target | Limit to avoid |
|---|---|---|
| Air temperature (°C) | 10 to 22 | > 25 |
| Relative humidity (%) | 50 to 65 | > 75 |
| Ventilation | Continuous air renewal | Localised draughts |