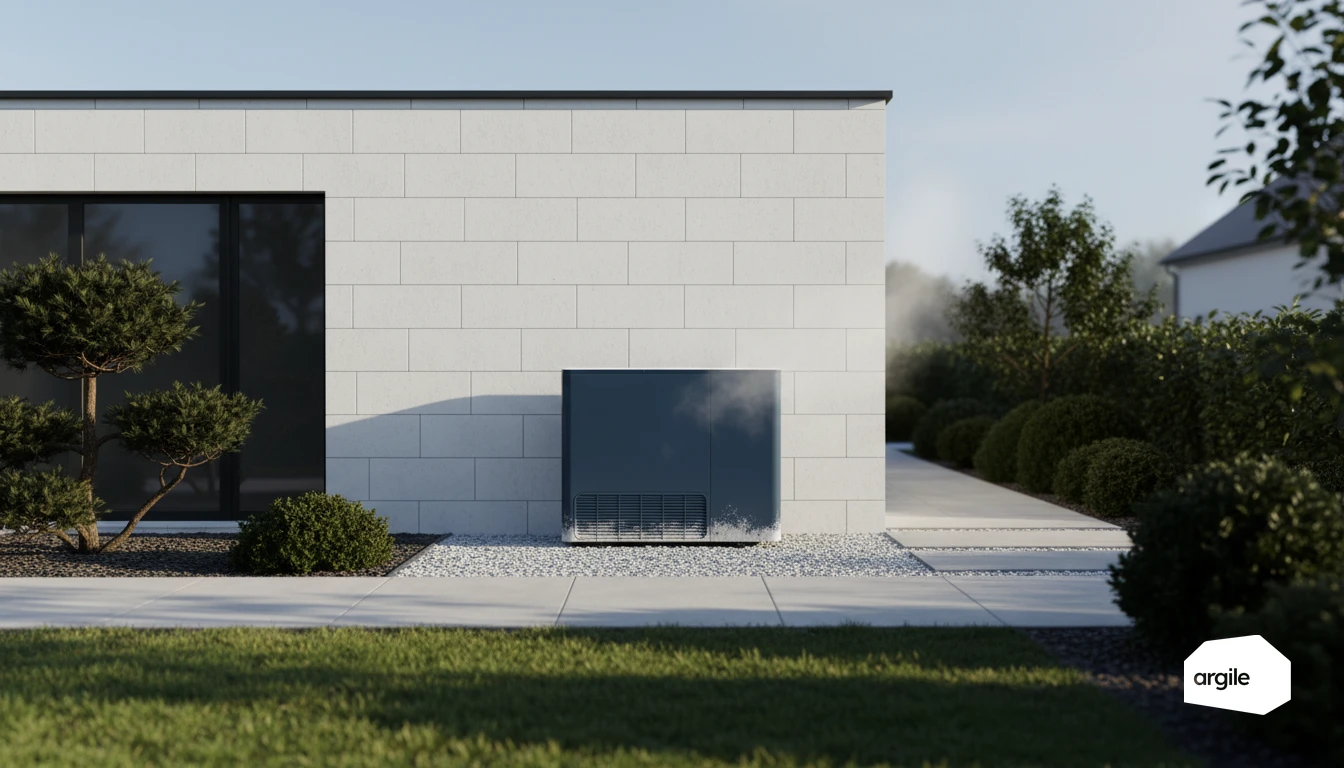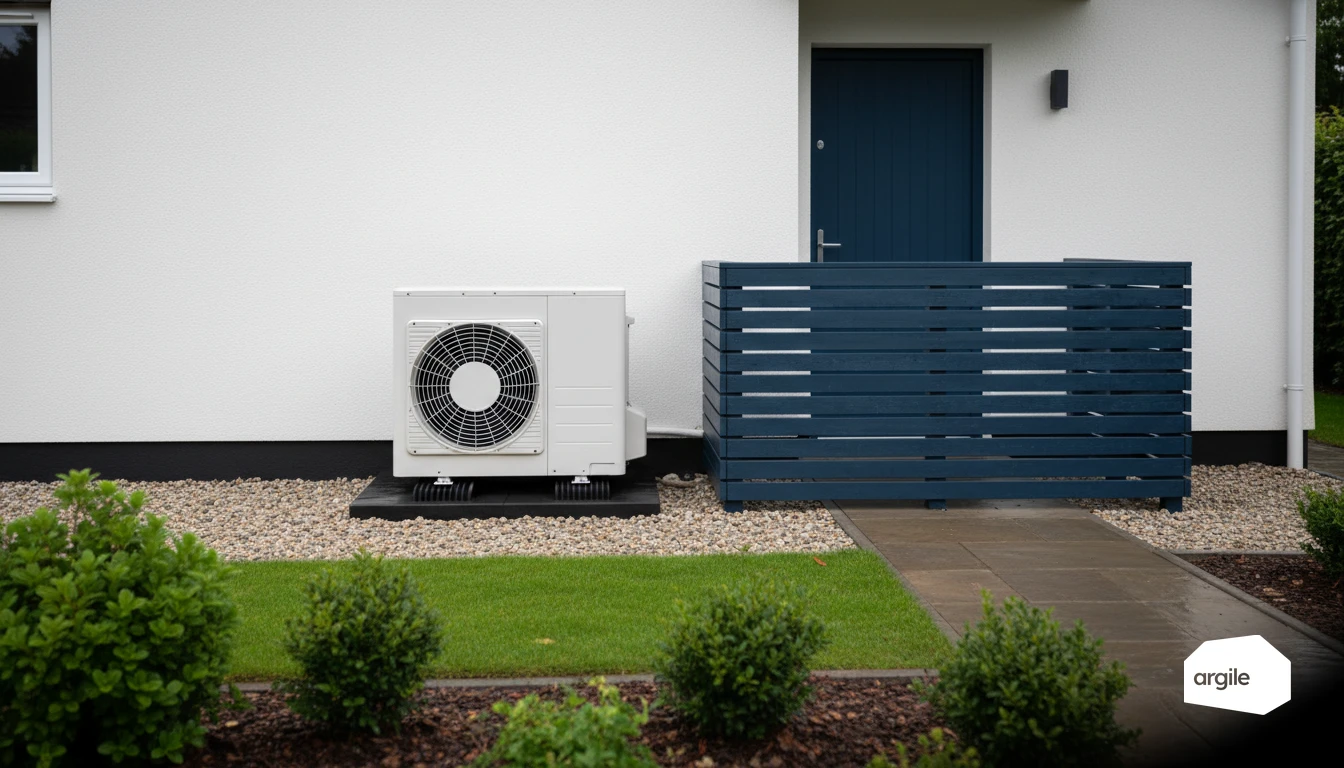
Under permitted development, MCS 020 sets the sound limit for an air source heat pump at 42 dB(A) at the assessment position. That value already includes a nominal background sound level of 40 dB(A), so the effective emission limit for the unit itself is 37,0 dB(A), and a calculated sound pressure level above that figure at any assessment position means the installation does not comply. The assessment position is the closest neighbouring habitable room, and compliance with the updated standard has been mandatory since 20 September 2025.
The framework that actually applies
What the limit is, and where it is assessed
The most common site mistake is to quote the manufacturer's sound power level and treat it as the compliance figure. It is not. What is assessed is a calculated sound pressure level at a defined position, after propagation and any barrier correction.
| Item | Value or definition |
|---|---|
| Permitted development sound limit | 42 dB(A) at the assessment position |
| Nominal background sound level included | 40 dB(A) |
| Effective emission limit for the unit | 37,0 dB(A) |
| Assessment position | Closest neighbouring habitable room |
| Updated MCS 020 mandatory from | 20 September 2025 |
Above the effective limit, the installation falls outside permitted development and needs a planning application, which is a delay and a cost the client did not budget for.
Why decibels do not add the way clients expect
Sound levels add logarithmically: 30 dB plus 30 dB gives 33 dB, not 60. That single fact governs most of the arguments you will have on site. Two units side by side add 3 dB, not double the number. Halving the perceived problem is never a matter of halving a figure on a data sheet.
Where the margin actually comes from
The calculation gives you a small number of levers: distance, the barrier correction where a solid screen breaks the line of sight, and the sound power level of the unit selected. Everything else, mounts, brackets, pipework, does not enter the calculation at all but decides whether the client hears a hum through the wall at two in the morning. Treat the two problems separately, because the paperwork only covers one of them.
Identifying the source of noise and vibration on a heat pump
Distinguishing airborne noise from structural vibration
On site, start by separating airborne noise (whooshing, humming audible from a distance) from structural vibration (a wall, slab or guardrail shaking). The first travels through the air. The second travels through the building and can surface further away than the heat pump itself.
Spotting common causes: fan, compressor, defrosting, mounts
The causes often come back to the same points. An unbalanced fan (dirty blades, frost, casing rubbing) creates a rumble. A noisy compressor at start-up can reveal insufficient damping. Defrosting generates temporary peaks, banging and trickling. Overly rigid mounts or fixings transmit vibration.
Checking the key points: level, clearances, refrigerant lines, condensate
Check the unit's level, and that there is no play or contact between pipework and masonry. Leave anti-vibration loops in the refrigerant lines, without strain. Check the condensate drainage. A dry trap or a pinched pipe can gurgle and vibrate. Then test under load, and again during defrosting, the two regimes do not give the same spectrum.
Positioning and fixing the outdoor unit to limit nuisance
Choosing the location: distances, angles, obstacles and reflection
Avoid corners and enclosed walkways, where sound reflects and becomes more noticeable. Place the unit against an open façade, away from bedrooms, boundaries and air intakes, a choice settled during the site survey, where the engineer positions the equipment on the record. Keep the manufacturer's clearances so air circulates freely, otherwise the unit works harder and noise increases. Distances are covered in detail in heat pump placement.
Preparing a stable support: slab, pads, frame, load-bearing wall
An outdoor unit must rest on a rigid support. A concrete slab, adjustable pads or a metal frame anchored into solid ground. For wall mounting, fix to a load-bearing wall. Avoid cladding, lightweight framing or partitions. An unstable base transmits vibration to the building and amplifies the hum, and no mount will make up for it.
Installing with the right accessories: mounts, pads, suitable brackets
Add anti-vibration mounts or pads matched to the unit's weight, not the first model on the van. Choose properly sized brackets with compatible anchors. Check flatness, torque the fixings, and plan for condensate drainage. A clean installation limits vibration and makes maintenance easier.
Treating noise at the source: settings, maintenance and parts
Useful settings: silent mode, heating curve, fan speed, scheduling
Start with the settings. Activate silent mode if available. Adjust the heating curve to avoid overly hot flow temperatures that raise output and airflow. If the unit allows it, limit fan speed at night and schedule boosts, hot water and setpoint increases, for the daytime instead.
Maintenance that changes everything: coil, balancing, tightening
Simple maintenance often lowers the noise level. Clean the outdoor coil and remove leaves, dust and frost. Check fan balance and that there is no play. Do a round of tightening on covers, fixings and connections. A vibrating panel can seem louder than the compressor itself.
Replacing noisy components: fan, motor, compressor mounts
If noise persists, certain parts are at fault. A fan with worn bearings sounds like whistling or rumbling. A motor can generate an abnormal hum. Compressed compressor mounts transmit vibration to the wall. Targeted replacement, with a check of the mounts and the alignment, solves the problem.
Reducing transmission and documenting the visit
Treating penetrations and connections: conduit, decoupling, clips
Every contact point can turn the structure into a resonance box. Route pipework through flexible conduit, seal with elastic mastic, and avoid through-fixings. Use resilient strips and acoustic clips, especially on metal supports.
Acoustic screens and enclosures: ventilation precautions
A screen or enclosure can help as long as ventilation remains unobstructed. Respect the intake and discharge distances, plan wide grilles and maintenance access. Choose weather-resistant materials, and check that the solution degrades neither output nor defrosting. No attenuation figure should be promised on a quotation without a before and after measurement on the site itself.
What you record and what you keep
Before quoting, then at commissioning, record the perceived noise on the neighbour's side, at the boundary and near sensitive rooms. Note the time, weather, fan speed, night mode, the residual level with the machine off, and the surrounding soundscape. Keep the commissioning report, service sheet, serial numbers, settings and before and after photos of the acoustic treatment, alongside the MCS 020 calculation used at design stage. To frame that step, use the essential commissioning checks.