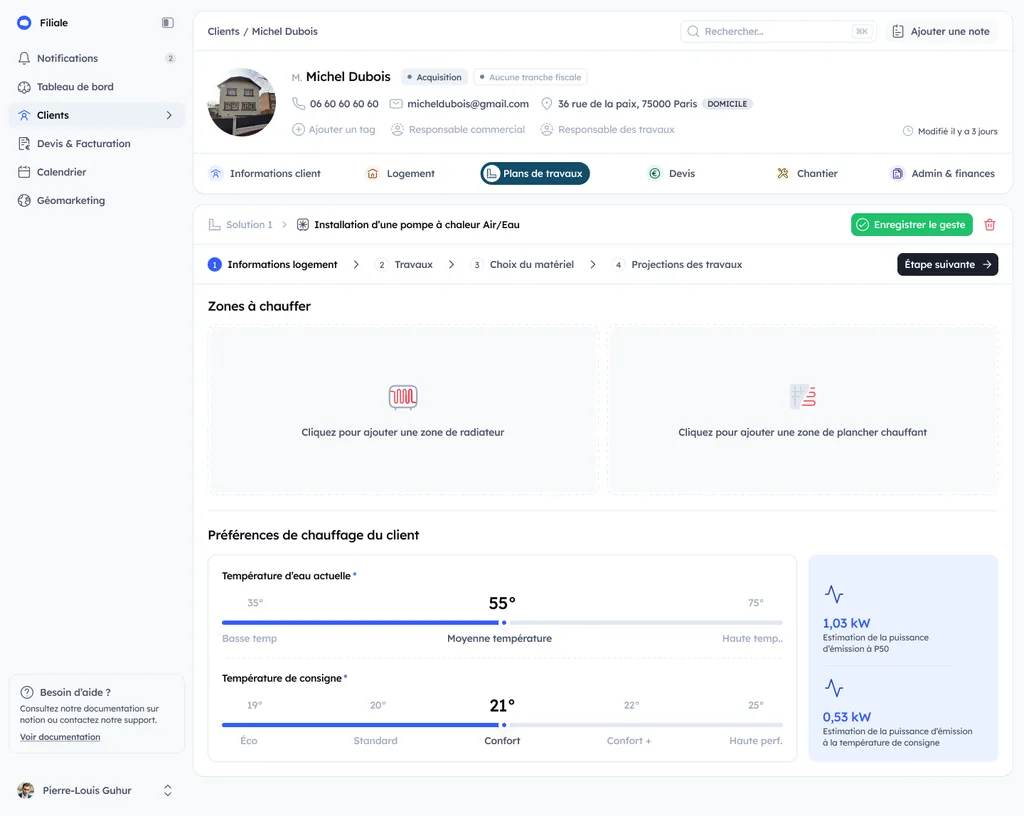
Most air-to-water heat pumps deliver water at 50 °C maximum, 65 °C on so-called high-temperature models, while older emitters were calculated for a flow temperature of around 80 °C. The emitters' requirement and what the heat pump can produce therefore do not meet at low outdoor temperatures, and no curve setting closes that gap. It is a question of replacing emitters or providing back-up, not of parameters.
Understanding the link between heat pump, outdoor temperature and indoor comfort
Why outdoor temperature drives a heat pump's heating curve
A heat pump heats by sending more or less hot water to the emitters, and the building's heat loss rises as the outdoor temperature falls. The heating curve expresses that relationship: it adjusts the flow temperature to the outdoor temperature so the setpoint is held without overheating. It is the only setting you make that acts at once on comfort, on COP and on the number of compressor starts.
Heating curve: the formula and three starting settings
The heating curve, or weather-compensation law, gives the temperature of the water sent to the emitters as a function of the outdoor temperature. It is a straight line pivoting around the point where it is as warm outside as the indoor setpoint, where there is nothing left to heat:
T flow = T setpoint + offset + slope × (T setpoint − T outdoor)
The slope says how many degrees of water are added per degree colder outside; the offset moves the whole line up or down. With a 20 °C setpoint, the three starting settings of Argile's heating curve tool give:
| Outdoor temperature | Underfloor heating (slope 0.4, offset 0) | Low-temperature radiators (slope 0.8, offset +2) | Old radiators (slope 1.4, offset +4) |
|---|---|---|---|
| −7 °C | 31 °C | 44 °C | 62 °C |
| 0 °C | 28 °C | 38 °C | 52 °C |
| 7 °C | 25 °C | 32 °C | 42 °C |
| 15 °C | 22 °C | 26 °C | 31 °C |
These are teaching starting points, not settings: the manufacturer's manual and a room-by-room comfort check remain the reference. The old-radiator column shows why the question arises: at −7 °C it asks for 62 °C, above the 50 °C a standard air-to-water heat pump delivers at most at its outlet, as the table below shows.
Differences by heat pump type: air/water, water/water and hybrid
With an air/water unit, power output and efficiency drop as the outdoor air cools. The flow temperature must therefore be finely tuned, especially in severe cold. With water/water systems (groundwater, ground source), the source is steadier, and the curve is often gentler. With hybrid systems, the controls can switch over to the boiler when the heat pump becomes less relevant.
On-site signs of a poorly set heating curve (discomfort, cycling, noise)
On site, a poorly set curve shows up fast. A home that's too hot, then too cold. Frequent start-ups and short cycling. Circulation noise, radiators knocking, or a fan running away. Often, the bill climbs without any comfort gain. To go further on this point, see part-load performance, which is often degraded by overly frequent cycling.
The balance point, and why the curve is not enough
Setting a heating curve means choosing a slope and an offset. That moves the curve, it does not move the machine's ceiling. As the outdoor temperature falls, the emitters demand more than the heat pump can supply, and comfort gives way at precisely the moment the client needs it most.
| Element | Water temperature | Consequence |
|---|---|---|
| Older emitters, cast iron or steel radiators | designed for a flow of around 80 °C | the required curve falls outside the heat pump's range |
| Standard air-to-water heat pump | 50 °C maximum flow | the gap appears at low outdoor temperatures |
| So-called high-temperature heat pump | 65 °C maximum | the gap narrows, it does not disappear |
| Low-temperature emitters, underfloor or oversized radiators | 35 to 45 °C | the curve stays within the heat pump's range |
Three ways out, and only one of them is a setting. Replace or supplement the older emitters with low-temperature ones. Provide back-up, electric or boiler, below a given outdoor temperature. Or fit a four-port mixing tank on the hydraulic circuit to reconcile the two regimes, depending on whether operation is alternating or simultaneous.
The bivalence temperature, the figure nobody records
In every case, determining the bivalence temperature is critical: it states the outdoor temperature at which back-up takes over, and therefore how many hours a year the client heats on full-price electricity. It is decided at heat loss calculation stage, not on the heat pump's control panel, so upstream, when the survey feeds the sizing calculation.
The sizing benchmark that goes with it: the output of the heat pump plus its back-up must cover 120 % of the heat loss at the design outdoor temperature.
Heating curve: key settings and their impact on consumption
Slope and offset: how to choose the right settings for the building
The slope determines how much the heat pump raises the flow temperature as the outdoor temperature drops. The worse insulated the home or the smaller the emitters, the higher the slope needs to be. The offset shifts the whole curve. It's useful for correcting an overall feeling of too cold or too hot without touching the slope logic. Aim for comfort with the minimum number of degrees.
Flow temperature: underfloor heating, low- and high-temperature radiators
In practice, you look for the lowest possible flow temperature.
| Emitter | Flow temperature |
|---|---|
| Underfloor heating | 30 to 40 °C |
| Low-temperature radiators | 45 to 55 °C |
| High temperature | above 60 °C, the heat pump strains and consumes more |
Adjust in small steps, then wait 24 to 48 hours.
Direct effect on COP and defrost cycles in cold weather
The higher the flow temperature, the more the COP drops. When it's cold and damp, an air/water heat pump can also defrost more often. Each defrost consumes energy and cuts the heating for a few minutes. A well-set curve limits peaks, stabilises the controls, and improves efficiency.
Heat pump controls: sensors, thermostat and control strategy
Outdoor sensor, indoor sensor: who does what and how to pair them
The outdoor sensor acts as the main pilot. It adjusts the heating-water temperature according to the weather. The indoor sensor measures what's actually happening in the reference room. The right combination is a finely tuned heating curve with an indoor sensor that only limits drift, not the other way round, or the heat pump will keep correcting endlessly.
Thermostat, heating curve, compensation: avoiding constant corrections
With a heat pump, aim for stability. The heating curve gives a consistent flow temperature. The thermostat shouldn't be doing aggressive on/off cycling. Prefer light indoor compensation, in small steps: it is the weather sensor plus room sensor pairing that lifts the control into class VI, as set out in the control classes of a connected thermostat on a heat pump. You'll reduce short cycling, noise, and comfort swings.
Practical cases: day/night setpoints, setback and reheat without overconsumption
In a well-insulated home, a moderate night setback is enough. Avoid large swings, reheat can push the heat pump to climb too high. Program a night setpoint 1 to 2°C lower, then an anticipated reheat. On underfloor heating, keep setpoints nearly constant and work the curve instead. To go further on tuning, a well-positioned outdoor temperature sensor is decisive.
Adapting the heating curve to the job: a simple tuning method
Initial setting: starting from a manufacturer baseline and securing the start-up
On a heat pump with weather-compensated control, start from the manufacturer baseline (slope and offset). Check the flow-temperature limits, frost protection, and a simple operating mode (without overly aggressive setbacks). Objective: adequate comfort and cycles that aren't too short before optimising further.
Step-by-step adjustments: observe, measure, correct (over 48 to 72 hours)
Work in small steps over 48 to 72 hours, with stable weather. Log indoor temperature, outdoor temperature and heating flow temperature. If the house is too cold especially in mild weather, lower the offset. If it's too cold especially when it freezes, slightly increase the slope. Change only one parameter at a time.
Common mistakes to avoid: oversizing, delta T, flow rate and balancing
Classic pitfalls come from a generator that's too powerful (on/off cycling), an inconsistent delta T, or a missing stable flow rate. The rest is checked before touching any setting.
Before blaming the curve
- Emitter balancing.
- The opening of the thermostatic heads.
- Circulator speed.
- Filters.
A well-balanced installation makes tuning fast and repeatable.
In 2026, what best practices prove the quality of your settings and limit callbacks
Documenting your settings: commissioning sheet, photos, and reference values
After installing a heat pump, keep simple, solid proof.
What the commissioning file holds
- A signed sheet with date, serial number, control parameters, heating curve, day/night setpoints, and hydraulic and electrical readings.
- 3 to 5 clear photos of the display, valves, filters, and the circulator.
- Reference values, for example flow and return temperatures, ΔT, circuit pressure, and flow rate if measured.
You save time on the next call, and you secure your settings.
Informing the client: simple pointers so they don't mess up the controls
Avoiding a callback starts with a short explanation. Give a memo with 3 rules. Don't touch the heating curve. Don't cut the power supply. Only use the room-temperature control, and accept that the heat pump heats continuously in small increments. Also state when to call, abnormal noise, a displayed fault, or dropping pressure.
When to step back in: changes to emitters, insulation, or optimisation after works
Revisit the settings if the radiators or underfloor heating change, if insulation is upgraded, or after the first heating season. A better-insulated home often needs a lower curve. Plan an optimisation visit, with simple balancing, sensor checks, and adjustment of time schedules. To frame this follow-up, you can also draw on heat pump maintenance best practices.