Understanding post-works thermal imaging: what you're really checking
Typical defects revealed by thermal imaging (thermal bridges, air leaks, poorly installed insulation)
After a renovation, thermal imaging isn't there to "grade" the job. It's there to see whether the envelope behaves as expected, under good weather conditions and with a sufficient temperature gap. You're mainly checking insulation continuity and airtightness. Common defects are thermal bridges at floor-wall junctions, window reveals and hatches, air leaks around windows and penetrations, and poorly installed insulation (gaps, settling, compression).
Which work packages thermal imaging adds the most value to (insulation, windows, airtightness, services)
Thermal imaging adds the most value on work packages where a small detail causes a big loss. For insulation (loft, roof slopes, internal or external wall insulation), it spots gaps and crushed zones. For windows and airtightness, it highlights weak seals and junctions. For services, it helps detect heat losses on heating pipework, hot water pipes, mechanical ventilation ducts, especially in unheated spaces.
Preparing a thermal imaging quality check: conditions and equipment to gather
The right time and the right conditions (temperature gap, weather, heating, ventilation)
For useful thermal imaging, aim for a temperature gap of at least 10°C between indoors and outdoors, held for a few hours. Work without direct sun on the façades. Avoid rain and strong wind, which "wash out" defects. Heating running at a stable level, doors and windows closed. Turn off mechanical ventilation briefly for the shoot, then switch it back on.
Thermal camera, settings and points of caution (emissivity, reflections, distance)
Set emissivity according to the surface (plaster, wood, render). Be wary of shiny surfaces. They reflect radiators and the sky. Keep a shallow shooting angle, focus properly, and hold a constant distance. Also take a visible-light photo to clear up any doubt. To go further, see our article on surface emissivity and thermal radiation.
Site checklist: plans, sensitive zones, access, safety
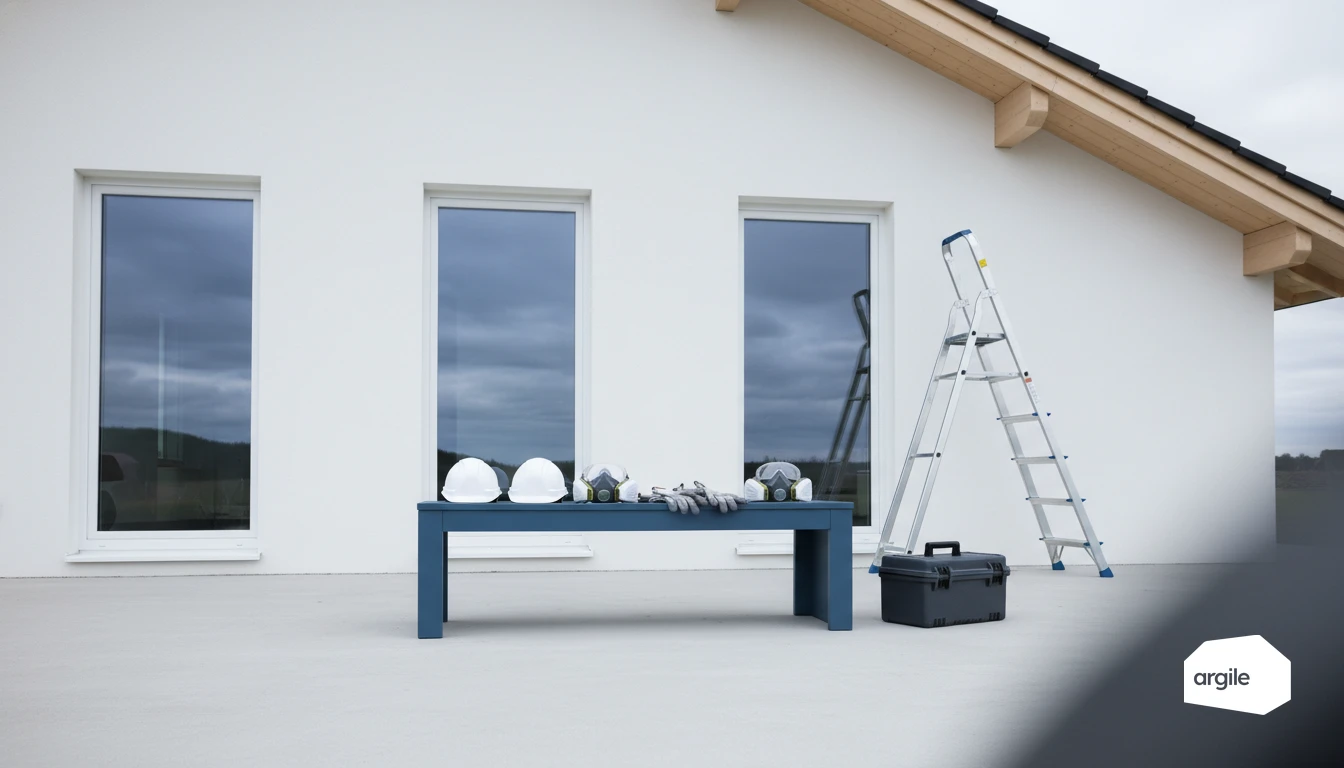
Gather plans and sections. Target wall-floor junctions, window reveals, hatches, service penetrations, lofts. Prepare access (ladder, hatch), lighting, and safety (PPE, cordoning off). Note the weather conditions and time, to allow comparison between shots.
Inspection method: how to run an effective post-works thermal imaging survey
Inspection route: indoor/outdoor, key rooms and at-risk zones
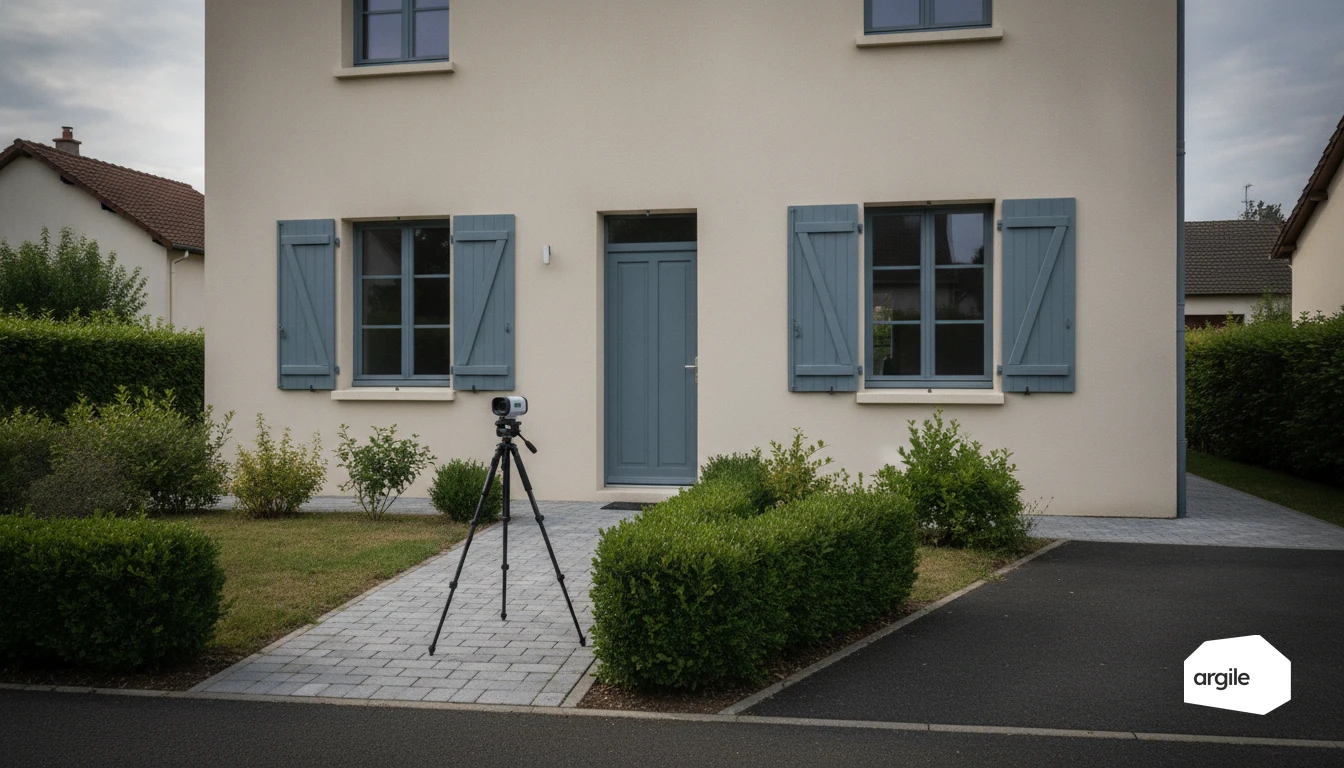
Plan the thermal imaging survey with a sufficient temperature gap between inside and outside, no direct sun and little wind. Start with an exterior walkthrough to spot thermal bridges on façades, floor-wall junctions, window surrounds and unusual points. Then move inside following a consistent route. Target lofts, roof slopes, access hatch, window reveals, shutter boxes, ground floors, duct penetrations and wall-ceiling junctions. Also note zones hidden by furniture, which are often misleading.
Cross-checking thermal imaging with field measurements (smoke pencil, anemometer, hygrometer) to validate quality
A thermal image shows a symptom. To confirm the cause, use a smoke pencil on air streams, then an anemometer to quantify the local leak or flow rate. Add a hygrometer in cold zones to rule out abnormal humidity and condensation risk. Pair every anomaly with a visible-light photo and a measurement.
Classifying anomalies: severity, probable cause and corrective actions
Classify into three levels. Critical when there's an air leak or a break in insulation continuity. Significant for recurring thermal bridges. Minor for variations linked to usage. State the probable cause and a corrective action. Airtightness rework, additional insulation, vapour barrier correction, ventilation adjustment. Plan a follow-up check to close out the finding.
Writing a useful thermal imaging report: evidence, corrections and quality traceability
Thermal photos + visible-light photos: how to present clear evidence to the customer and the team
For thermal imaging to become legible evidence, always pair a thermal image with a visible-light photo of the same framing. Add a simple caption. Date, address, room, orientation, distance, temperature scale, palette and measurement point. Also note the shooting conditions. Indoor and outdoor temperatures, weather, heating running. Without this context, the image quickly looks like a postcard. Those images travel better when photos, voice notes and site notes are attached to the right client and the right file, rather than lost in messaging groups.
Wording findings and rework: vocabulary, priorities and correction timelines
Write factually, without implying intent. Talk about an "observed deviation" and "recommended rework." Give a probable cause and above all a clear action. Draught-proof, add insulation, redo a junction. Prioritise. Safety and moisture first, comfort next. Set a deadline, then schedule a follow-up visit to validate the correction. Tracking that rework fits in the tool: progress, photos and snag clearing are managed from the client record.
Archiving for your 2026 records: quality control, after-sales, audits and grant applications
In 2026, keep more than just the PDF. Archive the radiometric files, the signed report, the before/after photos, the location plan, the settings and proof of camera calibration. Also file invoices, technical data sheets, CEE sworn statements and MaPrimeRénov' documents. This traceability protects you on after-sales issues and speeds up inspections and audits.
Integrating thermal imaging into your quality process in 2026: benefits and limits
When thermal imaging resolves a doubt... and when it's not enough (diagnosis vs proof of compliance)
In 2026, thermal imaging is a good indicator when a customer flags a cold zone or a suspected thermal bridge. It helps locate an insulation defect or an air leak. But an infrared image remains a diagnosis. The result depends on the temperature gap, wind, humidity and camera settings. It doesn't replace a dedicated measurement, nor proof of compliance with best practice.
Using the results to reduce callbacks and improve your installation work (insulation, airtightness, settings)
Use it as an end-of-job check to reduce callbacks. Spot "abnormal" zones at junctions, around windows and hatches. Fix them before handover.
- Insulation. Missing material, broken continuity, thermal bridges.
- Airtightness. Tapes, penetrations, shutter boxes.
- Settings. Ventilation flow rates, heating curve, balancing.
Communicating about your quality control without overpromising (RGE, CEE, MaPrimeRénov': stay factual)
When communicating, stay simple and factual. Say that thermal imaging is part of your internal quality control. For RGE, CEE and MaPrimeRénov', eligibility mainly rests on technical criteria, work carried out by a qualified company and supporting documents. Show before and after images, without promising "zero leaks" or a guaranteed energy class.