Chemical cleaning of a wet heating circuit is not a rinse followed by a dose of product: it is a written sequence. Flush with water, generally and then circuit by circuit; inject the cleaner with a proper flushing pump and circulate it in both directions for the dose and contact time the manufacturer states; flush again with clean water until the readings settle; then check or fit a filter on the return to the appliance and dose an inhibitor. BS 7593 sets out the same logic for domestic central heating in the UK, and it is the inhibitor at the end, not the cleaner in the middle, that decides whether the sludge comes back next season.
When to plan chemical cleaning of the circuit in 2026
Spotting the signs: sludge, loss of flow, noise and excess consumption
If your emitters heat poorly, some zones stay lukewarm, or you notice temperature swings, think about cleaning. Sludge can foul filters and heat exchangers, cause flow rates to drop, and create circulation noise. Another simple signal is abnormal excess consumption with no change in usage. On underfloor heating, the signs are read loop by loop at the manifold, and diagnosing a sludged-up floor tells sludge apart from a simple venting fault.
Identifying the causes: corrosion, scale, incompatible materials
Sludge often comes from internal corrosion accelerated by oxygen in the water, poorly treated water, or the absence of an inhibitor. Scale reduces flow sections, especially in hard water. Assemblies with incompatible metals (galvanising, mixed fittings) can also trigger deposits and rust.
Choosing the right moment: after a replacement, before balancing, during commissioning
In 2026, plan chemical cleaning whenever you replace a boiler or a heat pump, to protect the new heat exchanger. Do it before balancing, otherwise you're adjusting an already-restricted circuit. And during commissioning, careful rinsing limits site debris and avoids starting up "in the sludge".
Site diagnosis before cleaning: securing the circuit and your results
Checking the water: pH, conductivity, hardness and presence of sludge
Before any action, sample the circuit water and measure pH, conductivity and hardness. An off-range pH, high conductivity or very hard water will guide your choice of product and circulation time. Also look for sludge, often visible at the drain point or on a magnet. A simple test is already a time saver.
Checking the sensitive points: heat exchanger, valves, filter, vents
Check the heat exchanger, valves, filter and vents. A clogged filter, a stuck vent or a seized valve will skew the flow rate and limit the cleaning's effectiveness. If a magnetic filter is present, inspect it. The goal is a circuit that flows with no sticking points. To limit air pockets and secure venting, you can also check that an automatic air vent is working properly.
Defining the objective: sludge removal, descaling, passivation or intensive rinsing
Choose the right objective. Sludge and flow loss, go for sludge removal. Limescale traces and hard water, descaling is more suitable. After intervention, plan for passivation with an inhibitor. For major works, intensive rinsing avoids leaving particles behind. You're aiming for a result that holds over time.
Chemical cleaning method: key steps for a clean circuit
Preparing the site: isolation, bypass, protection and effluent management
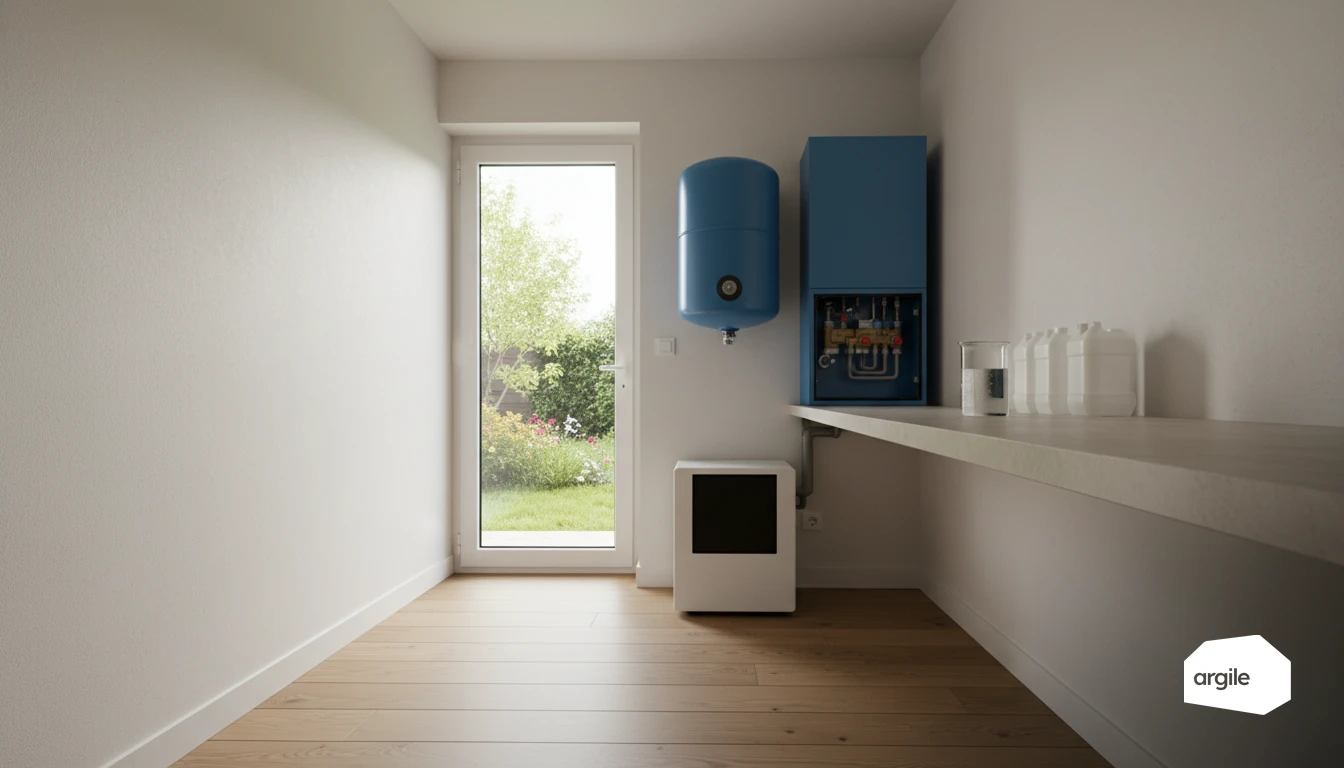
Before any cleaning, isolate the boiler or heat pump and set up a bypass if needed. Protect sensitive components (circulator, 3-way valve, heat exchanger) with filters and strainers. Plan for a drain point, containment trays and a suitable disposal route for the effluent. Work with PPE and identify the network's materials (steel, copper, PEX) to choose a compatible product.
Carrying out the treatment: dosing, circulation time, temperature, flow direction
Follow the manufacturer's instructions. Adjust the dosage to the estimated water volume and level of fouling. Circulate the product for the recommended time, at moderate temperature, alternating flow direction where the installation allows. Monitor colour, pH and the absence of leaks. If the filter clogs, an intermediate drain and clean avoids saturating the network.
Rinsing and neutralising: clear water, final check and topping up
Rinse until the water runs clear and the readings stabilise (pH and conductivity). Neutralise if the protocol requires it, then top up the circuit. Finish with a thorough vent, a check of flow rates, and the addition of a suitable inhibitor. One last pass through the filter secures recommissioning.
Products and precautions: cleaning without damaging the circuit
Selecting the chemical product by material: steel, copper, aluminium, PEX
For cleaning that doesn't backfire on you, choose a sludge remover or descaler labelled compatible with your materials. On steel, favour formulas with a corrosion inhibitor. On copper, avoid products containing ammonia or chlorides, which are often aggressive when hot. On aluminium, steer clear of highly alkaline or highly acidic solutions, which quickly attack heat exchangers. With PEX networks, rule out solvents and oxidants, and aim for a fairly neutral chemistry, validated by the manufacturer.
Avoiding common mistakes: overdosing, mixing products, forgetting neutralisation
Overdosing doesn't speed up cleaning, it increases the risk of corrosion and leaks. Never mix acid and bleach, or two "homemade" products. After an acid phase, plan for neutralisation and rinsing until the pH stabilises, then an inhibitor if the protocol calls for it.
Working safely: PPE, ventilation, safety data sheet, storage
Before intervening, read the safety data sheet. Wear suitable gloves and goggles, and protect your airways if needed. Ensure good ventilation. Store in sealed containers, away from heat and incompatible substances. Label everything, and keep a water point available for emergency rinsing.
Safe commissioning after cleaning: protecting the circuit long-term
Rebalancing and venting: flow rate, pressure, checking the circulators
After cleaning, bring the installation back into service gradually. Vent each emitter, then check the pressure cold and hot, working back from the setpoint calculated on water column height rather than from the manufacturer's minimum. Adjust the flow rate by rebalancing the radiators or loops, and verify that the circulator runs without noise or overheating. One simple point: well-degassed water avoids corrosion and breakdowns.
Adding protection: inhibitor, magnetic filter, sludge trap
To stop sludge coming back, add a suitable inhibitor matched to the water volume and equipment. Install an accessible magnetic filter, and if the network is heavily fouled, a sludge trap upstream of the generator. Also plan for regular rinsing and cleaning of the filter, or it becomes a bottleneck.
Recording the intervention: readings, photos, labelling and maintenance recommendations
Keep useful evidence. Record pressure, temperature, conductivity if available, and note the product injected. Take before-and-after photos, label the commissioning date and the next inspection date. Provide clear maintenance recommendations, annual check, venting if needed, and filter inspection. Readings, photos and the next inspection date are attached to the job file, along with progress and snags.