Distributed insulation does not add insulation onto the wall: it puts the insulation inside the wall. A single-leaf clay block or an aircrete block carries the load and insulates in one piece, which removes the added layer and moves the whole argument onto the junctions, floors, ring beams, reveals and window sills. The consequence to know before pricing is as much administrative as thermal: a funded wall insulation measure pays for works that bring the element down to the U-value the scheme requires, and a single-leaf wall on its own is not that measure. A block's actual U-value is read on its declaration of performance and its BBA certificate, never on a catalogue average.
| What a funded wall insulation measure requires | Content |
|---|---|
| Wall U-value after the works | 0.30 W/m²·K on an existing dwelling, Approved Document L |
| Insulation already in place | Not counted, only the improvement the works deliver |
| Retrofit framework | Assessment and design to PAS 2035, installation to PAS 2030 |
| Installer | Registered with TrustMark for the measure concerned |
| U-value calculation | BS EN ISO 6946, with the BR 443 conventions |
| Elements covered | External walls, solid or cavity, of an existing dwelling |
Understanding distributed insulation: the principle of the insulating load-bearing wall
What sets distributed insulation apart from interior or exterior wall insulation
With distributed insulation, you don't add an insulating layer on the interior (IWI) or exterior (EWI) side. The wall handles both structure and thermal performance at once. You gain simplicity of construction, but the sensitive points remain the junctions, reveals, and floors, where thermal bridges are decided down to the millimetre.
Where insulation is "distributed" in a single-leaf masonry wall
In a single-leaf masonry wall, the insulation is built into the brick itself. The cells, porosity, and thickness of the block slow down heat transfer. As a result, the envelope does everything in a single "layer," and continuity depends mainly on the layout, suitable mortars, and treatment of the junctions.
Expected performance: thermal mass, summer comfort, condensation
You can expect good thermal mass and useful thermal lag in summer, especially if airtightness and ventilation follow through. On the moisture side, a homogeneous, vapour-permeable wall often limits internal condensation risk, provided you avoid unsuitable renders and keep drying toward the outside possible.
Single-leaf masonry: strengths, limits and use cases on site
Terracotta single-leaf blocks: common thicknesses and impact on thermal resistance
With terracotta blocks, walls of 30, 37.5, or 42.5 cm are common. As thickness increases, thermal resistance improves, with an R-value generally around 2 to 3 m².K/W depending on the block and installation. The distributed insulation principle simplifies the layers, but in cold zones or for high-performance targets, supplementary insulation may still be needed.
Treating sensitive points: floors, tie-beams, window sills
Single-leaf masonry delivers on its promise if you treat the thermal bridges. Plan for this from the layout stage, otherwise heat escapes through the building's "seams."
- Floors and slab edges. Use suitable thermal breaks or insulation returns.
- Tie-beams and lintels. Favour U-blocks and integrated insulation where planned.
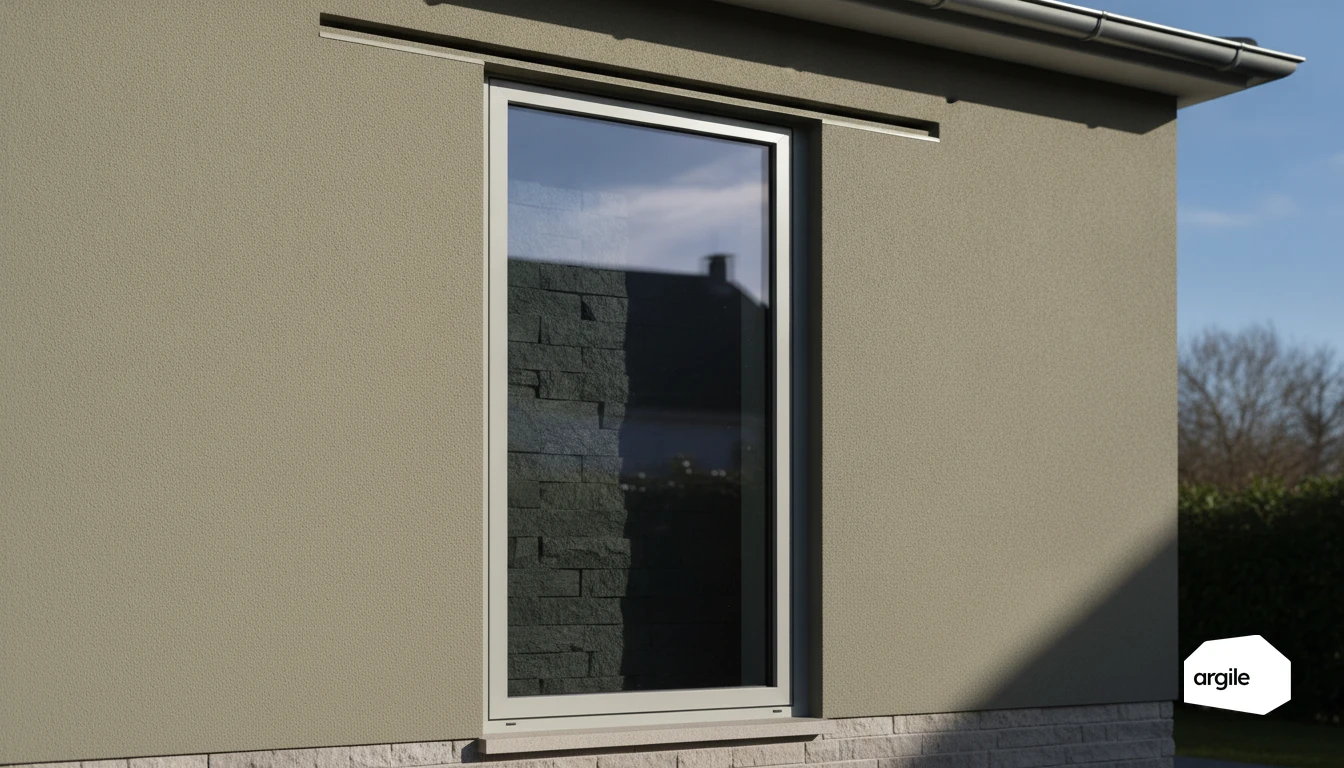
- Sills and reveals. Take care with drip grooves, insulation strips, and airtightness.
When to favour single-leaf masonry: major renovation, extension, single-family home
It's relevant for major renovation when you're reworking the structure and openings, or for an extension where you want an "all-in-one" load-bearing wall. In a single-family home, it provides thermal mass and regulation, provided you accept the footprint and coordinate execution details with joinery and floors.
Aerated concrete: installation and precautions for durable distributed insulation
Choosing the right block: density, mechanical strength and thermal performance
Aerated concrete is a lightweight material that can serve as distributed insulation if the thickness and block range are consistent with the project. The lower the density, the better the thermal performance, but mechanical strength decreases. In single-family homes, you aim for a compromise between load-bearing capacity (walls, floors) and thermal conductivity, relying on technical approvals and manufacturer data.
Installation, joints and thin-joint mortar: avoiding thermal bridges and cracking
Installation quality makes the difference. Lay on a flat substrate, start with a leveling mortar bed, then move to thin-joint mortar to limit thermal bridges. Carefully treat floor, partition-wall, reveal, and lintel junctions. Protect the site from rain and respect drying times to reduce cracking.
Fixings and equipment: loads, suitable anchors, local reinforcement
Fixings need to be planned from the design stage. Use anchors dedicated to aerated concrete and check the allowable loads (tall cabinets, outdoor units, guardrails). For heavy loads, favour local reinforcement, through-plates, or integrated reinforcements, rather than over-tightening into the material.
Details that make the difference: airtightness, thermal bridges, moisture
Airtightness: renders, joinery junctions and utility penetrations
A continuous envelope limits parasitic air infiltration. Interior renders, adhesive tape at junctions, and sealant at joinery junctions often achieve more than adding 5 cm of extra insulation. Also take care with every penetration (mechanical ventilation, plumbing, conduits) using sleeves and sealed fittings.
Thermal bridges: wall/roof junctions, wall/floor junctions, reveals and shutter boxes
With distributed insulation, the sensitive points are wall/roof and wall/floor junctions, plus reveals and roller shutter boxes. Treat them with continuous insulation, without gaps or missing returns. An untreated bridge creates a cold zone, hence discomfort and higher energy use.
Managing water vapour: renders, ventilation and mould risks
Moisture isn't solved with a miracle product. Vapour-permeable renders where suitable, and above all proper ventilation running as intended. If you block vapour on the interior side without proper management, you increase the risk of condensation and mould, particularly behind linings.
Regulations and grants in 2026: what you need to anticipate for your clients
2026 requirements: overall performance, summer comfort and work justification
In 2026, your clients expect measurable gains on the EPC and better summer comfort. Anticipate more frequent requests regarding wall treatment, including distributed insulation, and about consistency between ventilation, heating, and airtightness. Keep clear supporting documents. Product data sheets, treated areas, before/during/after photos, and proof of commissioning.
Funding compatibility: which schemes apply depending on the work package
The right approach is to think in terms of a work package. Some configurations are easier to finance by combining schemes, especially when insulation and the heating system are aligned. Check the required route, the caps, and the performance requirements. A detailed quote avoids back-and-forth. The remaining cost to the client, grants and energy-saving bonuses deducted, is calculated inside the pricing before the appointment.
Useful documents: technical data sheets, certificates, installation evidence, registration
Prepare a single file. Complete quotes and invoices, technical data sheets, product certificates if needed, and compliance certificates. Add installation evidence. Thicknesses, U-values, references, and dated photos. On the certification side, check it covers the right work category and is valid on the signing date.