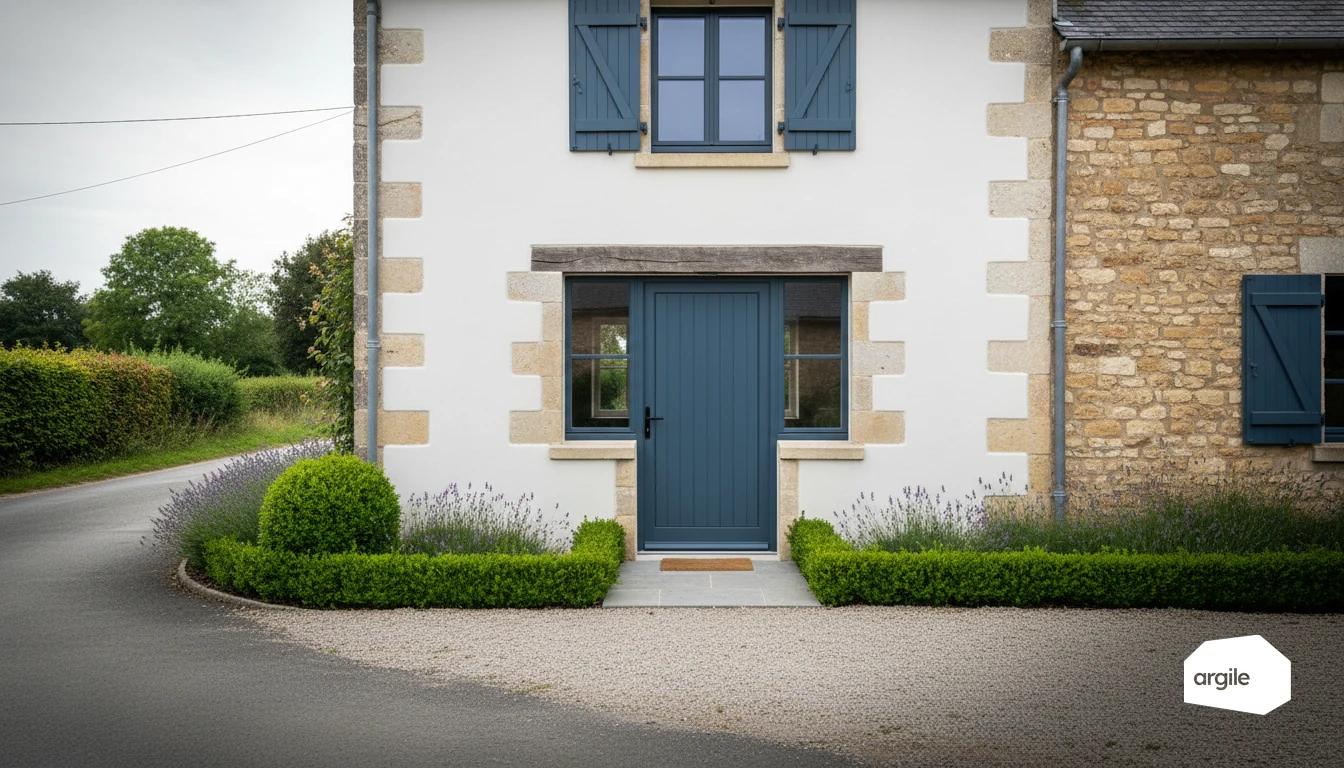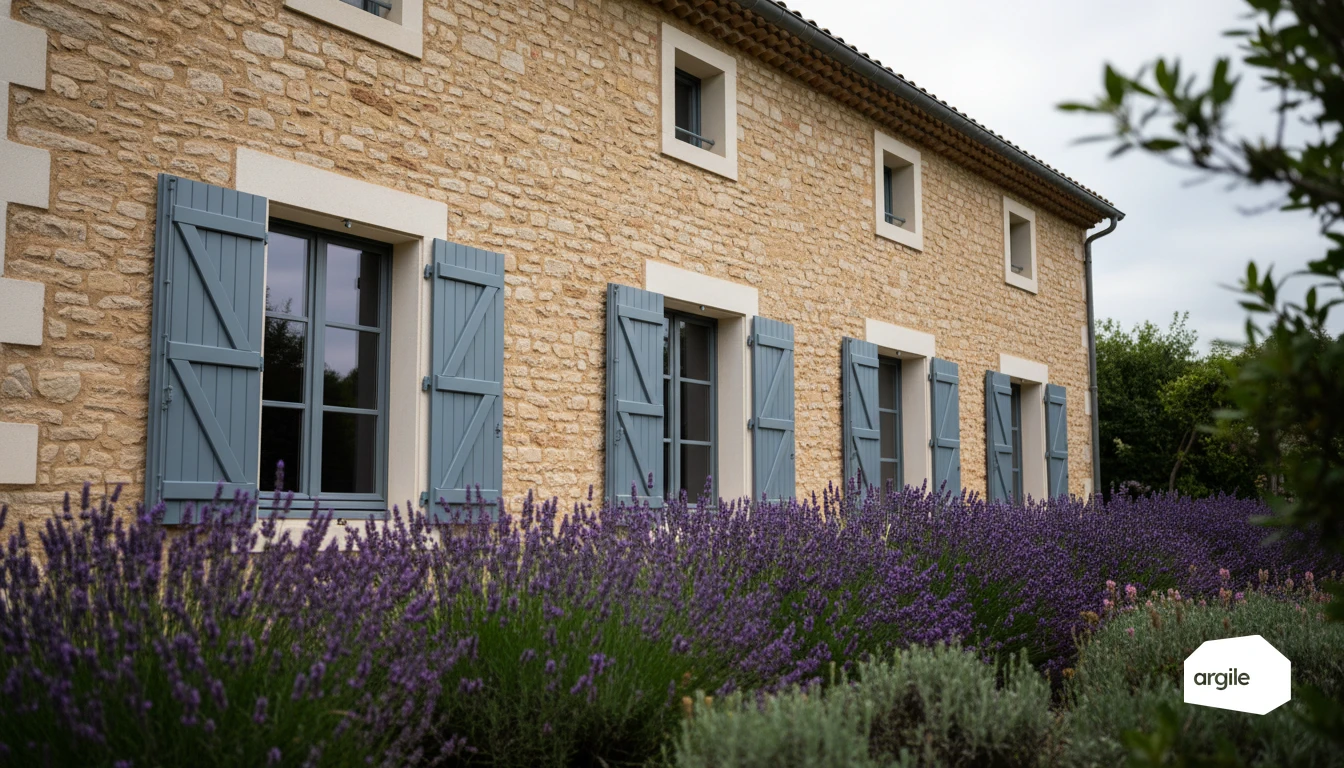
Internal wall insulation places the lining between the room and the masonry, which deprives the heated volume of 60 to 90% of the thermal mass the load-bearing wall provided. The effect shows up mostly in summer, with 1 to 3°C of extra overheating, and in winter through a temperature that rises and falls faster as soon as the heating stops. The judgement is made on the visit: type and thickness of the wall, presence of cross-walls and heavy floors still inside the heated volume, damp marks and measured humidity. Fitting internal insulation onto a damp wall, without treating the cause or securing continuity of the vapour check, brings condensation behind the lining and puts the installing firm's liability on the line.
Understanding the interior wall insulation dilemma: why thermal mass and comfort can suffer
Interior wall insulation in renovation: what changes in wall thermal behaviour
With interior wall insulation, you add insulation on the inside. The load-bearing wall stays colder and exchanges less with the room. As a result, the wall's mass does less work to smooth out temperature swings. Junctions become more vulnerable to thermal bridges.
Thermal mass: what does it mean on a job site (without the jargon)?
Thermal mass is a wall's ability to store then release heat, a bit like a thermal battery. With light interior insulation, the indoor air mainly "sees" the lining. The temperature rises and falls faster when the heating stops or when the sun hits the walls.
Winter comfort and summer comfort: the effects most visible to your clients
In winter, clients feel less radiant warmth from the walls, and feel a cold wall faster if airtightness or ventilation is poorly managed. In summer, the risk of overheating arrives sooner. Solar shading and night-time airing become your best allies.
Diagnosing before proposing interior wall insulation: checkpoints that make the difference in 2026
Identifying the wall type and its role in thermal mass (stone, brick, concrete, concrete block…)
Before interior wall insulation work, identify the wall, its thickness, and its heat storage capacity. A heavy wall (stone, solid brick, concrete) provides thermal mass. With interior insulation, you cut it off from the living space. Adjust the insulation thickness accordingly, and check sills, reveals, and floor junctions to avoid weak points.
Tracking risks: moisture, thermal bridges, condensation (and how to check them)
Risk number one is moisture. Look for stains, mould, saltpeter, and measure the humidity level. Also check water entry points (roof, façades, wall bases) and thermal bridges with a thermal camera when possible. Validate continuity of the vapour barrier or vapour retarder depending on the chosen system, otherwise condensation appears quickly.
Setting the comfort ambition: client priorities, use, solar gains, ventilation
Calibrate the expected comfort level. Heated or lightly occupied rooms, target temperature, solar gains, and outside noise. On the air side, successful interior wall insulation works with ventilation that is suitable, maintained, and correctly sized. If the client wants a performance leap, align insulation, airtightness, and ventilation settings, otherwise you're heating… the leaks.
Choosing interior wall insulation that limits loss of thermal mass: solutions and materials by case
Interior wall insulation systems: framing, bonded composites, lining with a service void (pros/limits)
With interior wall insulation, the frame of a stud-framed lining, metal or timber, is handy for evening out walls and routing utility runs. In exchange, it creates a "lighter" wall and can multiply thermal bridges if the framing isn't handled properly. Bonded composites save centimetres and go up fast on sound substrates, but managing conduits is more constrained. Lining with a service void makes airtightness easier and avoids puncturing the membrane, at the cost of greater overall thickness.
Materials and density: when the insulation affects perceived thermal mass and comfort
The sense of thermal mass also depends on the mass on the interior side. Mineral wool or EPS insulate very well but add little mass. A dense insulation material (high-density wood fibre, for example) and heavier facings (reinforced board, render) can improve summer comfort, without "guaranteeing" it on their own.
Performance targets: balancing thickness, living area, and comfort without overpromising
Aim for a thermal resistance consistent with the project and the grants, then adjust the thickness to preserve floor area. The best choice is often a good compromise between R-value, insulation continuity, thermal bridge treatment, and moisture control. For older buildings, professional advice or an energy audit avoids surprises.
Handling the details to preserve comfort: airtightness, thermal bridges and ventilation
Insulation continuity: floor junctions, partition walls, window reveals (sensitive points)
With interior wall insulation, performance is decided at the junctions. Pay close attention to floor and partition-wall junctions, and treat window reveals to limit thermal bridges. Well-jointed insulation and insulation returns around windows prevent cold walls and condensation.
Airtightness in interior wall insulation: the right habits that prevent discomfort and disorders
Aim for a continuous envelope. Vapour barrier or vapour retarder depending on the composite, connected membranes, compatible tapes, sleeved conduit penetrations. The most cost-effective approach remains treating penetrations, otherwise you keep drafts and moisture risks within the wall.
Ventilation: guaranteeing comfort and air quality after interior wall insulation (single-flow/dual-flow mechanical ventilation cases)
After tighter interior wall insulation, ventilation becomes the conductor of the orchestra. With single-flow systems, check air inlets, vents, and flow rates. With dual-flow systems, ensure proper balancing and filter maintenance for stable air quality, without overconsuming energy. To go further on choosing and setting up a system, see which one to choose.
Client pitch and pricing: selling "comfort" interior wall insulation without taking on risk
Explaining thermal mass simply: concrete examples and realistic comfort expectations
Explain that thermal mass is the walls' ability to store heat, like a stone that stays warm after the sun. With interior wall insulation, the wall is less engaged, the room heats up fast, but summer comfort mainly depends on ventilation and solar shading. Aim for a less-cold wall and fewer drafts, without promising a cool house without shutters.
Comparing interior wall insulation options: options, added value, timelines, usage impacts (2026)
Price out three levels so the client can choose, and to protect your margin, without leaving out the plastering and electrical rework that goes onto the quote from a works library.
- Essential. Standard lining, insulation, simple electrical rework.
- Comfort. Suitable vapour retarder, reveal returns, more careful airtightness.
- Premium. Thermal bridges, radiator relocation, reinforced finishes.
In 2026, announce the added value item by item, and the timelines. Plan on 1 to 3 days per room depending on the complexity and drying times.
Documenting your choices: calculation notes, product data sheets, site photos to secure handover
To secure the handover, keep simple, dated evidence.
- Short calculation note. Areas and target R-value.
- Product data sheets. Insulation, membrane, fixing systems.
- Photos before closing up. Singular points, utility runs, reveals.