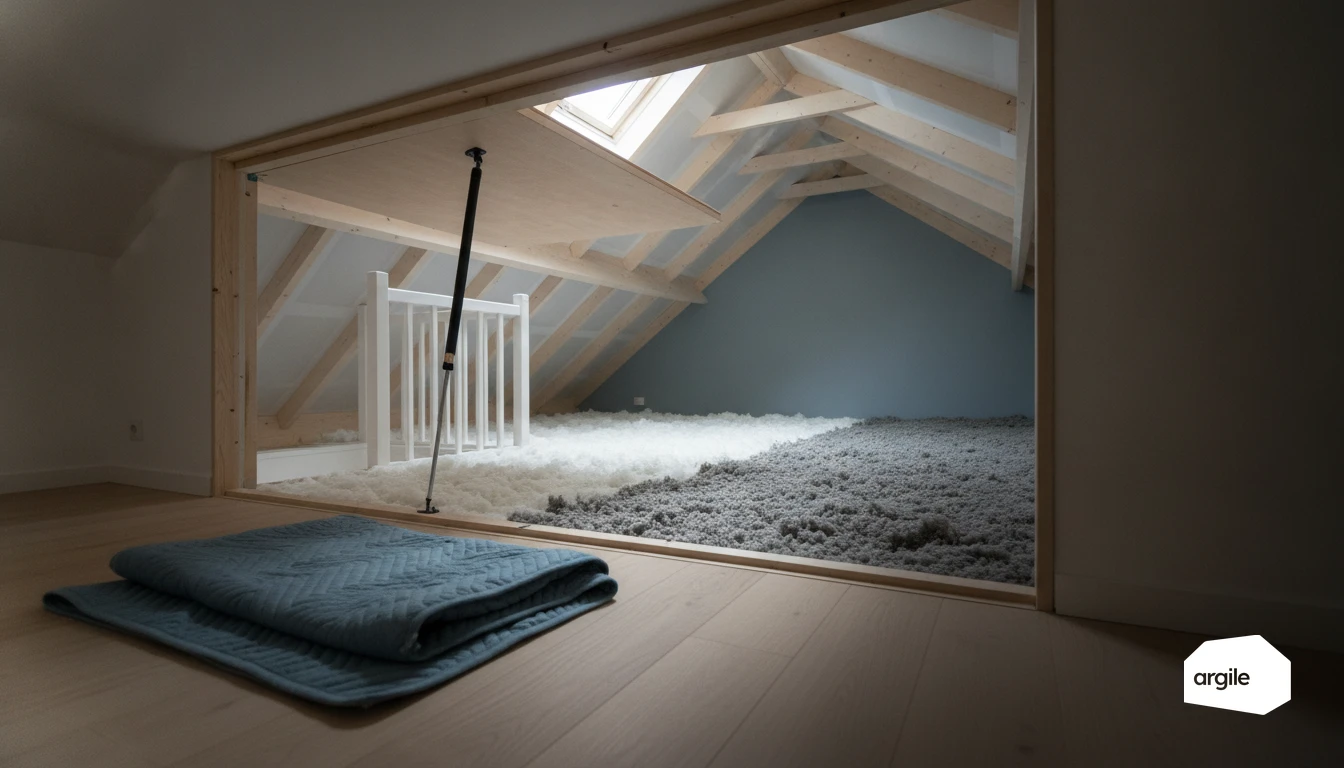
The wool-versus-wadding argument is rarely settled where people expect. On a blowing job, what decides the installed depth and the volume you order is not the family of insulant but the thermal conductivity you are able to evidence. The tabulated default for wool blown onto a loft floor is 0.056 W/(m·K), against 0.040 for a common certified product. Against the R ≥ 7 m²·K/W a funded measure requires, that gap is eleven centimetres and close to a third more material.
The depth table
The rule is arithmetic: depth equals R times λ. What varies, and what decides the quotation, is the λ the file can put forward.
| Thermal conductivity used | Depth for R = 7 | Depth for R = 10 | Status of the value |
|---|---|---|---|
| 0.039 W/(m·K) | 273 mm | 390 mm | Certified, premium |
| 0.040 W/(m·K) | 280 mm | 400 mm | Certified, common |
| 0.042 W/(m·K) | 294 mm | 420 mm | Certified, common |
| 0.045 W/(m·K) | 315 mm | 450 mm | Certified, entry level |
| 0.056 W/(m·K) | 392 mm | 560 mm | Default value, no certificate |
The last row is not a textbook case. The materials fascicle gives 0.056 W/(m·K) for "wool obtained by blowing onto a loft floor" at an installed density between 10 and 25 kg/m³, as the default value applying to products not covered by a certification. The same document gives 0.065 for hand-spread wool and 0.060 for wool injected into a wall or a sloping ceiling.
What wadding changes on the file
On paperwork, cellulose wadding is not in the same position as mineral wool. The materials fascicle gives it no default value at all: for "shredded-paper cellulose" applied by pneumatic machine as well as by hand, it refers to the annexes of the thermal characteristics orders.
The practical consequence: wadding is only evidenced by its own document, technical approval or certificate, and there is no fallback value. A product with no enforceable document has no evidenced conductivity, therefore no evidenced thermal resistance, therefore no funding file.
That is the opposite of the received idea that wadding is the flexible choice. On site it is the choice that demands the most documentary rigour, and that point, more than summer comfort or decrement delay, decides whether a funded file is feasible at all.
What the blowing standard covers, and what it does not
Blowing into unconverted lofts falls under NF DTU 45.11, in its November 2025 edition, which supersedes the March 2020 one. Its scope is narrower than people assume, and it is that scope, more than its clauses, that decides whether a job is covered.
Outside scope are:
- converted or convertible lofts, and sloping ceilings;
- ventilated floors;
- permanently air-conditioned spaces;
- spray application, wet or dry, and insulants prepared on site;
- tropical and equatorial climate zones and the overseas departments.
The commonest confusion is between blowing and spraying: two techniques, two reference documents, and only one of them falls under 45.11. The November 2025 revision also adds detail on fire risk, meaning the protective screens around flues and recessed electrical fittings.
The text also governs verification of the finished work by measuring depth and calculating the installed density, and it requires a marker left on site. That is what separates a job that holds from a job that is merely declared: thermal resistance cannot be established by eye.
The threshold and the payment
| Parameter | Loft floor | Sloping ceiling |
|---|---|---|
| Thermal resistance required | R ≥ 7 m²·K/W | R ≥ 6 m²·K/W |
| Depth at λ = 0.040 | 280 mm | 240 mm |
| Zone H1 payment | 1,700 kWh cumac/m² | 1,700 kWh cumac/m² |
| Zone H2 payment | 1,400 kWh cumac/m² | 1,400 kWh cumac/m² |
| Zone H3 payment | 920 kWh cumac/m² | 920 kWh cumac/m² |
The payment is identical in both configurations, while the threshold is not and neither is the cost of installation. That is what makes the loft measure the best paid of the scheme relative to the cost of the job on a loft floor, and a distinctly poorer one on a sloping ceiling.
The threshold applies to the thermal resistance of the insulation installed, not to the whole floor. There is no point adding the resistance of the deck or of air layers: the product alone has to hold the figure, and its certified value is what evidences it.
Wool or wadding: the criteria that remain
Once the paperwork question is settled, the choice comes down to three points, and three only.
Reaction to fire: mineral wools are classified A1 or A2, non-combustible, while cellulose wadding sits at B or C depending on whether it is treated with borate or ammonium salts. Around a flue the protective screen is required in both cases, but the margin for error is not the same.
Behaviour with water: wet mineral wool settles and loses thermal resistance without ever recovering it. Wadding absorbs transient moisture and gives it back, which makes it more forgiving on a ceiling whose airtightness is imperfect. That does not remove the need to treat junctions, starting with the loft hatch, which stays the weak link of an insulated floor.
Installed density: it decides the volume ordered and therefore the cost. It is checked by counting bags against the area covered, not against the depth measured, because it is the mass per square metre that proves the stated density is in place.
What has to appear on the quotation
Three entries make the file enforceable, and their absence is the most common reason for rework at audit:
- the exact product reference and its certificate number, which carry the conductivity used;
- the target depth and the corresponding mass per square metre, which is what the bag count verifies;
- the resulting thermal resistance, calculated with the certified value, not an R quoted without its λ.
A quotation stating "R = 7" without naming the product or its conductivity commits to nothing and evidences nothing. Reconciling the required figure with the value of the product installed is exactly what the element resistance calculation has to deliver before the file goes out, and Argile takes the lambda, the resistance and the reference from verified manufacturer data to write it on the quote.
On unconverted lofts in particular, the ratio between the payment and the real cost of the job makes this the best return of any single measure, provided the certified value is on the file.
What to take away
- Depth is not worked back from a catalogue lambda but from the value the file can put forward.
- With no certificate the default for blown wool is 0.056 W/(m·K), meaning 390 mm for R = 7.
- Wadding has no default value at all: with no technical approval it cannot be evidenced.
- NF DTU 45.11, November 2025 excludes sloping ceilings, converted lofts and spray application.
- The loft measure requires R ≥ 7 on a floor and pays the same as on a sloping ceiling.