A pressure test on pipework is run with water, at a test pressure set by BS EN 806-4 at 1.1 times the maximum design pressure of the installation. The standard then defines what counts as a pass by the drop allowed between readings rather than by a general impression: no more than 0.6 bar between the thirtieth and the sixtieth minute, no more than 0.2 bar between the sixtieth minute and the third hour. Any section that will become inaccessible once the works close up, and that contains joints, has to be tested before it is covered.
Understanding the network pressure test and your tightness goals
What the test before filling is for: safety, quality, disputes avoided
Before filling with water, the test puts the network under pressure to check that it holds without leaks or weaknesses. The primary goal is the safety of the occupants and the site, avoiding water damage the moment the system is commissioned. It's also a simple quality check to explain to the client. A test report reduces grey areas and limits disputes at handover.
Test pressure: key concepts (static pressure, pressure drop, stabilisation)
We talk about static pressure when the installation is at rest, with valves closed. After raising the pressure, a stabilisation phase is often needed, since temperature, pipe expansion, and residual air make the reading vary. The pressure drop is tracked on the gauge over a defined period. It's judged according to the chosen protocol.
Network tightness: what you're actually checking on site
On site, you're confirming the tightness of joints, fittings, devices, and concealed areas. You're looking for weeping, signs of moisture, but also micro-leaks visible only on the pressure curve. A successful test means stable pressure, a clean visual inspection, and clear traceability of the test conditions.
Preparing the pressure test without bad surprises on site
Checks before the test: identifying sections, plugging, sensitive points
Before the test, identify the relevant sections, the valves, non-return valves, and the devices to isolate. Plug every unused outlet with suitable caps and check crimped joints, brazed joints, threads, and hoses. Protect fragile components (meters, automatic bleed valves, controllers) or take them out of the circuit if the manufacturer requires it.
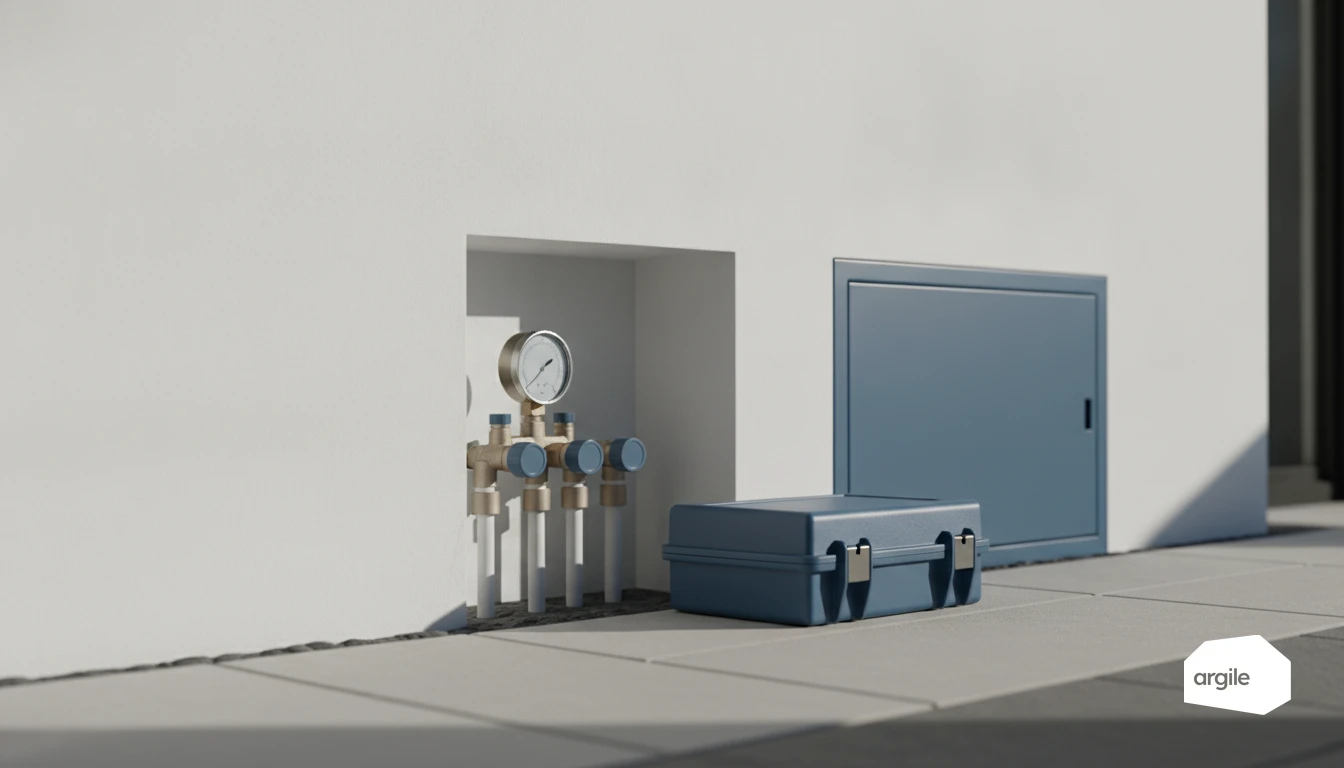
Equipment needed: test pump, pressure gauge, fittings, traceability
Have a test pump ready (water or air depending on the network), a readable, calibrated pressure gauge, fittings and adapters, and something to mark the points checked. A simple report with date, pressure, duration, and signature avoids arguments at the end of the job, and is filed with the project in your plumber's software.
Conditions to meet: temperature, air bleeding, accessibility, safety
Stabilise the temperature, bleed the air as much as possible, and ensure full accessibility to the fittings. Set up a secured area, goggles and gloves. Raise the pressure gradually, monitor how it holds, and release the pressure at the end of the test while checking the automatic bleed valves and the sensitive points.
Carrying out the pressure test step by step and interpreting the results
Gradual pressurisation: a practical method to avoid sudden surges
Start by filling the network, bleeding air at the high points, then connect the test pump and a readable pressure gauge. Raise the pressure in stages. For example 30%, then 60%, then the test pressure. Pause at each stage to let the pipes settle. Open and close valves slowly. This avoids water hammer and unstable readings. Once the test passes, commissioning starts from a different figure, the working pressure calculated on the building's water column, which has nothing to do with the test pressure.
Hold time and acceptance criteria: how to judge whether the pressure holds
The duration and the criterion are not yours to choose, they follow from the standard and from the pipe material. The table below sets out the figures BS EN 806-4 works to.
| Parameter | Value |
|---|---|
| Test pressure, TP | 1.1 × maximum design pressure |
| Drop allowed between 30 and 60 minutes | 0.6 bar maximum |
| Drop allowed between 60 and 180 minutes | 0.2 bar maximum |
The three-reading procedure is the one most often cut short on site, because it asks for a little over three hours. A drop of more than 0.2 bar over the last two hours is a leak, not thermal expansion. Record the time of each reading, the pressure read and the room temperature, otherwise the report demonstrates nothing.
In case of a drop: distinguishing a tightness defect, residual air and expansion
If the pressure drops, look first for a leak. Check the fittings, the bleed points, the welds. A soapy water test helps on threaded joints. A slow drop can come from residual air compressing or dissolving. A rapid change can come from temperature. A cold circuit warming up makes the pressure rise. The reverse makes it fall. Bleed it, top it back up, then run the test again.
Locating a leak and securing tightness before filling
Detection techniques: visual inspection, soapy water, listening, sectioning
Before filling, start with a visual inspection. Look for signs of moisture, a misaligned fitting, a questionable brazed joint. Then pressurise the network with air or water according to your test procedure. Soapy water helps spot a micro-leak on an exposed fitting. Listening with a stethoscope, or a screwdriver held against the pipe, can reveal a hiss. Finally, isolate by section (valves, caps) to narrow down and reduce the search area.
Common fixes: retightening, re-crimping, seals, brazed joints
The most common fixes stay simple, notably when it comes to re-crimping.
- Retightening to the correct torque on demountable fittings.
- Re-crimping if the profile, insertion, or marking is incomplete.
- Replacing seals (flat, O-ring, hemp) and cleaning the sealing faces.
- Redoing a brazed joint with cleaning, even heating, and controlled filler.
Re-test: validating the repair and securing the final filling
Run a new pressure test on the repaired section, then on the whole network. Monitor pressure stability and visually check every critical point. Once everything holds, start filling with water gradually, bleeding included, and keep heightened vigilance over the first hour of operation.
Formalising your test in 2026: proof, documentation and site coordination
Test report: information to record (pressure, duration, equipment, date, signature)
A test is worth mainly for its simple proof. Note the address, the unit, the type of network and the sections tested, the fluid, the maximum design pressure used and the test pressure derived from it, the procedure applied, each time-stamped reading, the room temperature, the gauge with its serial number and calibration date, any leaks found and the remedial work done. Add the date, the operator's name, and a signature. Do not confuse this report with an airtightness test: a building air-permeability test is run at 50 Pa with a blower door, says nothing about how pipework holds pressure, and is no substitute for it.
Coordination with other trades: avoiding rework that breaks tightness
Schedule the test before the cladding is closed up and after the membranes are installed. Share a list of sensitive points with the electrician, plasterer, MVHR installer, and joiner. Mark no-drilling zones, sign off on every penetration (ducts, drains), and organise a quick check after another trade has worked on site.
2026 best practices: photos, markers, simple archiving for your files
In 2026, keep a clear archive. Take time-stamped photos before, during, and after, with a marker on the plan. Name the files by job and date, store them in a shared folder, and keep the report together with the certification and funding supporting documents. Attached to the job file, these records follow progress and the clearing of snags in the same place.