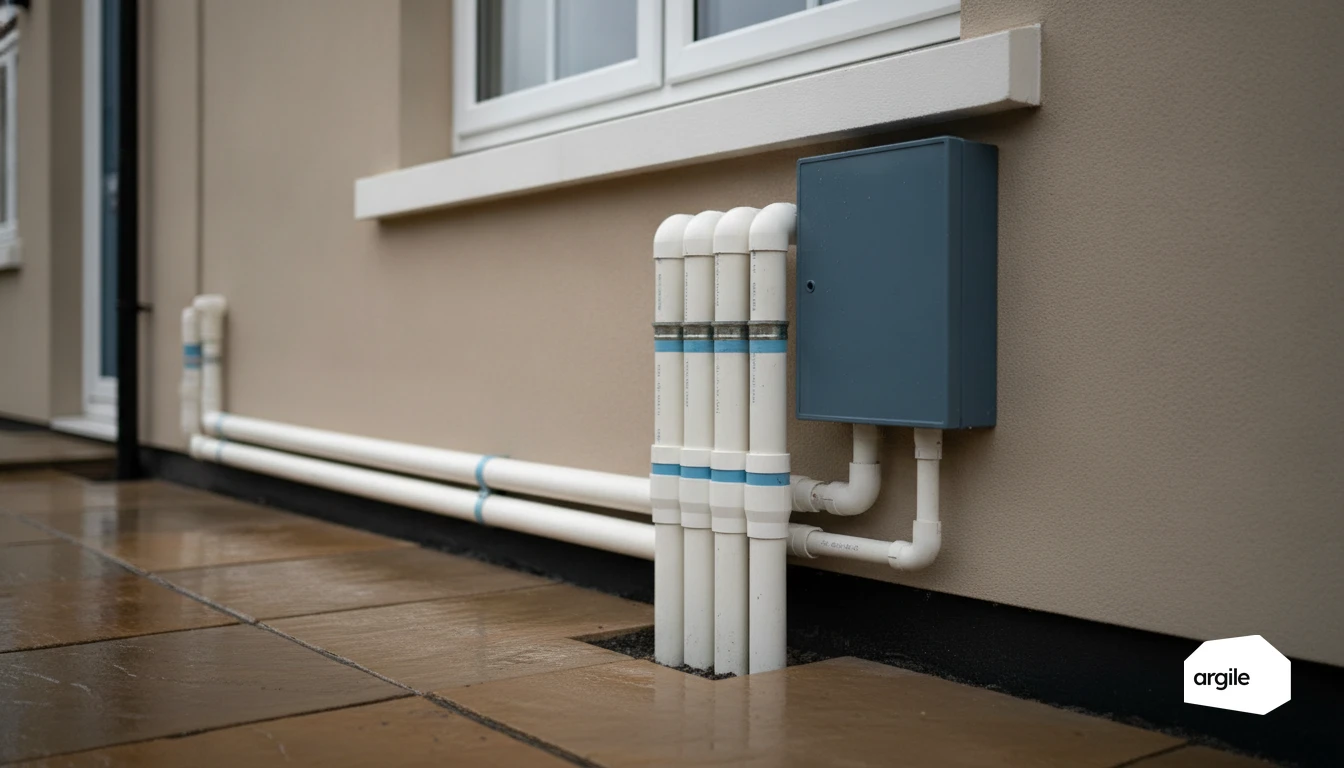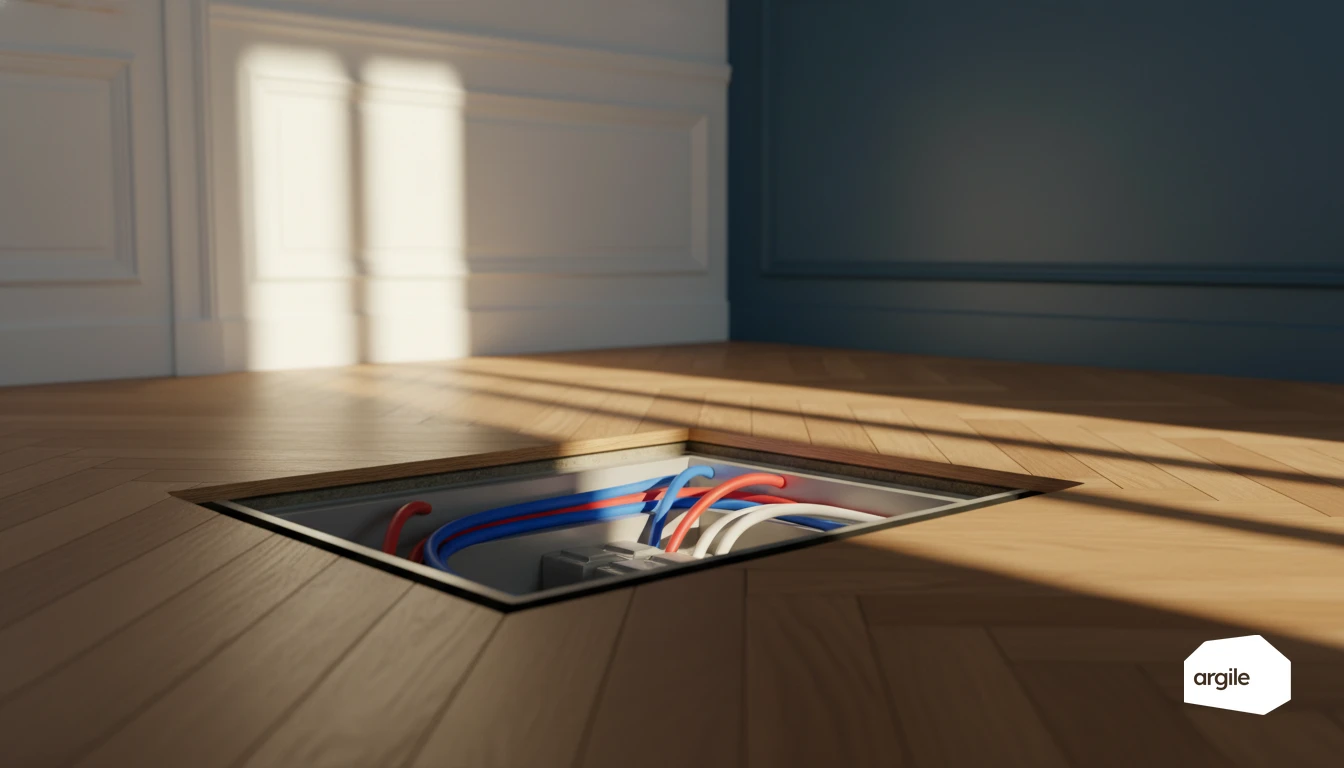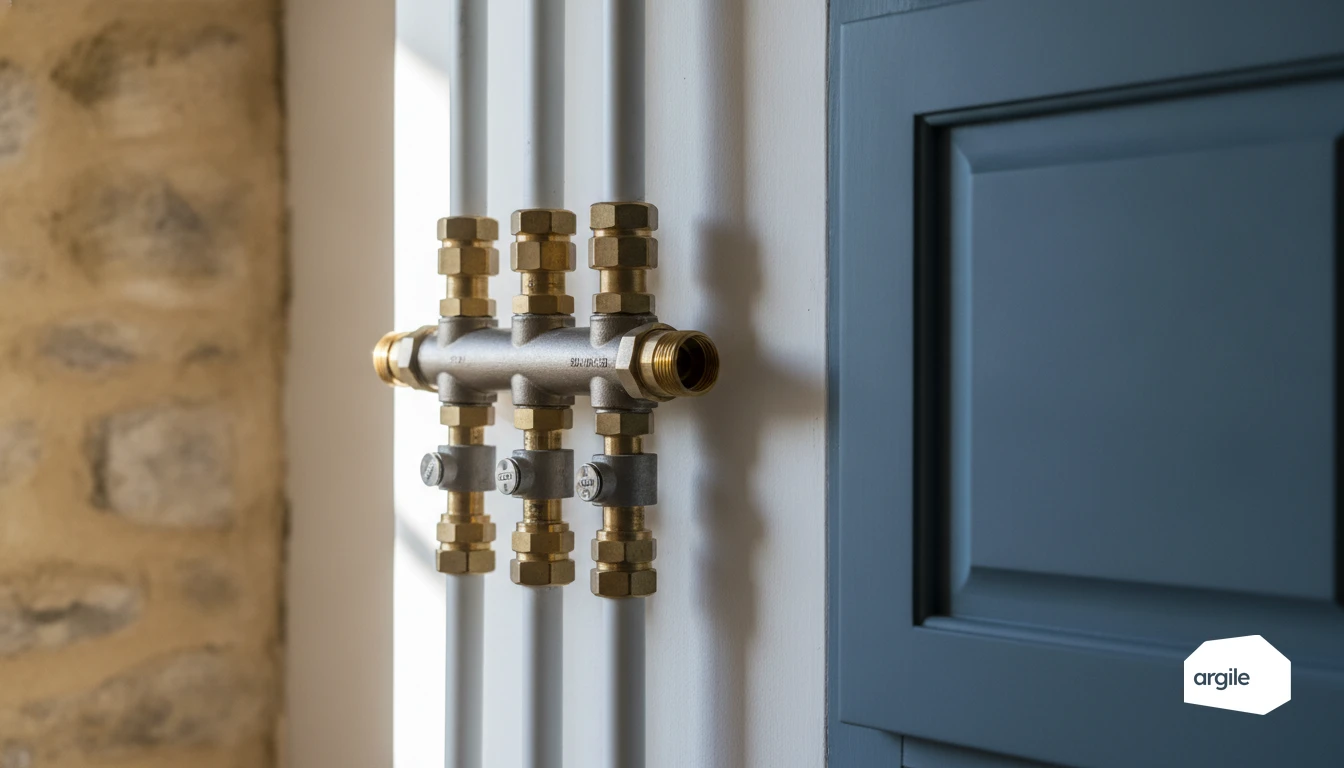
Pressure testing a push-fit or press fitting happens before you close up, and it is not just the test itself. Three checks are made dry, fitting by fitting: the jaw profile and diameter match the manufacturer's system exactly, with no assumed equivalence between brands; the insertion mark drawn in felt tip has not moved after the press; the press indicator and the tool marking confirm a completed cycle. The pressure test comes next, following the site procedure and the system's instructions, with a stabilisation period and a visual check after wiping down. What gets recorded at that point, photos and readings, is what protects you if a wall has to be opened again.
Choosing the right fitting for the job
Push-fit fittings: when to favour installation without heavy tooling
A push-fit fitting saves time on a repair, a temporary section, or an accessible plant room. It installs without a crimping machine and reduces bulk. Keep it for visible, inspectable sections, with a properly sized and deburred pipe. The simple rule. If you can't check it, switch to a more permanent solution.
Crimped fittings: for securing pressurised networks
A crimped fitting is the right choice as soon as you're dealing with a pressurised network, heating, or embedded supply. Once crimped, you get a connection that's reliable over time, with an almost nil risk of loosening. Remember to use the matching jaw, the insertion mark, and a pressure test before closing the walls.
| Joint | Where it belongs | What you check before closing up | What you record |
|---|---|---|---|
| Push-fit | accessible and inspectable areas, repairs, plant rooms, reworking inside tight ducts | condition of the O-ring, square cut, deburring, insertion stop checked by pulling | photo of the fitting installed, location of the access hatch |
| Press fitting | pressurised pipework, heating, buried supply runs | jaw profile and diameter, insertion mark, press indicator, completed cycle | system reference, tool number, photo before closing up |
| Brazed | copper, fixed points, sections that cannot be dismantled | no oxidation, fully cooled before filling | photo and mark-up on the setting-out drawing |
| All | every section before a wall is closed | pressure test to the site procedure, purge, visual check after stabilisation | dated result, filed with the handover pack |
Mixing brands is the recurring trap: an assembly that "goes together" can leak later if the tolerances of pipe, fitting and tool do not come from the same system. When in doubt, ask for the system's technical data sheet or approval, and refuse a verbal equivalence.
Material compatibility: PEX, multilayer, copper and points of attention
PEX and multilayer pipe don't always use the same crimping profiles. Don't mix brands without checking compatibility. On copper, watch the surface condition, the tube-forming quality and the temperatures involved in heating. A damaged gasket or a crooked cut is enough to lose the seal. A check before filling with water avoids many callbacks.
Mastering crimping for durable fittings
Choosing the right jaw and crimping profile (TH, U, H, etc.)
A crimped fitting mainly depends on compatibility. The profile (TH, U, H) and the jaw must exactly match the fitting system and the diameter. Rely on the manufacturer's instructions and avoid "close enough". A worn or poorly maintained jaw deforms the crimp and weakens the seal. Keep a simple rule in mind. Matching profile, suitable tool.
Preparing the pipe before crimping: cutting, sizing, deburring and cleanliness
Cut square, size the pipe if required, then deburr inside and outside. Clean the insertion area. No dust, oil, paint, or scratches on the gasket. Mark the insertion depth with a felt-tip pen. Clean pipe, reliable seal.
Checking the quality of the crimped fitting: marking, insertion depth, testing
After crimping, check the crimp indicator, the tool's marking, and that the insertion mark hasn't shifted. Confirm the crimping tool completed its full cycle. Before closing a wall, run a leak test according to the site procedure. Final check, no callback.
Installing push-fit fittings without defects
Installation procedure: insertion, locking, disassembly depending on the model
Cut the pipe straight, deburr it, then mark the insertion depth. Push the fitting in fully to the stop. Pull gently to check the locking. To disassemble, follow the model's method. Release collar to press in, clip to remove, or a dedicated tool. Don't force it with twisting.
Sealing and maintenance: gaskets, lubrication, access and removability
Sealing is often achieved with an O-ring. Inspect it before installation and keep it clean. If the manufacturer allows it, a thin silicone grease helps insertion. Avoid oils and pastes. Plan for access. Hatch, cabinet, or removable boxing-in. Run a pressure test after refilling with water.
Common plumbing cases: repairs, renovation, hard-to-reach areas
For repairs, a push-fit fitting gets the job done without a torch under a sink or behind a toilet. In renovation, it makes it easier to reconnect a copper, PEX or multilayer network, especially in a narrow duct. In cold or damp areas, dry the pipe. Always check temperature and pressure compatibility.
Avoiding leaks: common mistakes with plumbing fittings
Poor alignment and mechanical stress: bending, supports, vibrations
A fitting shouldn't be forced to work under strain. Bending too tightly, a misaligned pipe, or direct support resting on the fitting body will eventually create a micro-leak. Think about clips, fixed points and slab penetrations. Limit vibrations (pump, cylinder, water hammer) and leave a little play. The goal, no strain.
Mixing ranges and brands: risk of fitting incompatibility
With multilayer pipe, PEX, or certain crimped fittings, mixing brands, jaw profiles and gaskets is not a minor issue. An assembly that "fits" can leak later if the tolerances aren't identical. Stick to the same range, check the instructions and the pipe/fitting/tool compatibility. To go further on this material, see multilayer pipe.
Filling and testing: test pressure, venting and visual checks
Before closing up, fill with water progressively. Bleed the air, bring it up to the recommended test pressure, then let it stabilise. Inspect each fitting dry, then after wiping. A visual check carried out several times, after a few minutes and then after a hold period, avoids callbacks.
Saving time in 2026: site organisation and best practices
Standardise your fittings: references, storage, traceability on site
In 2026, speed mainly comes from repetition. Limit your fitting references to a short list per diameter and use. Prepare bins by area (bathroom, boiler room, riser) with readable labels. Keep a simple log of batches and serial numbers when available, with a photo taken at installation. Those references show up again at pricing time: Argile adds plumbing and ancillary works to the quote from a library of work items.
- 1 layout plan and 1 materials list printed on site.
- Weekly restocking, not on the fly.
Safety and compliance: sensitive areas, DTU/best practices, insurance
Mark out sensitive areas, hot spots, drilling points, and fire-stop penetrations. Rely on the applicable DTUs and manufacturer instructions, especially for hot water and heating. Log your checks (sealing, pressure, photos) to secure the sign-off and your ten-year insurance cover.
Training the team: key moves for consistent, repeatable crimping
Consistent crimping means fewer reworks. Set a single operating procedure: straight cut, deburring, depth marking, full crimp. Check the tooling, jaws, batteries, and hold a monthly review. The goal, consistent moves whoever the operator.